Add segments
- Open a position.
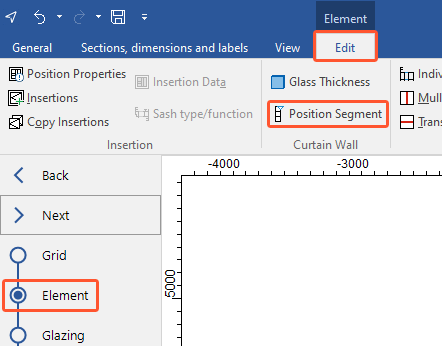
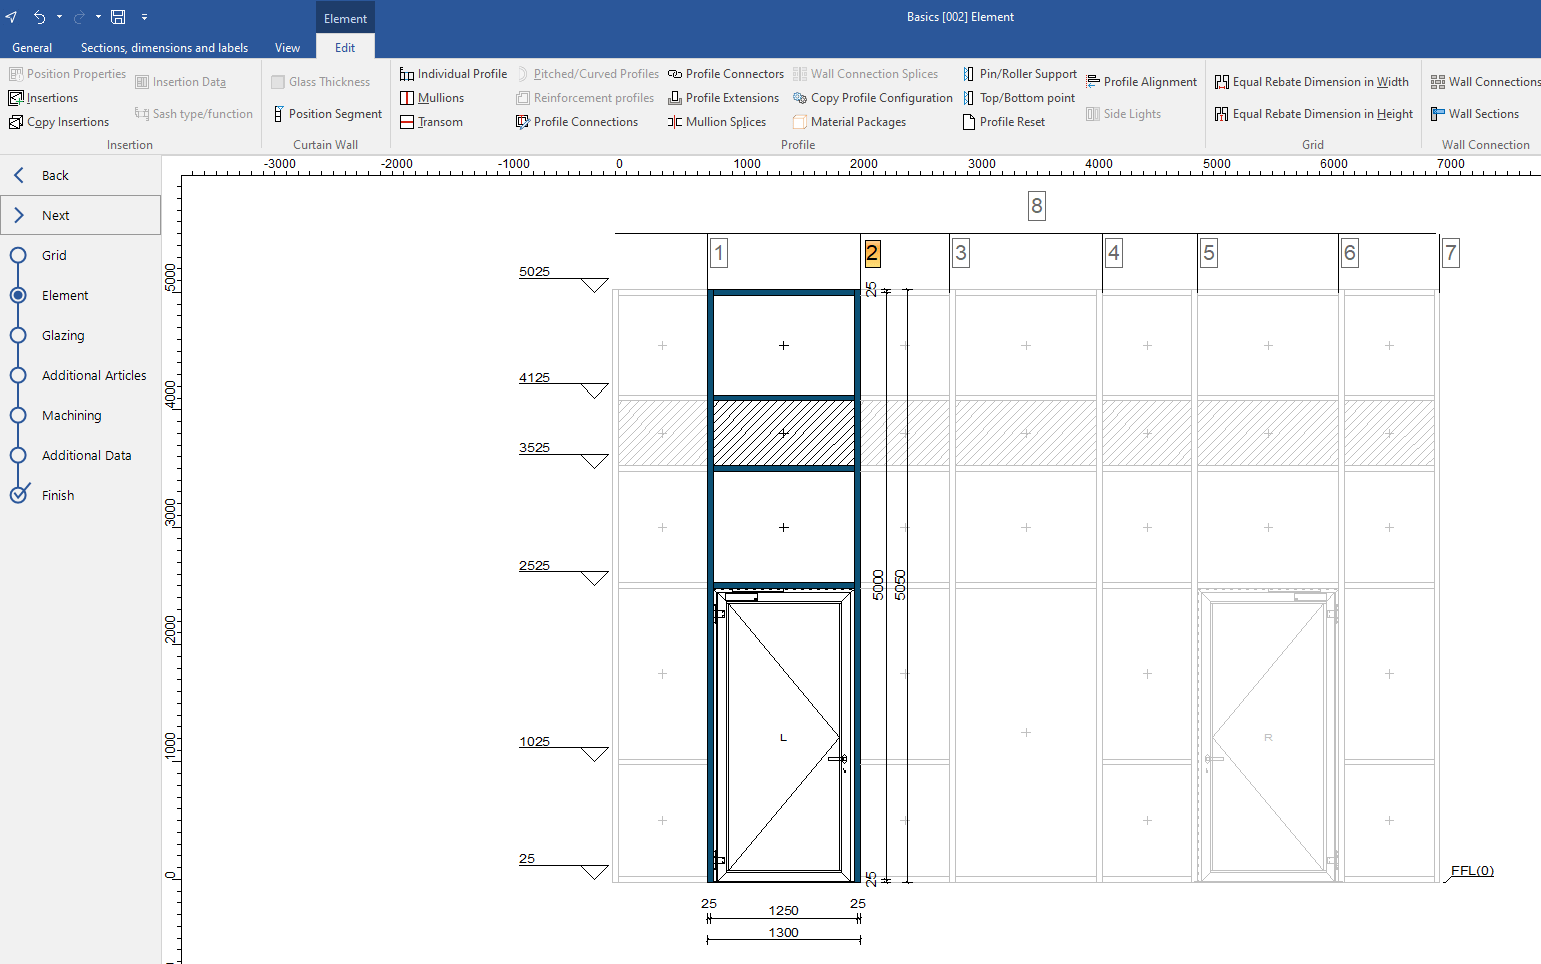
- In the "Element" section, on the "Edit" tab, click "Position segment":
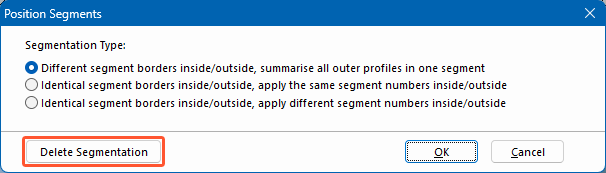
- Select the segmentation type:
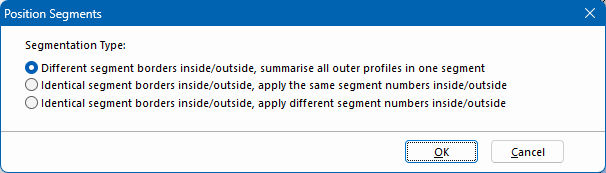
- Different segment borders inside/outside, summarise all outer profiles in one segment:

- Identical segment borders inside/outside, apply the same segment numbers inside/outside:

- Identical segment borders inside/outside, apply different segment numbers inside/outside:

- Different segment borders inside/outside, summarise all outer profiles in one segment:
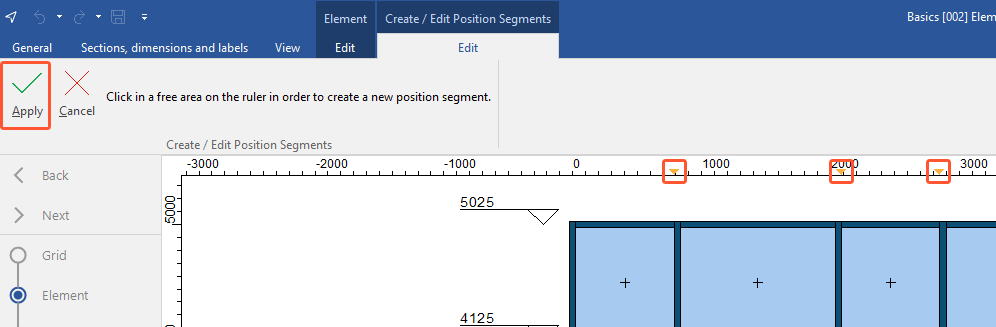
- In the ruler, click on the dimension points at which the curtain wall is to be segmented.
- Click "Apply":
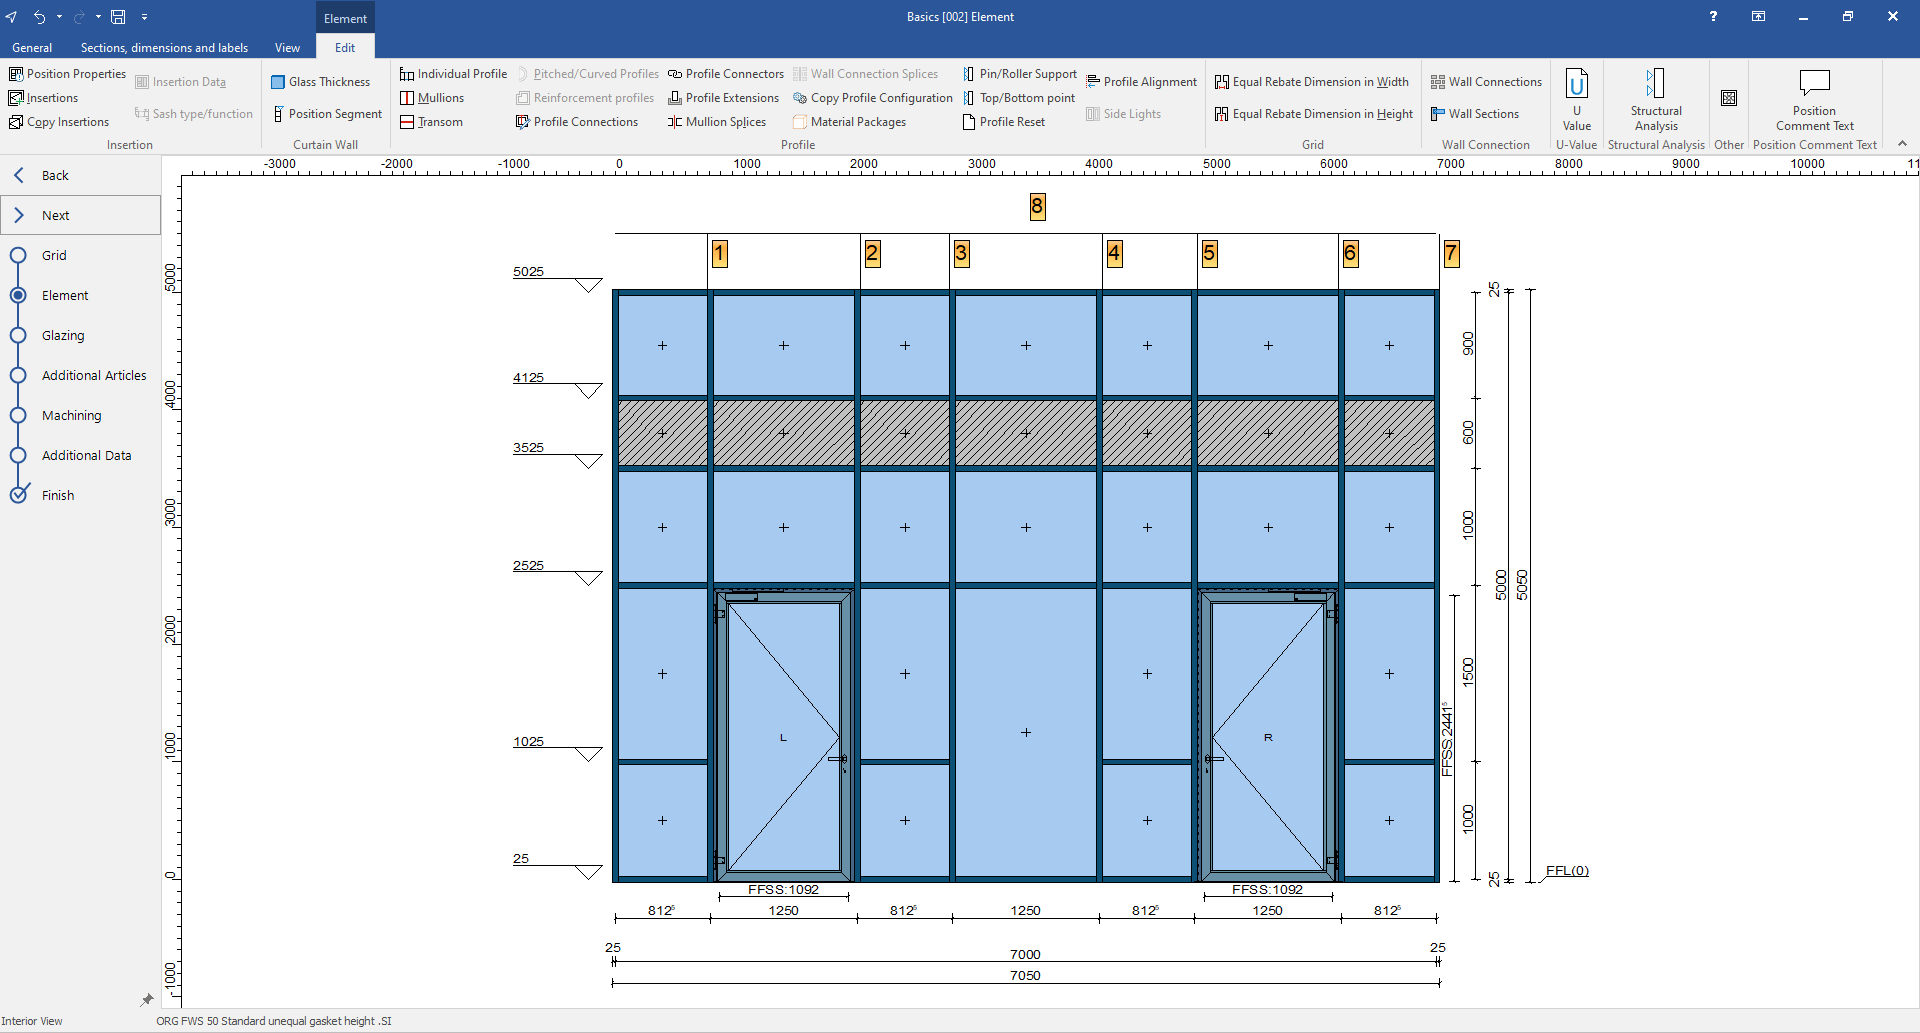
- The respective segment numbers are displayed above the position drawing:

Delete segmentation
- In the "Element" section, on the "Edit" tab, click "Position segment".
- Click "Delete segmentation" to delete the complete segmentation:
Attention!
If you have already assigned additional articles to the segments, they will be lost when you delete the segmentation. You may need to reassign the additional articles.
Edit single segments
- Click on a number to highlight and edit the corresponding segment:
Additional articles in segments
Additional articles can be assigned to segments.
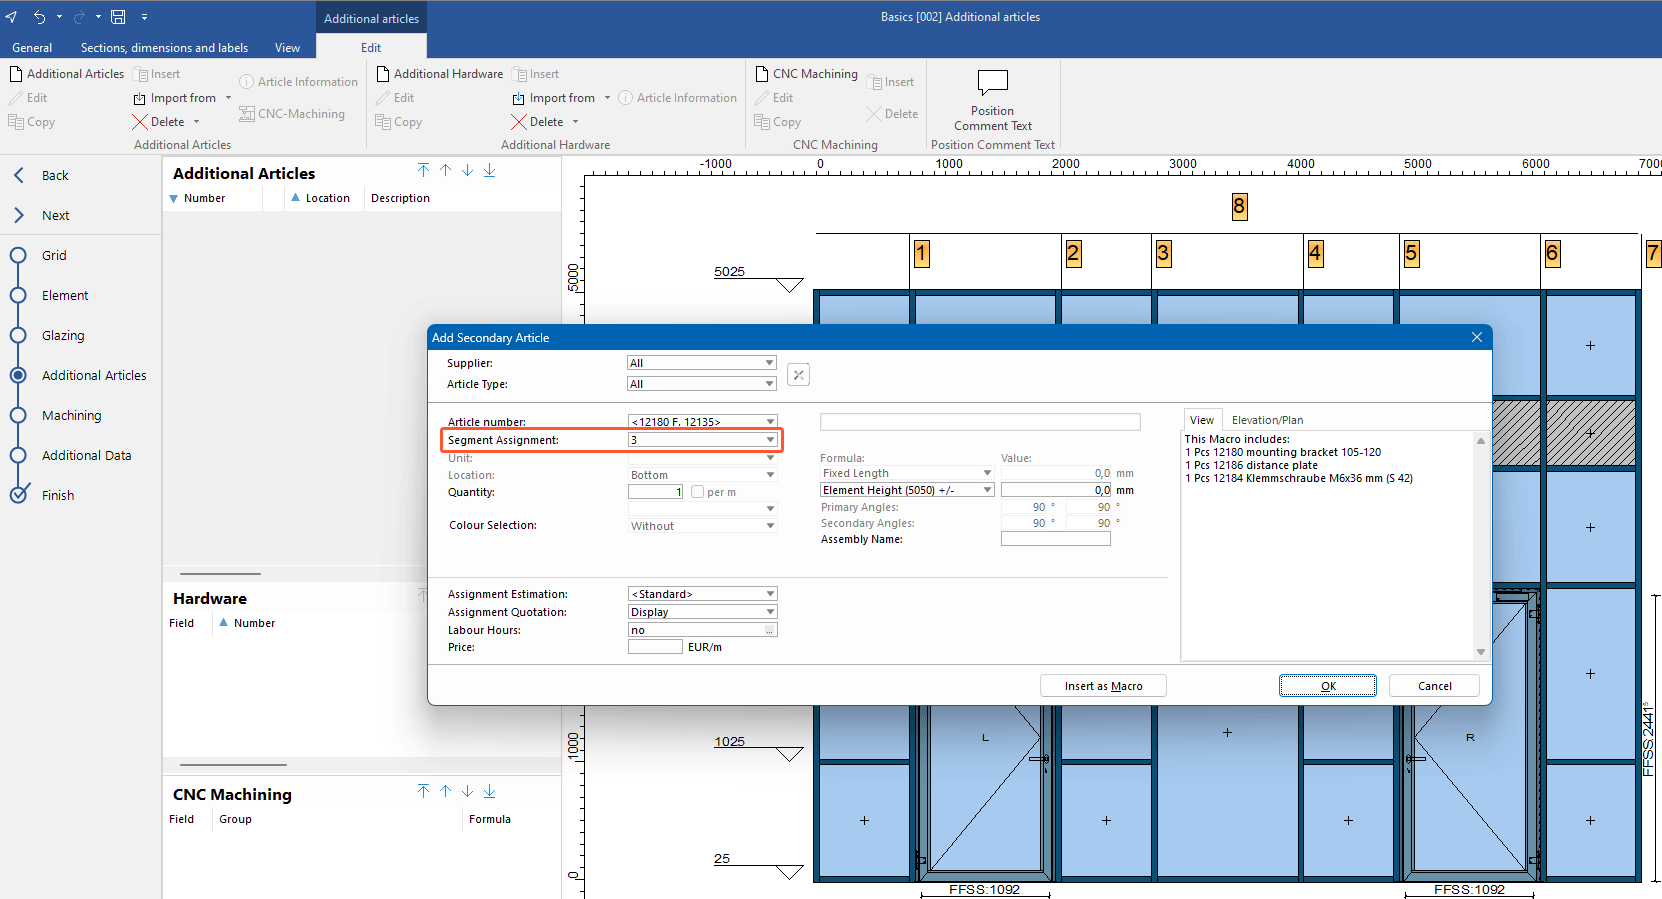
- In the "Additional articles" section, on the "Edit" tab, click "Additional articles".
- In the next window "Add secondary article", under "Segment assignment", select the respective segment:
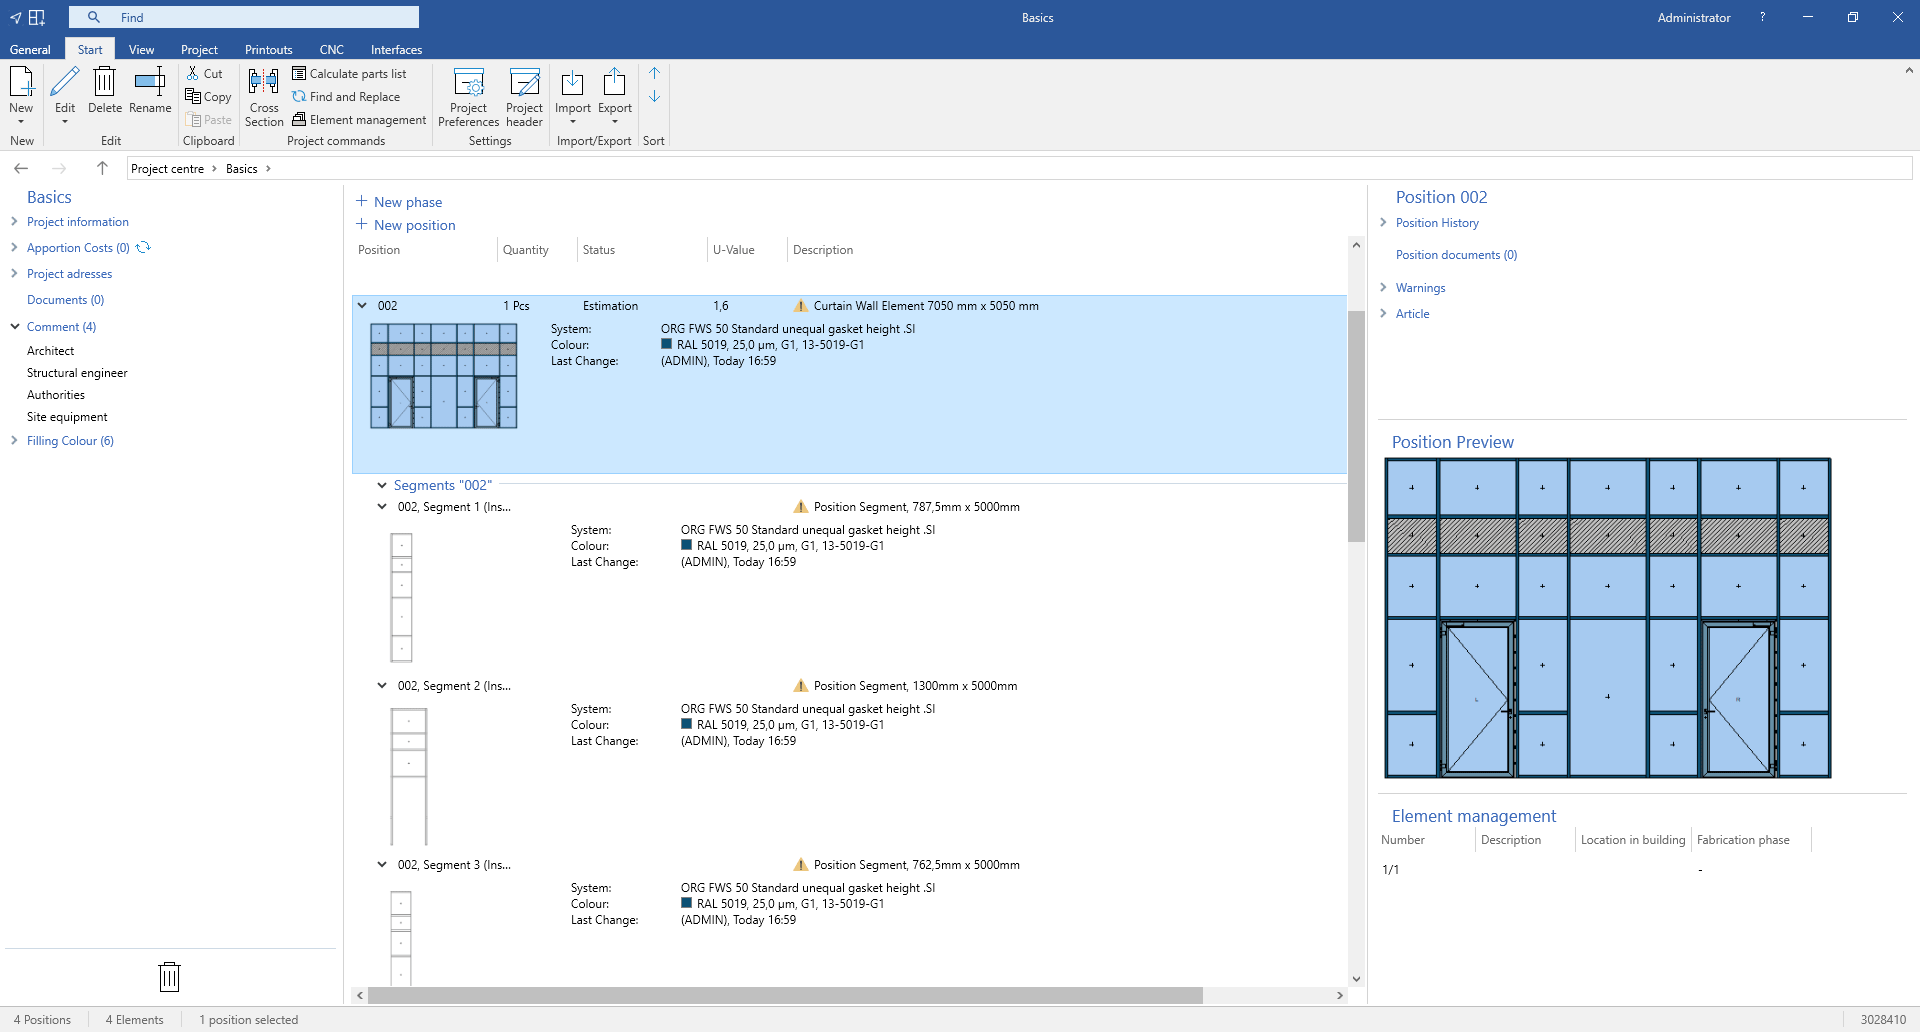
Display segments in the project environment
Position segments can be displayed in the project environment.
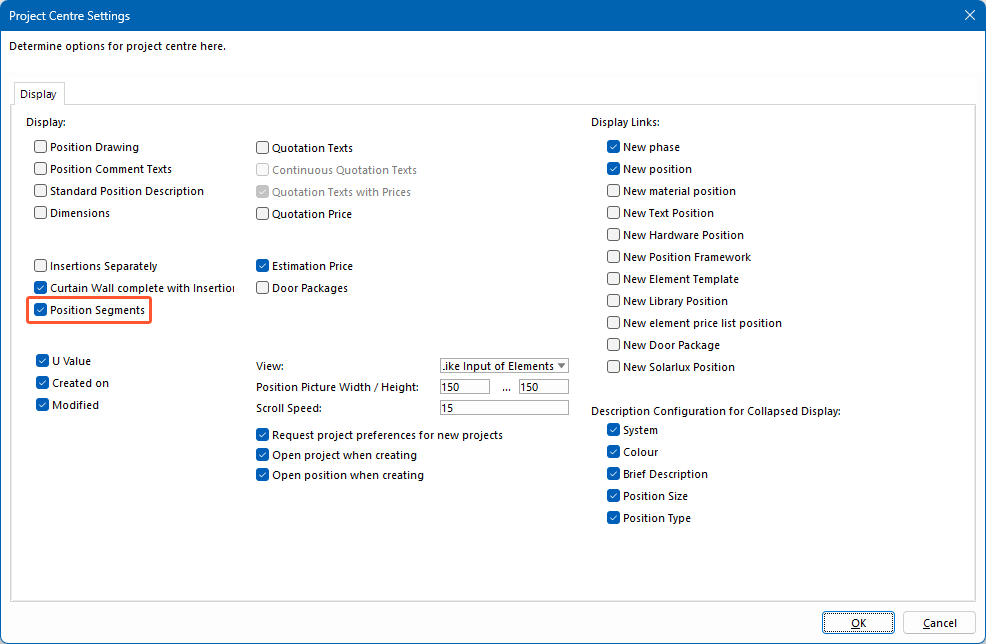
- On the home screen, click "Settings" > "Project centre".
- On the "Display" tab, select the "Position segments" option and click "OK":
- The segments are displayed below the main element in the project environment:


 Deutsch
 English (UK)
 Français