Complete elements from different suppliers and different systems can be combined in one position framework. The framework is generated as a line-based model. The individual elements are integrated in this line-based model and coupled with each other. This allows to create complete element curtain walls as well as, for example, combine lift and slide doors or fire protection systems with elements from a window system in one position.
Create a new position framework
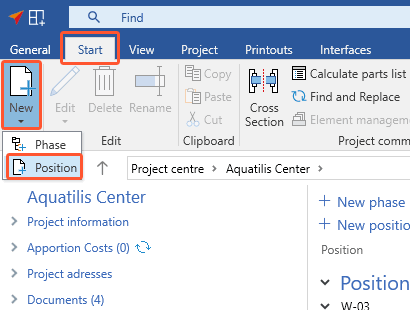
- In the "Start" tab, click "New" and select "Position":
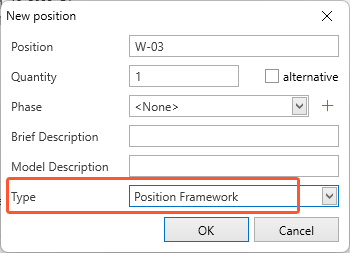
- In the following window, enter the data for the new position.
- Under "Type", select "Position framework" and click "OK":
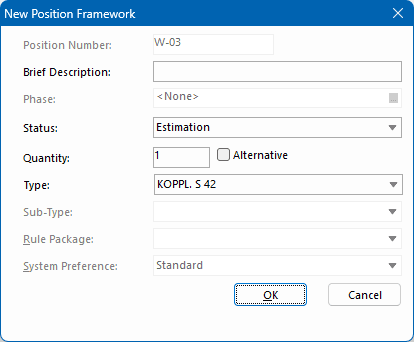
- In the following window, enter the data for the position framework and click "OK":
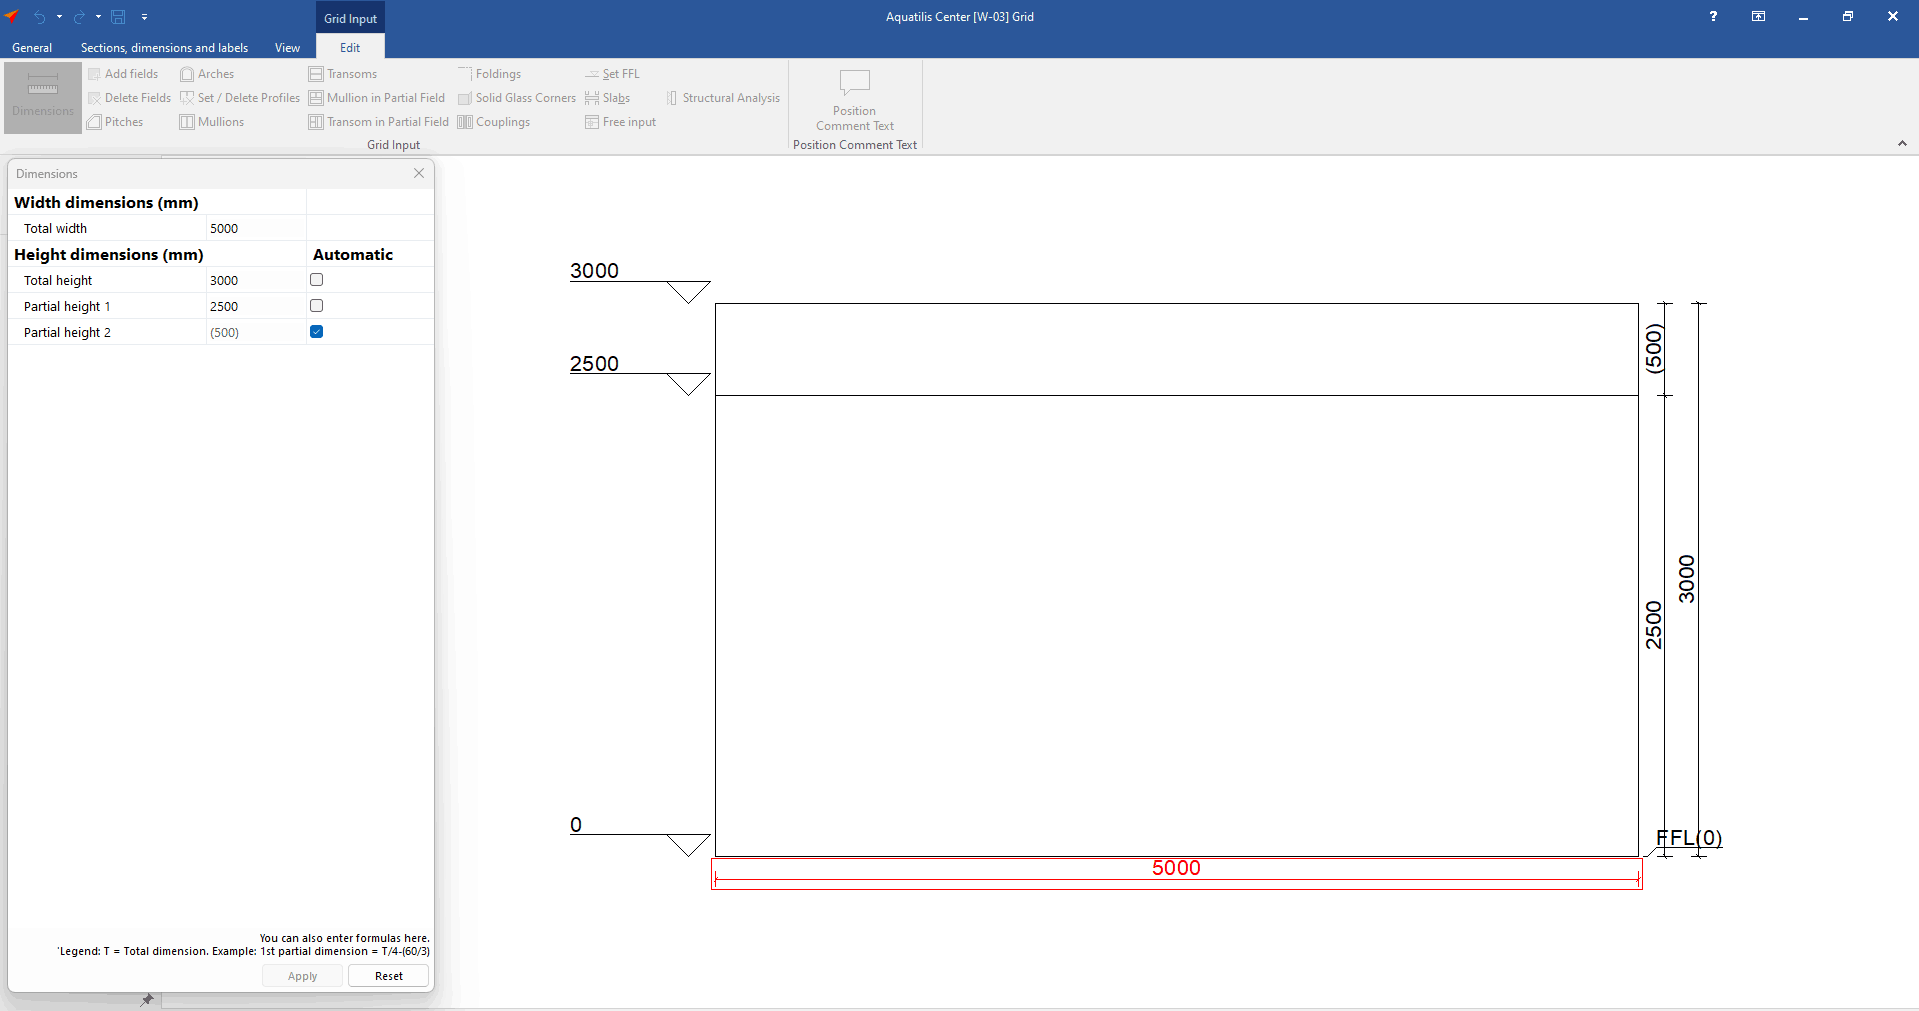
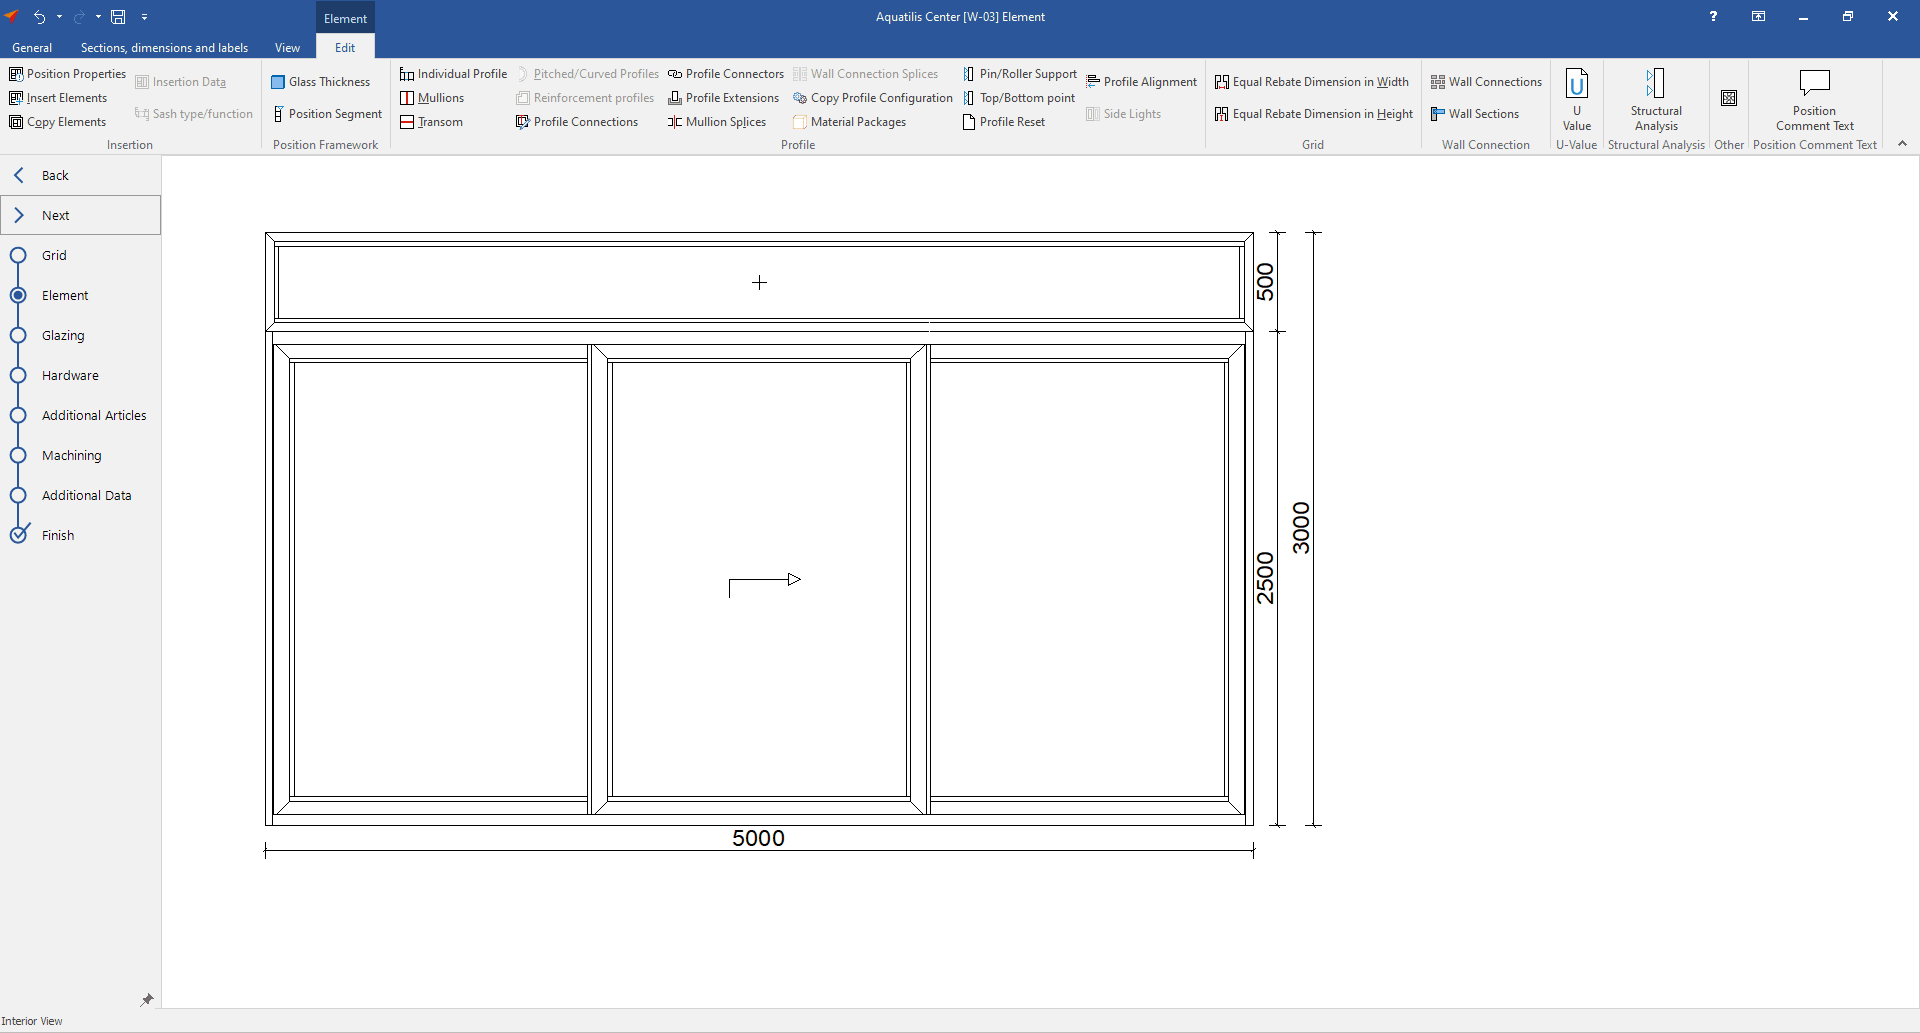
- In the grid input, specify the basic structure and dimensions for the position framework:
- In the "Element" area, click "Insert Element" to insert separate positions into the line model:

- There are several ways to do this:
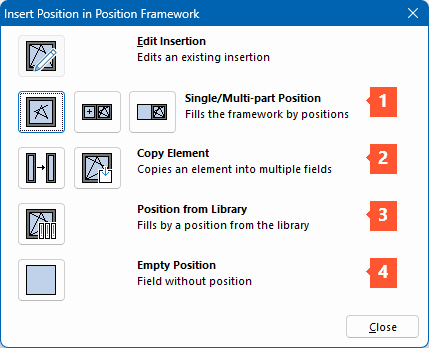
1 Single/multi-part position
-
- Click the icon for

Single-part position 
Multi-part position 
Floating window
- Click the icon for
-
- In the position framework, select the field where you want to insert the position.
- Create the position. You will automatically return to the framework and the position will be inserted into the selected field:
2 Copy element
-
- Click "Copy element".
- Select the element you want to copy.
- Click "Apply".
- Click the field where you want to insert the element.
- Confirm with "OK".
3 Position from library
-
- Click "Position from library".
- Select a position from the library.
- Confirm with "OK".
4 Empty position
-
- Click "Empty position".
When you have filled all the fields in the position framework, click "Next" in the upper left corner. The following steps are identical to those of the "Input of elements".


 Deutsch
 English (UK)
 Français
 Italiano
 Čeština
 Ελληνικά