In the glazing bar window, you can position lay bars.
- Open a position.
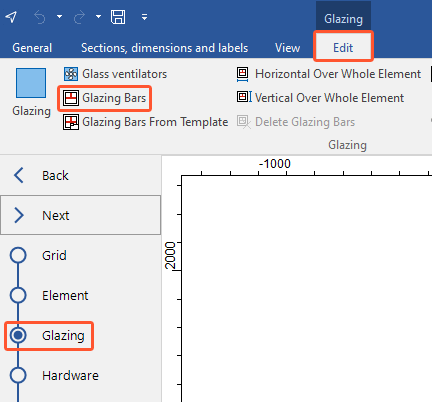
- Click the "Glazing" section.
- Select a field in the position drawing.
- On the "Edit" tab, click "Glazing bars":
- The glazing bar window opens:
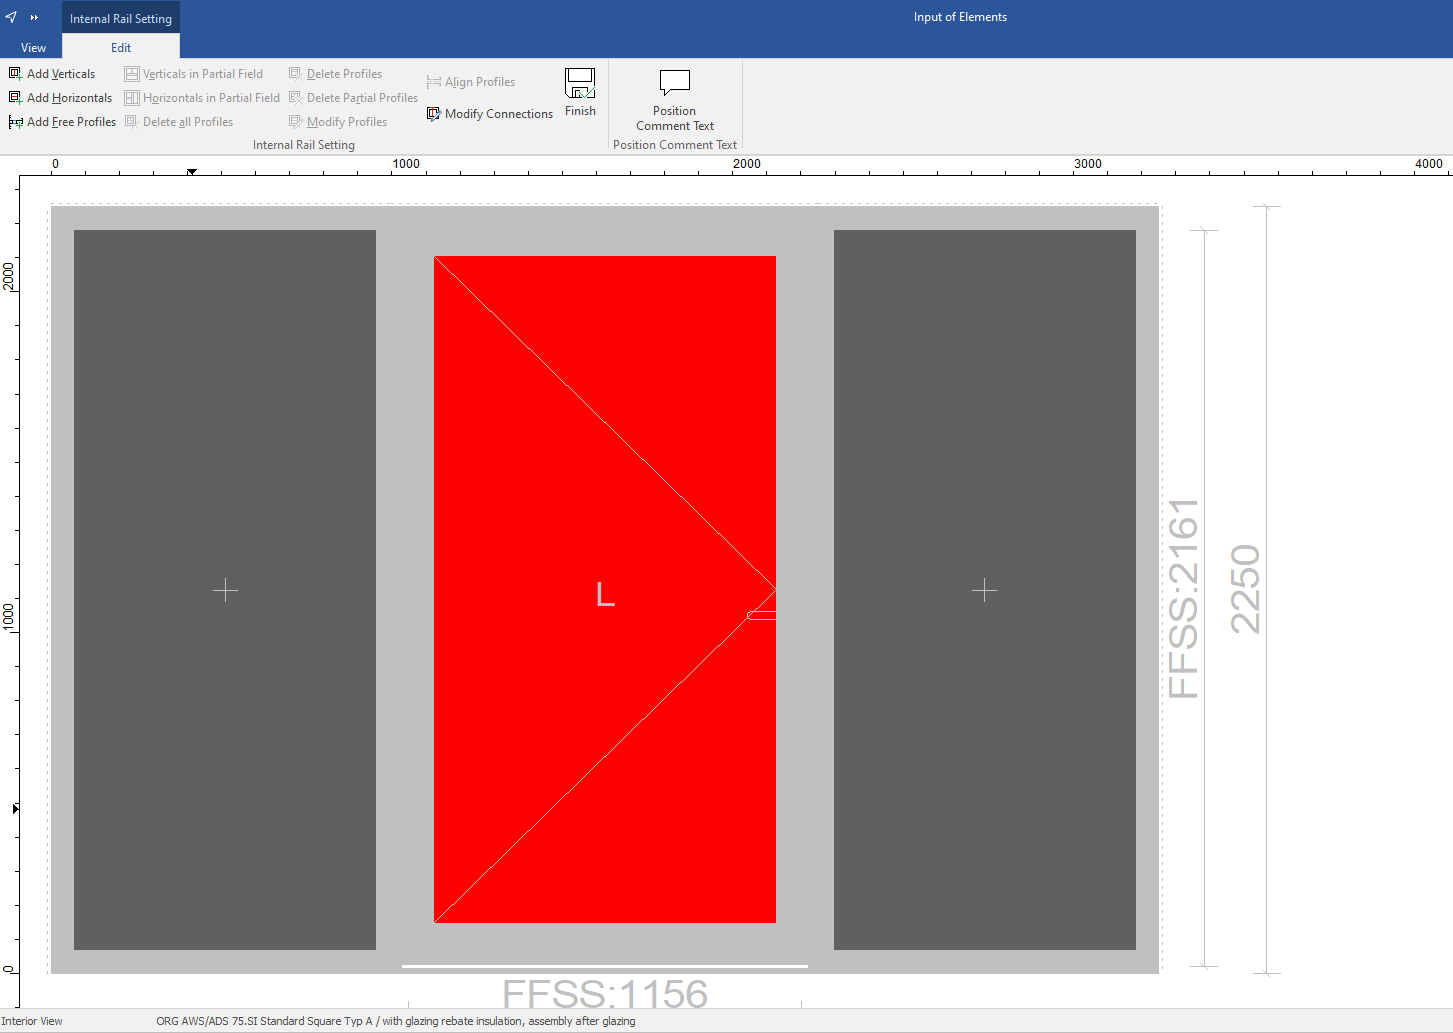
- The function corresponds to the internal rail setting in the "Element" section.
Glazing bars from template
- Click the "Glazing" section.
- Select a field in the position drawing.
- On the "Edit" tab, click "Glazing bars from template":
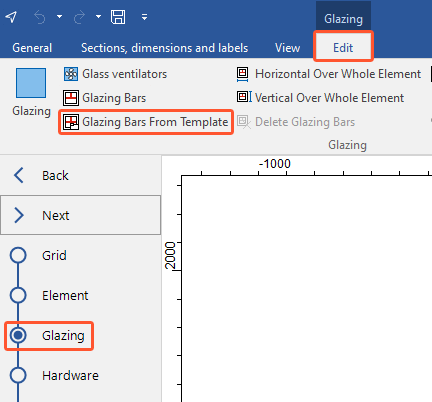
- The function corresponds to "Glazing bars from template".
Horizontal/Vertical over whole element
Lay bars can be positioned over the whole element.
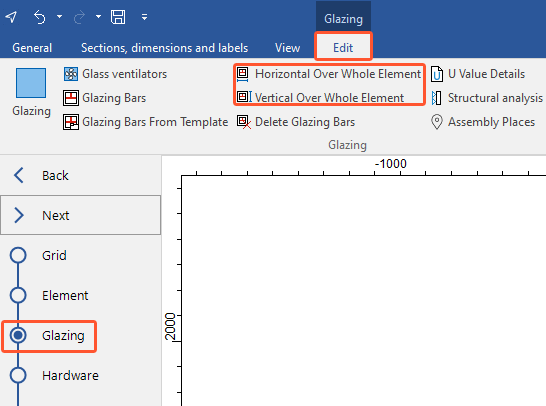
- Click the "Glazing" section.
- Select a field in the position drawing.
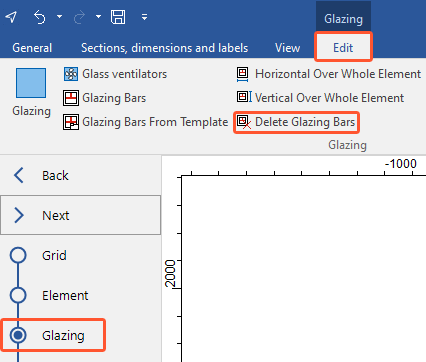
- On the "Edit" tab, click "Horizontal over whole element" / "Vertical over whole element":
- In the next window, enter the number of horizontals/verticals:
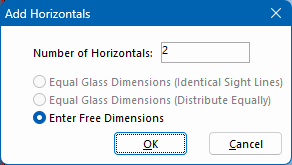
- Select "Enter free dimensions" and click "OK".
- In the next window, define the dimension reference:

- Under "Dimension", enter the positioning of the glazing bars.
- Under "Profiles", select the lay bars.
- Enable the "String dimension" option to automatically set the last dimension endpoint as the dimension start point of the next dimension line.
- Click "OK".
Deleting glazing bars
- In the "Glazing" section, on the "Edit" tab, click "Delete glazing bars" to remove all glazing bars:
See also:


 Deutsch
 English (UK)
 Français