Create a hardware configuration
Create hardware configurations in the "Hardware" section of the input of elements.
- Create a position.
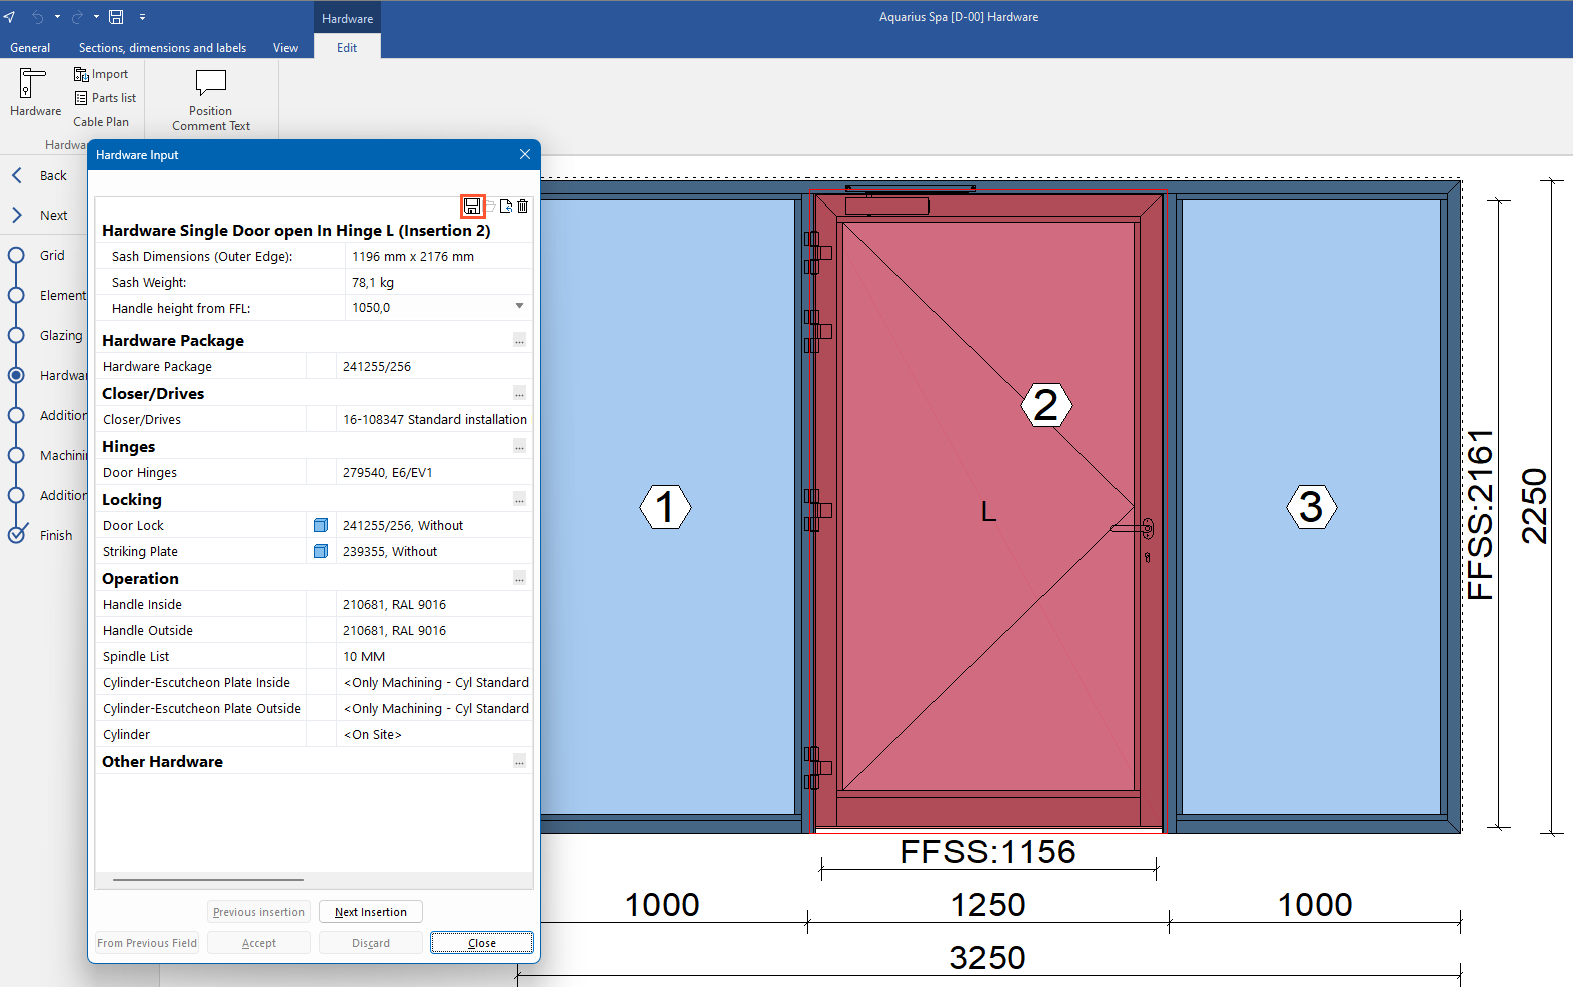
- In the input of elements, use the hardware wizard to combine the single hardware parts.
- Click on the floppy disk icon to save the hardware configuration:
- Under "Configuration name", enter the name for the hardware configuration:
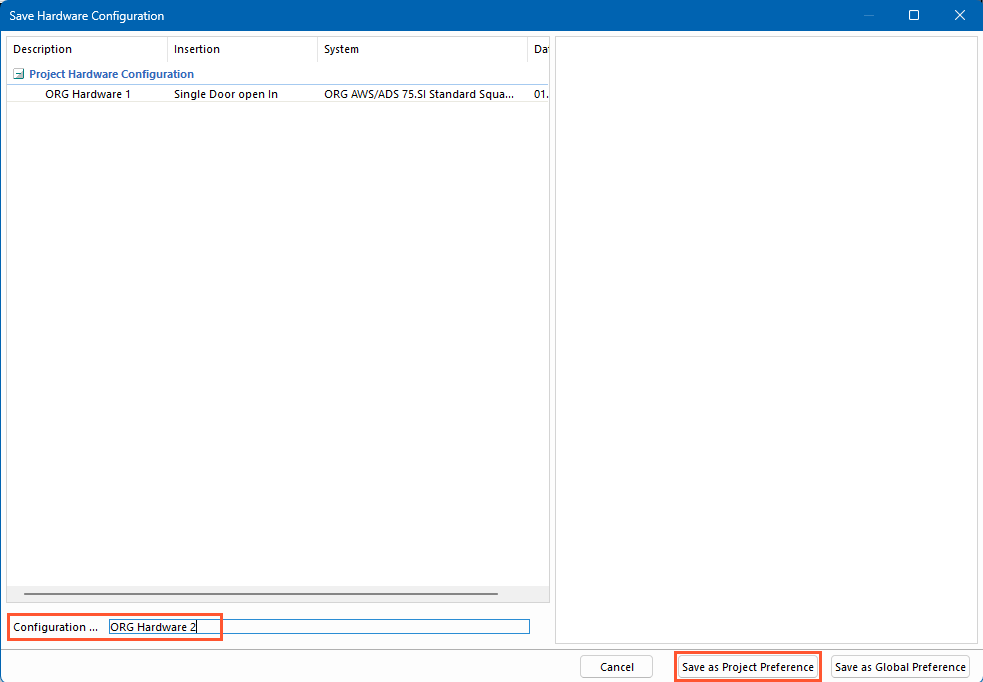
- Click "Save as project preference".
- Finish the position in the input of elements.
Manage hardware configurations
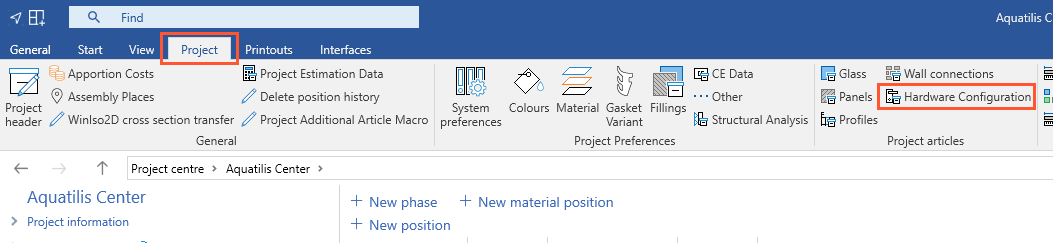
- Open the project environment.
- Select the "Project" tab and click "Hardware configuration":
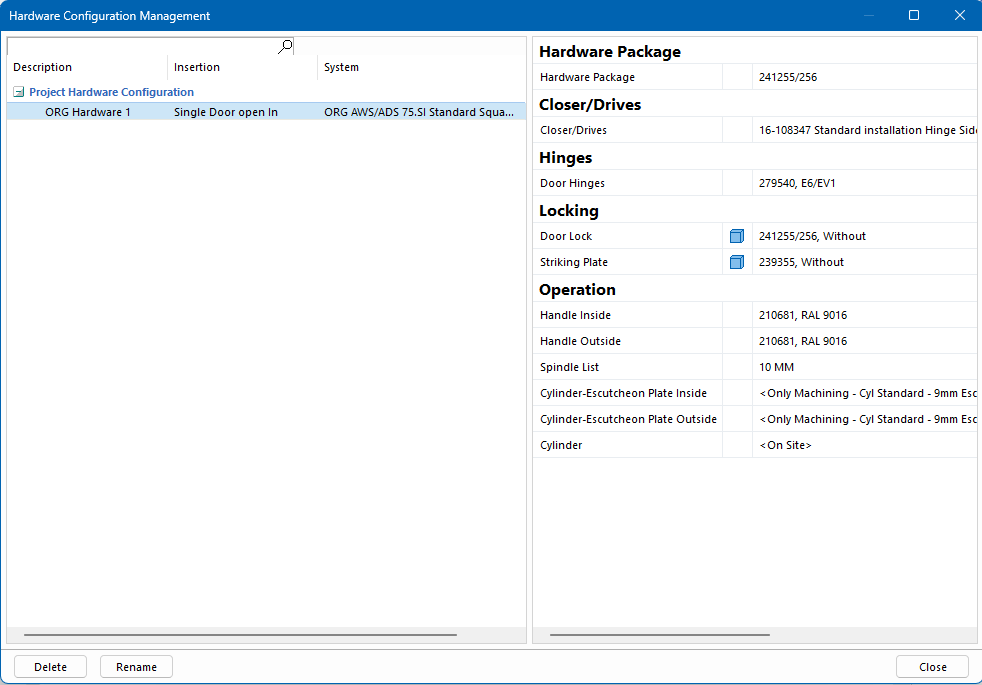
- The overview of your hardware configurations opens:
Use hardware configurations
- Create a position.
- Open the "Hardware" section of the input of elements.
- In the hardware wizard, select your hardware configuration from the list on the left:
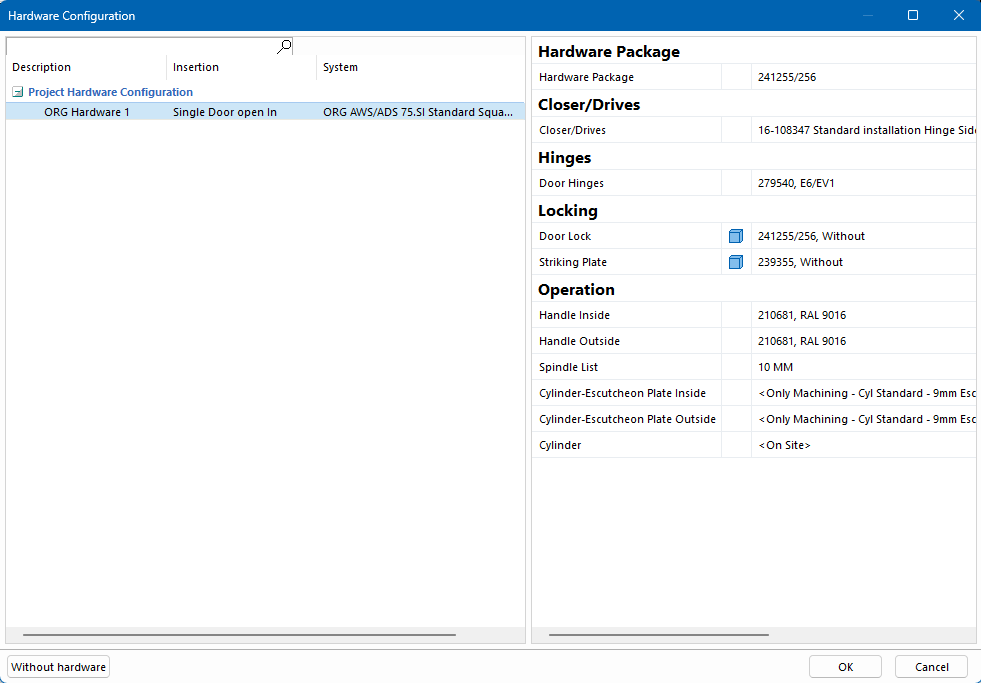
- On the right-hand side, you can see the hardware that is included in the hardware configuration.
- Click "OK" to apply all hardware from the selected configuration to the position.


 Deutsch
 English (UK)
 Français
 Italiano
 Ελληνικά