In the project environment, you can create separate hardware positions.
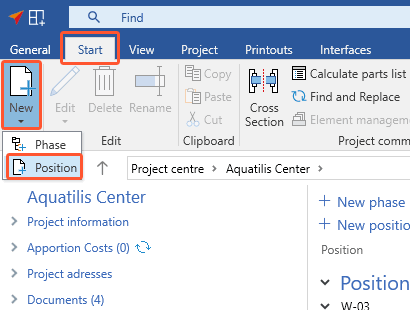
- In the "Start" tab, click "New" and select "Position":
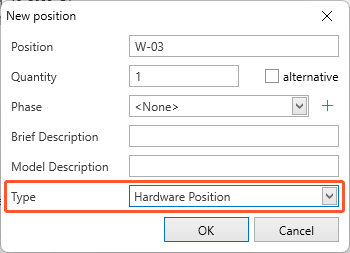
- In the following window, enter the data for the new position.
- Under "Type", select "Hardware position" and click "OK":
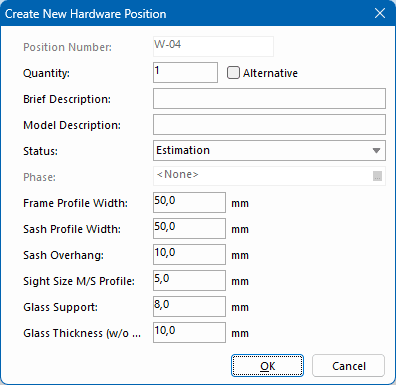
- Enter the data for the hardware position and click "OK":
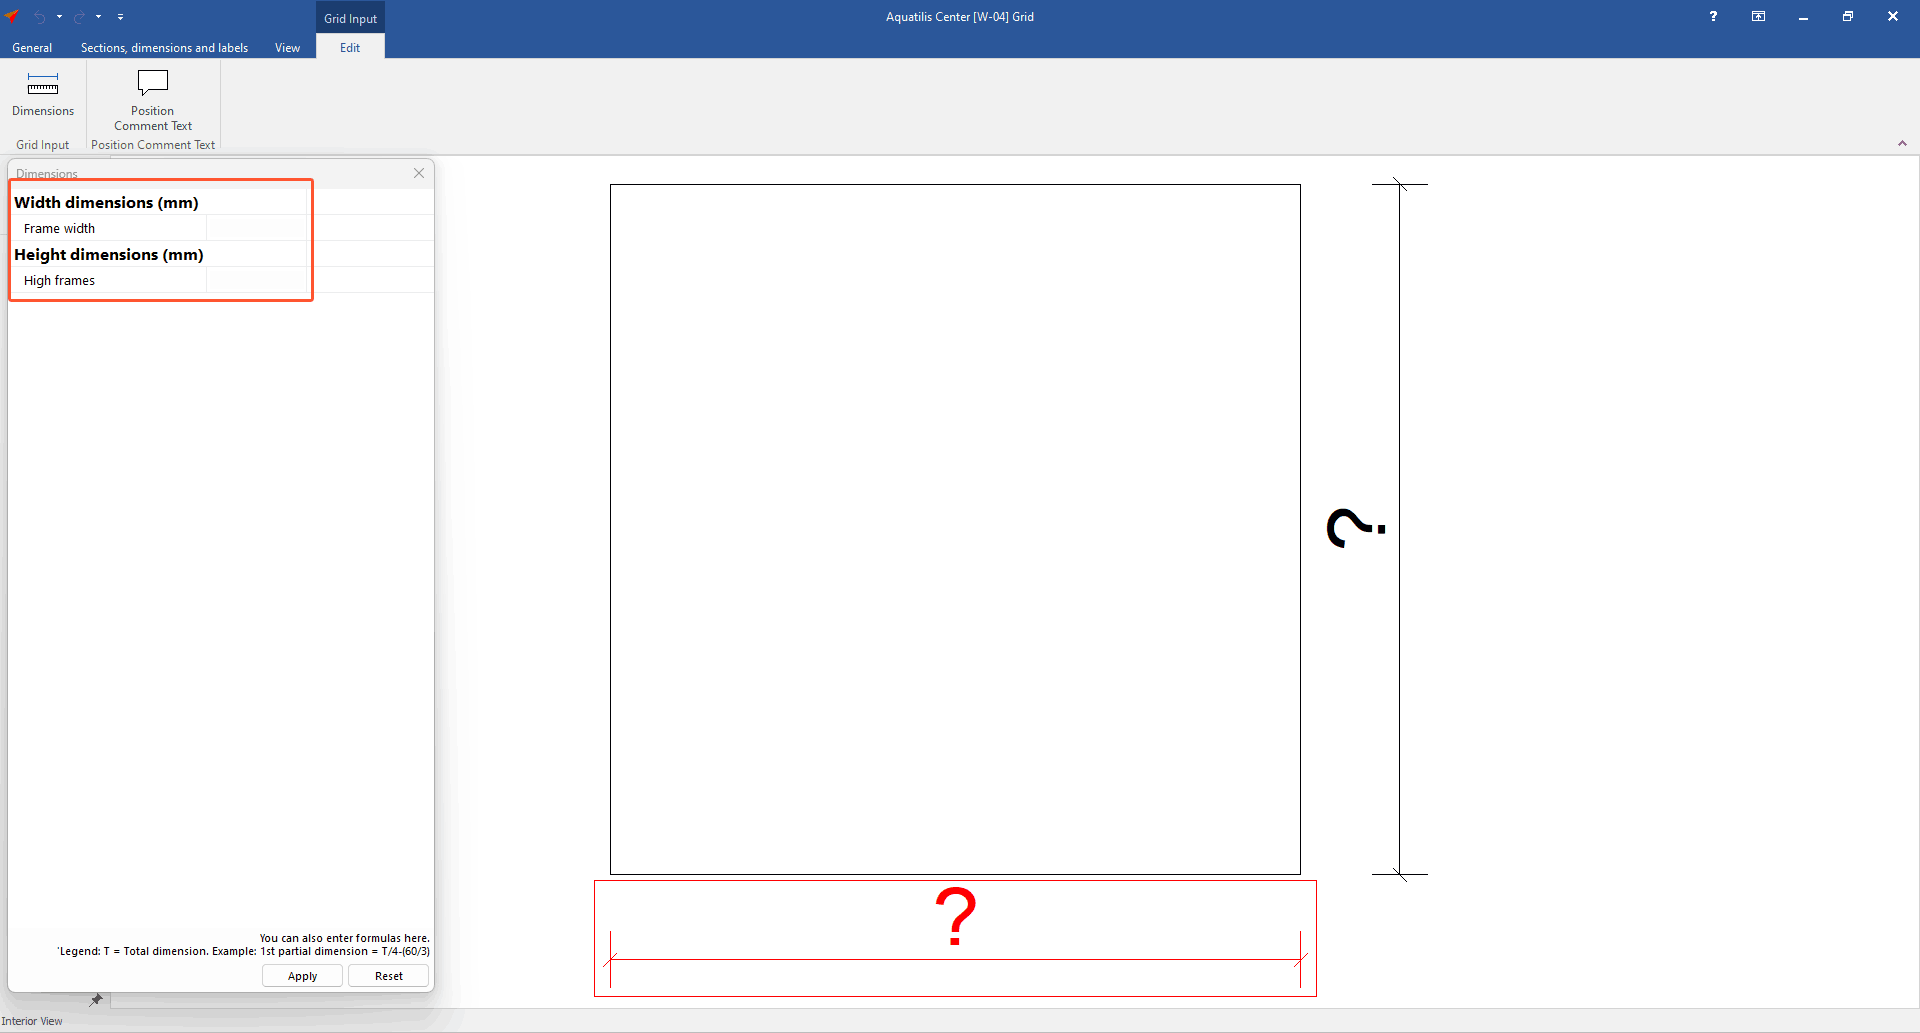
- Enter the height and width of the element:
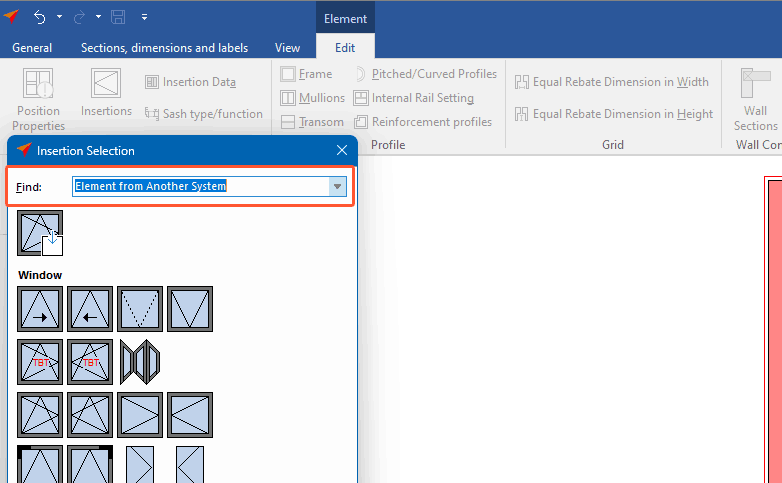
- Click on the search box in the upper left corner and select "Element from another system":
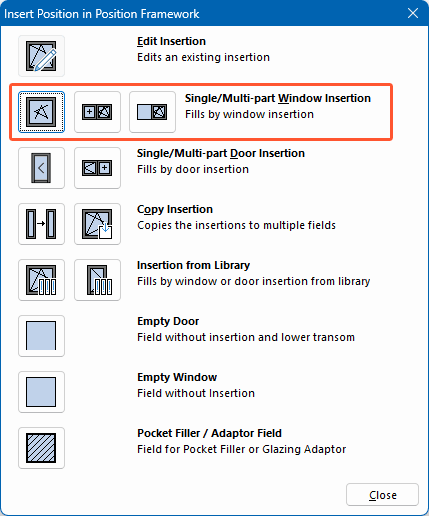
- For window hardware, select "Single/multi-part window insertion":
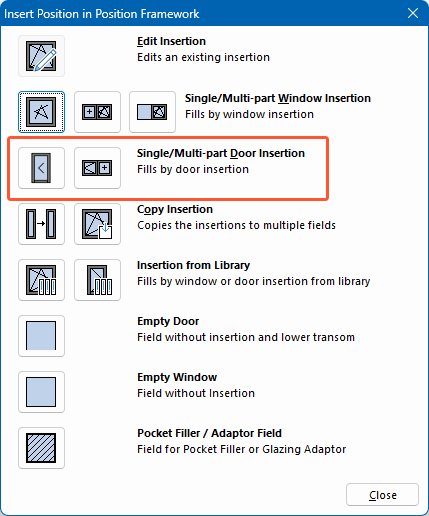
- For door hardware, select "Single/multi-part door insertion":
- The following steps are similar to those of the input of elements. Follow the program flow and complete the input.
- The hardware position is displayed in the position list in the project environment.
Note:
The data entered here will be applied to the estimation and will be listed as a separate position on the printouts.


 Deutsch
 English (UK)
 Español
 Français
 Italiano
 Čeština
 Ελληνικά