- Select the "Project" tab and click "Panels":
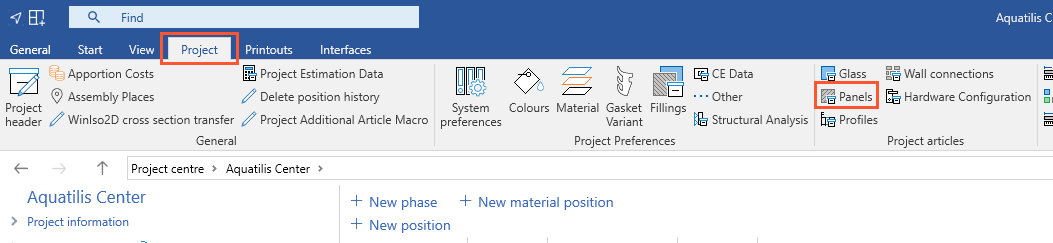
- A new window opens.
Add project panels
- Click "Add":

- Enter the panel data in the input fields on the right-hand side. The input fields are described later in this article.
- When you have entered all data, click "Save" and "Close".
General
On the "General" tab, specify the basic panel data:
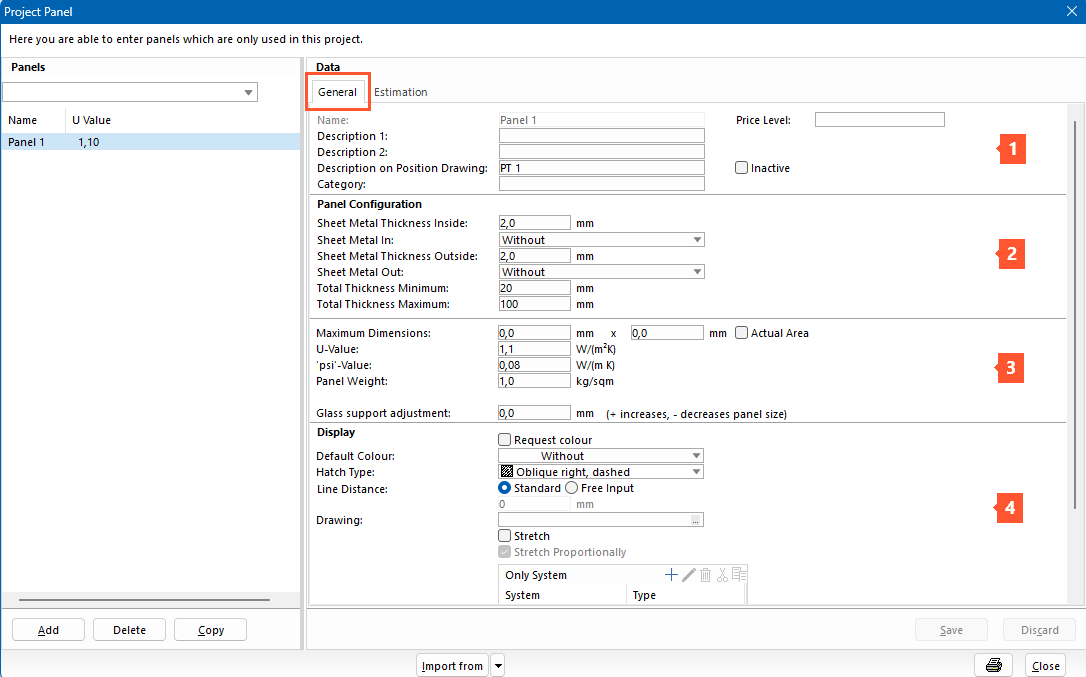
1 In this area, enter the data that defines how the panel is displayed in the program. The data marked with * is also displayed on the printouts:
- Name*
- Description 1*
- Description 2*
- Description on position drawing*
- Category (can be used as a filter in the input of elements)
- Price level
If you do not want the panel to be available for selection in the program, select the "Inactive" option.
2 In this area, enter the data for the panel configuration:
- Sheet metal thickness inside
- Sheet metal in
- Sheet metal thickness outside
- Sheet metal out
- Total thickness minimum
- Total thickness maximum
3 In this area, enter the thermal panel data:
- Maximum dimensions:
If the panel exceeds the dimensions entered here in the input of elements, a message appears indicating that a larger panel must be selected. - U-value
- Psi-value (Ψ)
- Panel weight
- Glass support adjustment:
Under "Glass support adjustment" you can enter an individual value for a glass support:- With a positive value, you increase the panel size.
- With a negative value, you decrease the panel size.
Attention!
When using user-defined glass supports, the glass support values specified by the supplier will be ignored. The resulting panel sizes then no longer correspond to the required values of the profile supplier! Check the construction feasibility of the adjusted panel size!
4 In this area, enter the data that is important for the graphical representation of the panel in the position drawing:
- Select "Request colour" if you want to choose the colour in the input of elements when selecting a panel.
- Under "Default colour", select the colour for the graphical representation of the panel in the position drawing.
- Under "Hatch type" define which pattern a panel should be displayed with.
- Under "Line distance", select the default line distance of the hatch lines, or select "Free input" to enter the required line distance of the hatch lines in the box below.
- Under "Drawing" you can upload your own graphic for the representation of panels. Below that, you can define whether the graphic should be proportional or stretched over the entire surface.
- Only system:
Click the + icon, press the "Insert" key on your keyboard or right-click in the empty field and select "New" from the context menu to define for which system the panel will be available in the input of elements.
Attention!
When assigning systems, the panel is no longer checked for compatibility with the rule package. Check the construction feasibility of the panel size!
Estimation
On the "Estimation" tab, enter the estimation data for the panel:
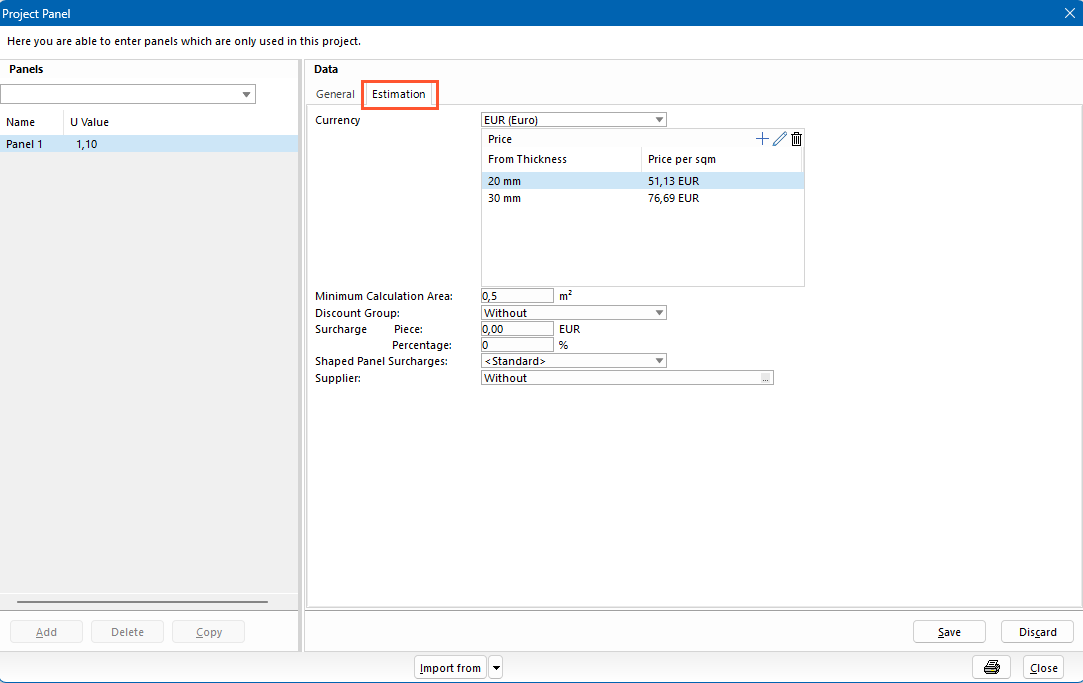
- Select the currency.
- Click the + icon in the "Price" section, press the "Insert" key on your keyboard or right-click in the empty field and select "New" from the context menu to set the prices per square meter in the following window.
- Enter the minimum calculation area.
- Select a discount group.
- Enter the surcharge per piece or in percentage.
- Under "Supplier," select the supplier's address.
Read "Estimation" for further details.
Copy project panels
- Click "Copy":
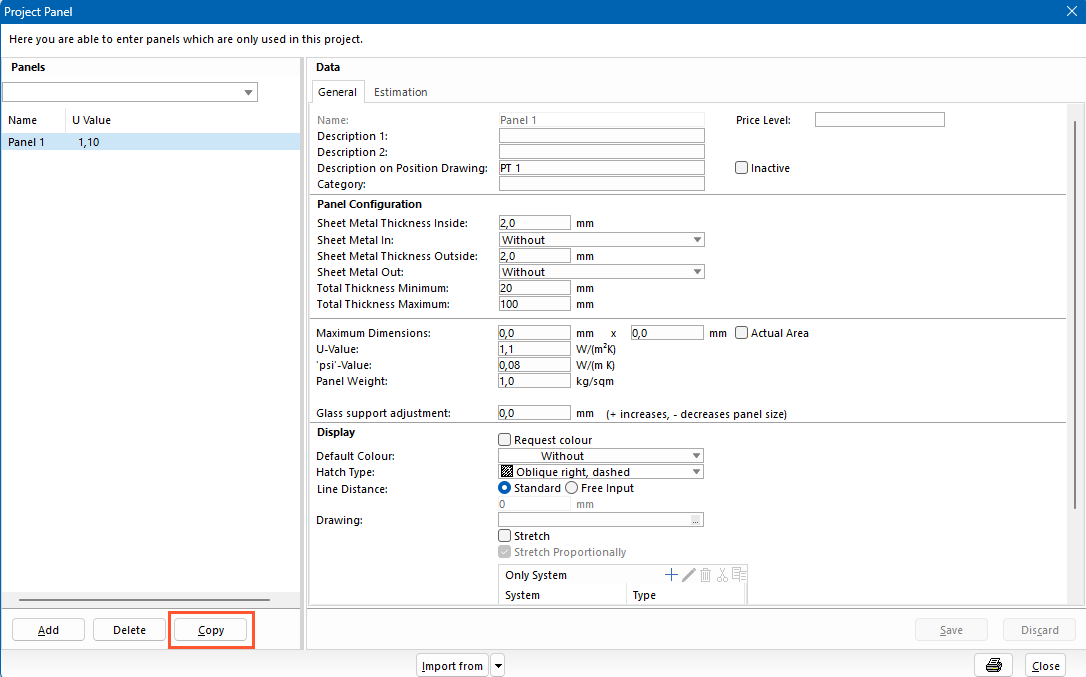
- On the right, enter the new name and the glass data.
- Click "Save".
Delete project panels
- Select a panel from the list on the left.
- Click "Delete".
Note:
If the project panel is already used as preference or in a position, a message appears. The deletion process is cancelled.
Multiple selection via the context menu
With the multiple selection, you can change certain properties of different panels at the same time.
- Hold down the CTRL key and select the panels.
- Right-click in the highlighted area. The context menu opens.
The commands in the context menu relate to those of the project glass:
Import panels
You can import panels from different sources. The import relates to the import of project glass:


 Deutsch
 English (UK)
 Français
 Italiano
 Ελληνικά