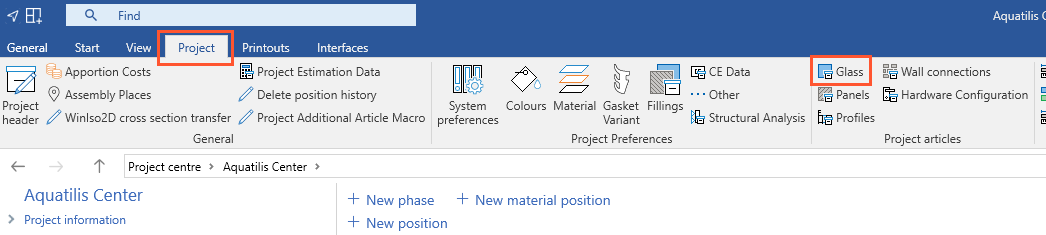
- Select the "Project" tab and click "Glass":
Add project glass
- Click "Add":
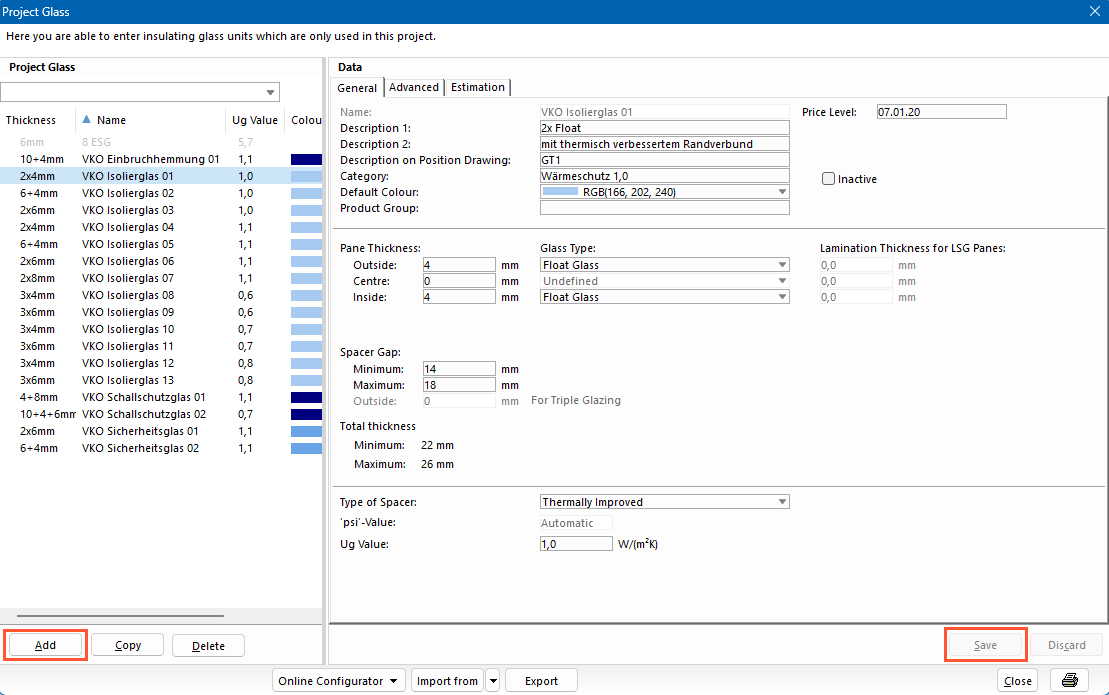
- Enter the glass data in the input fields on the right-hand side. The input fields are described later in this article.
- When you have entered all data, click "Save" and "Close".
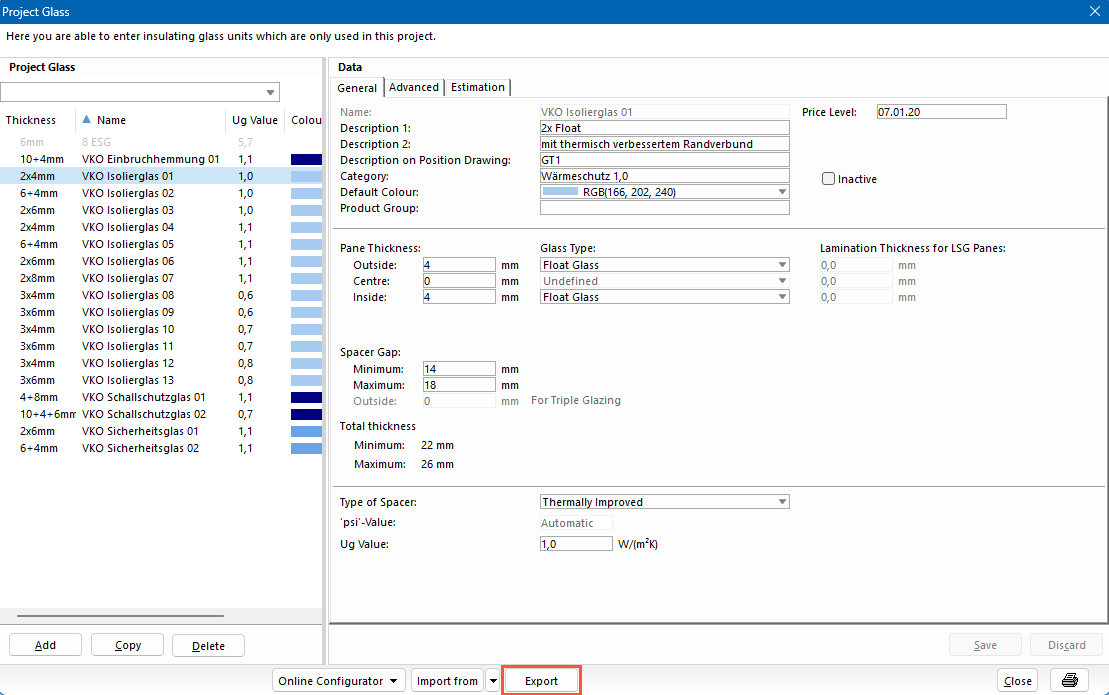
General data
On the "General" tab, specify the basic glass data:
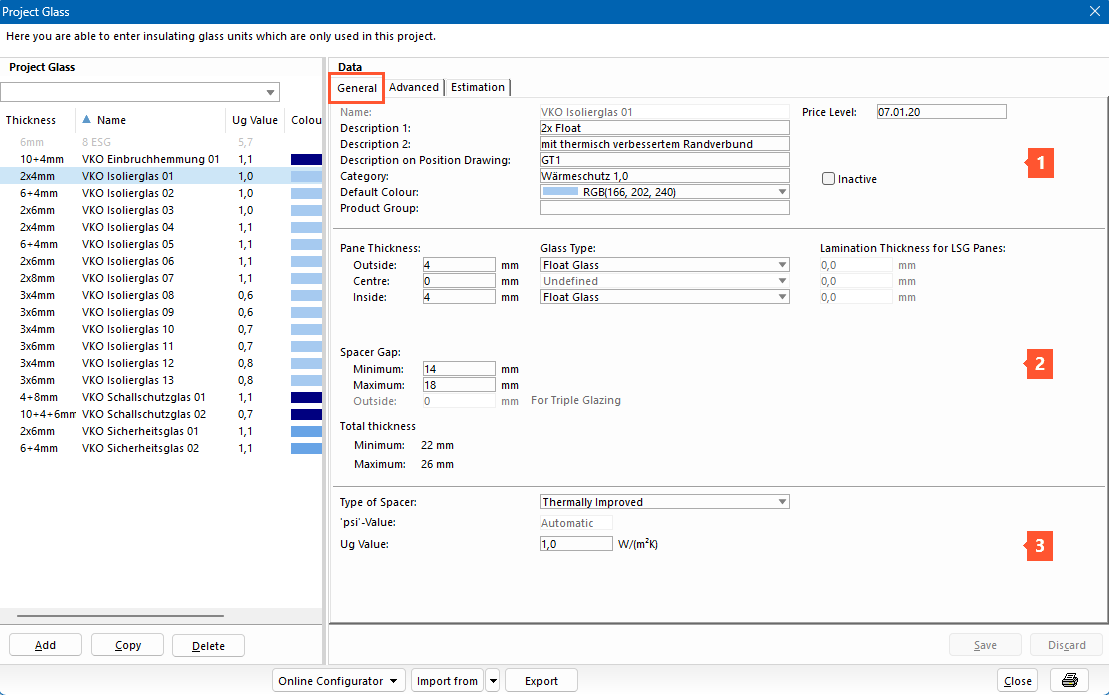
1 In this area, enter the data that defines how the glass is displayed in the program. The data marked with * is also displayed on the printouts:
- Name*
- Description 1*
- Description 2*
- Description on position drawing*
- Category (can be used as a filter in the input of elements)
- Default colour
- Price level
- Product group (relevant for online configurators only)
If you do not want the glass to be available for selection in the program, select the "Inactive" option.
2 In this area, enter the data for the glass structure:
- Pane thickness
- Glass type:
- Float glass
- Cast glass
- LSG made of TSG (2-sheet)
- TSG
- TSG made of cast glass
- Enamelled TSG
- LSG made of enamelled TSG (2-sheet)
- LSG made of cast glass (2-sheet)
- LSG made of float glass (2-sheet)
- STG
- LSG made of STG
- Enamelled STG
- ESG-HF
Note:
This list cannot be extended by further entries.
- Lamination thickness for LSG panes (required for ordering glazing beads and gaskets):
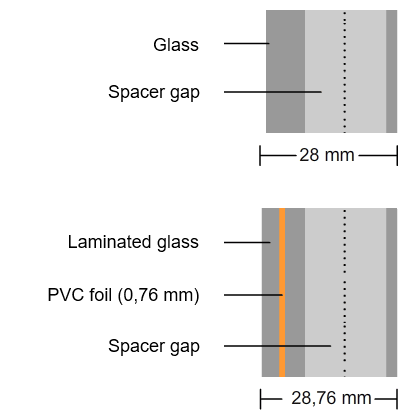
- Spacer gap
Under "Total thickness", the minimum and maximum total thickness is automatically calculated.
3 In this area, enter the thermal glass data:
- Type of spacer
Currently available:- Aluminum/ Steel
- Thermally improved
- Free value
- Allmetall GTS
- Alu-Pro Multitech
- Alu-Pro Multitech G
- Edgetech Super Spacer TriSeaI / T-Spacer Premium
- Edgetech Super Spacer TriSeaI / T-Spacer Premium Plus
- Edgetech Super Spacer T-Spacer SG
- Fenzi Butylver TPS
- GED Intercept Thinplate
- Helima Nirotec 017
- IGK611
- KödiSpace
- Kömmerling KödiSpace 4SG
- Rolltech Chromatech Ultra S
- Rolltech Chromatech
- Rolltech Chromatech Plus
- Rolltech Chromatech Ultra F
- Swisspacer Advance
- Swisspacer Ultimate
- Swisspacer ULTIMATE PRO
- Swisspacer V
- Technoform-Spacer SP12
- Technoform-Spacer SP13
- Technoform-Spacer SP14
- Technoform-Spacer SP16
- Technoform-Spacer SP18
- Thermix TX Pro
- WOLFTECH Low Psi
Note:
This list cannot be extended by further entries.
- Psi-value (Ψ)
- Ug-value
Advanced data
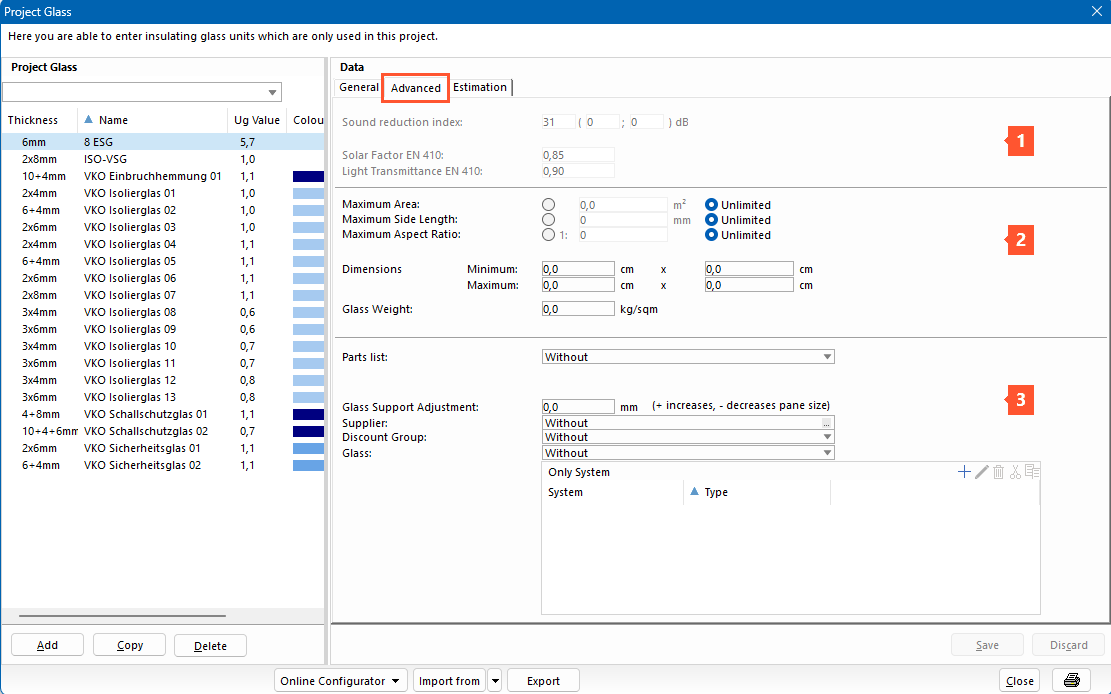
1 In this area, enter the following energy-relevant values for the glass:
- Sound reduction index
- Solar factor
- Light transmittance
2 In this area, define the dimensions and weight of the glass:
- Maximum area
- Maximum side length
- Maximum aspect ratio
- Dimensions
- Glass weight
Note:
Enter the glass weight per m² per glass thickness in mm. The glass weight of the position is calculated based on this value in the input of elements. If no value or a value smaller than 2,5kg/m² is entered here, the glass weight is calculated in the input of elements with 2,5kg/m² per glass thickness (mm).
3 In this area, you determine the glass rule assignment for
- Parts list
- Supplier
- Discount group
- Glass
- Only system:
Click the + icon, press the "Insert" key on your keyboard or right-click in the empty field and select "New" from the context menu to define for which system the glass will be available in the input of elements.
Attention!
When assigning systems, the glass is no longer checked for compatibility with the rule package. Check the construction feasibility of the pane size!
- Under "Glass support adjustment" you can enter an individual value for a glass support:
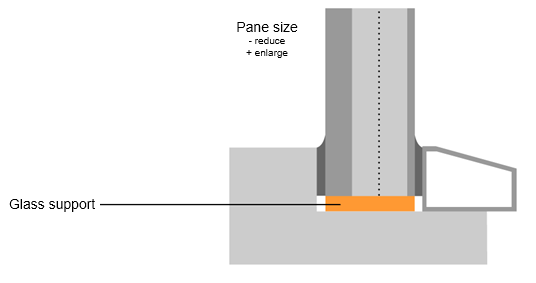
- With a positive value, you increase the pane size.
- With a negative value, you decrease the pane size.
Attention!
When using user-defined glass supports, the glass support values specified by the supplier will be ignored. The resulting pane sizes then no longer correspond to the required values of the profile supplier! Check the construction feasibility of the adjusted pane size!
Estimation
In the "Estimation" tab, enter the estimation data for the glass:
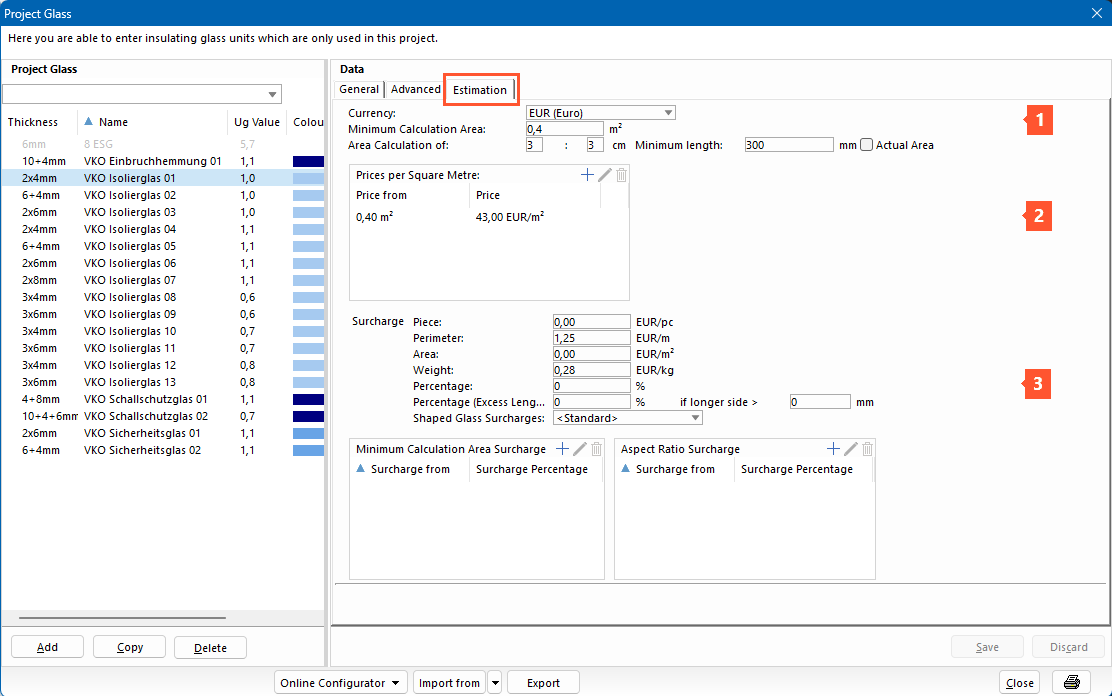
1 In this area, enter the data for the estimation of the glass area:
- Currency
- Minimum calculation area
- Area calculation
Note:
The area calculation is set to 3x3cm by default.
Example of a pane 100cm x 100cm:
Actual glass edge length = 100cm
100 cm / 3 = 33.33cm ≈ 34cm
34 cm x 3 = 102cm
Width x height = 102cm x 102cm = 10.404cm²
Calculation area: 1,040m²
-
- Enter the minimum length.
- Select the option "Actual area" to deactivate the area calculation and use the actual area instead.
2 In this area, you set the prices per square metre.
- Click the + icon, press the "Insert" key on your keyboard or right-click in the empty field and select "New" from the context menu:
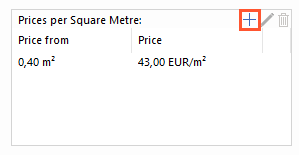
- Enter the prices per square metre:

3 In this area, enter the surcharges. Read "Estimating glass units" for further details.
Note:
Consider the setting "No glass – with GB/Gasket" in the input of elements: The total weight must be determined for the sash weight and the selection of hardware. The following glass thickness limits are fundamental for the estimation:
1 mm – 19 mm: Total thickness x 2,5 kg/m²
20 mm – 25 mm: 8 mm x 2,5Kg/m²
26 mm – 27 mm: 10 mm x 2,5Kg/m²
28 mm – 63 mm: 12 mm x 2,5Kg/m²
Copy project glass
- Click "Copy":
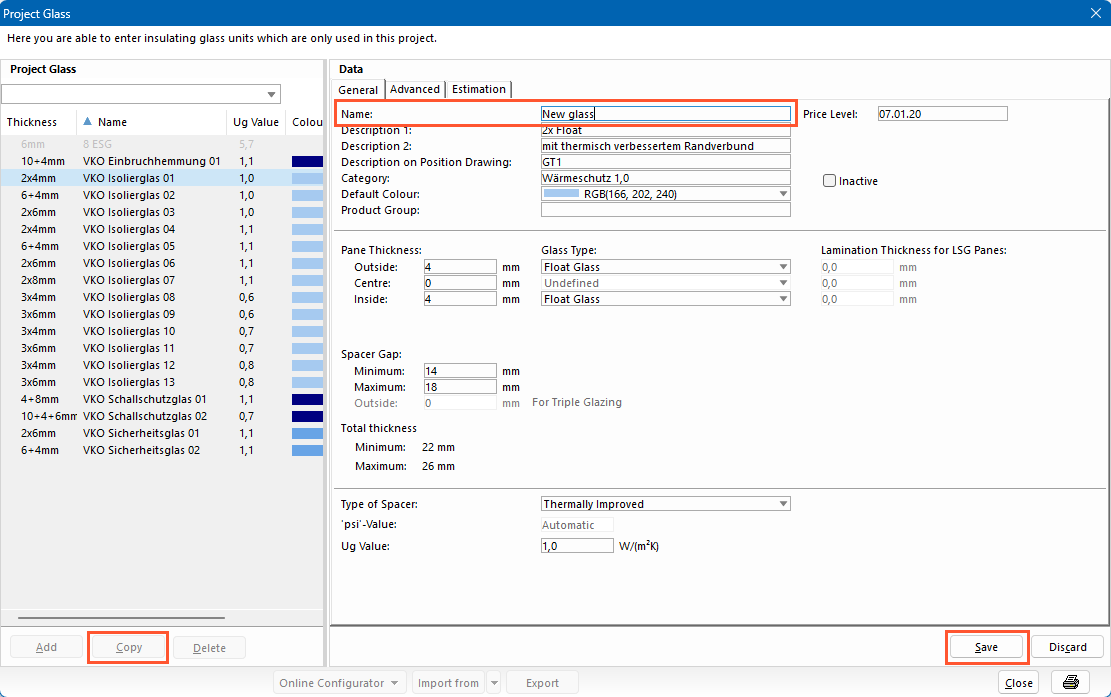
- On the right, enter the new name and the glass data.
- Click "Save".
Delete project glass
- Select a glass from the list on the left.
- Click "Delete".
Note:
If the project glass is already used as preference or in a position, a message appears. The deletion process is cancelled.
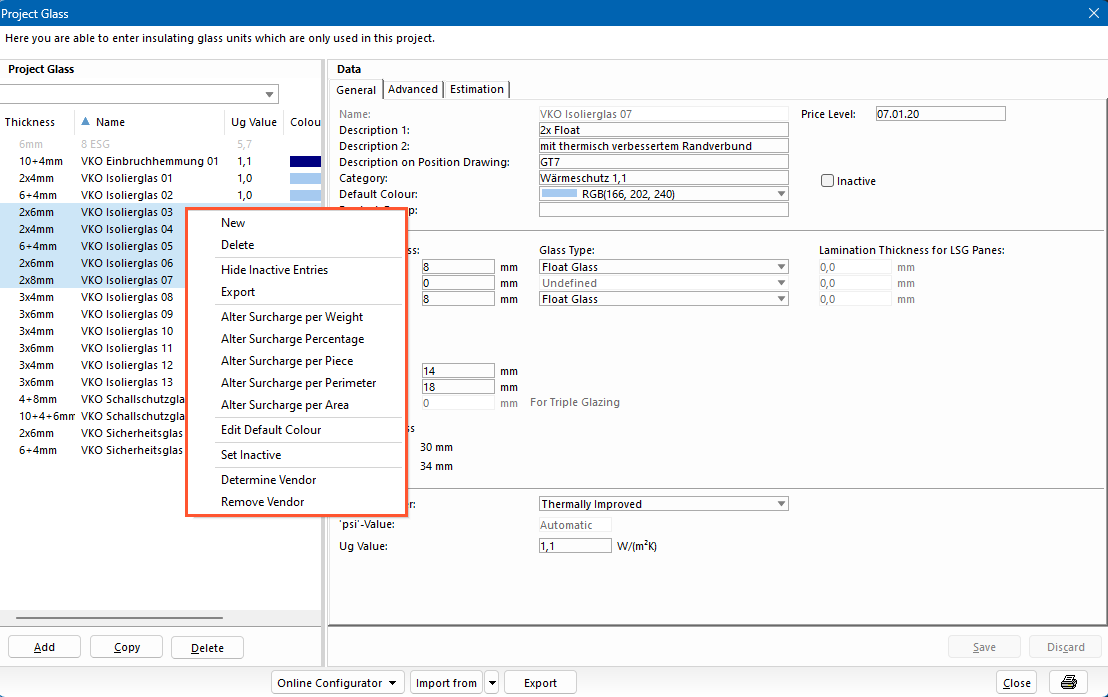
Multiple selection via the context menu
With the multiple selection, you can change certain properties of different glass at the same time.
- Hold down the CTRL key and select the glass.
- Right-click in the highlighted area to open the context menu:
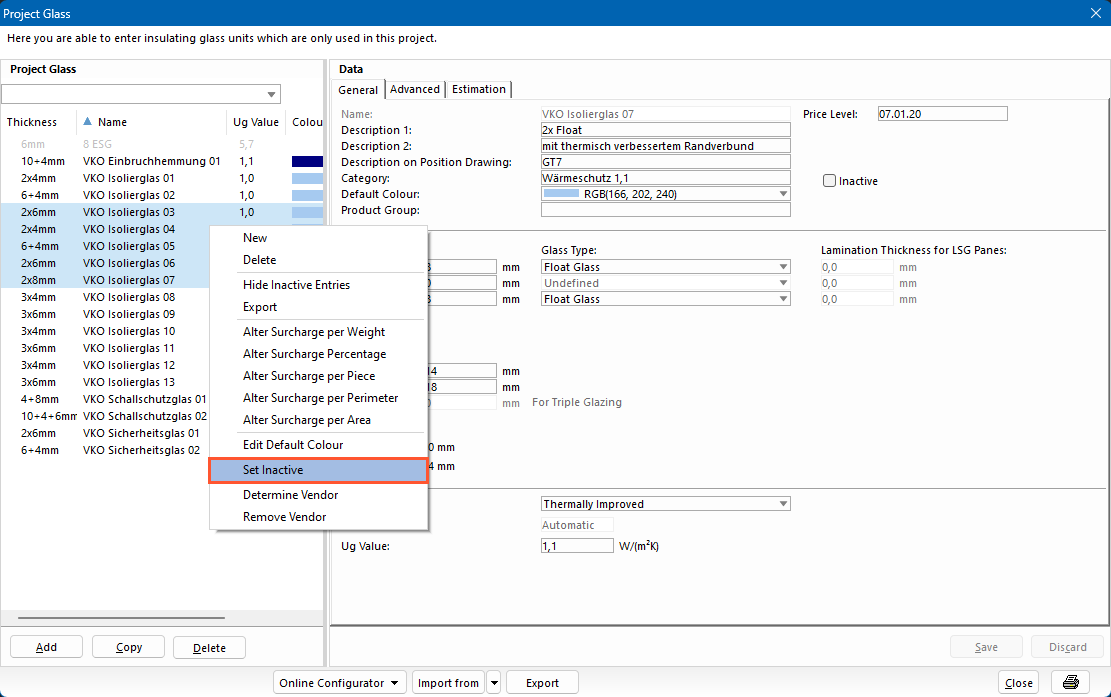
Activate/Deactivate glass
You can activate and deactivate glass: The glass is hidden, but remains in the project structure of your security concept.
- Hold down the CTRL key and select the glass you want to deactivate.
- Right-click on the highlighted area.
- In the context menu, select "Set inactive":
- The entries are greyed out:
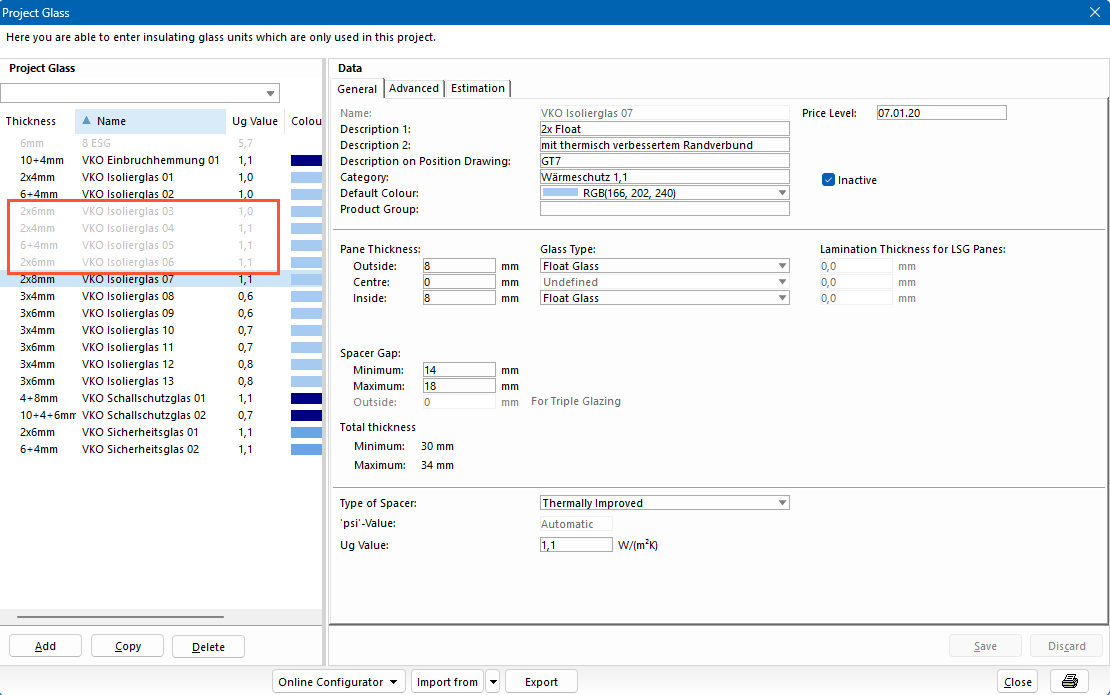
- Right-click in the white area of the project glass list and select "Hide inactive entries" from the context menu to completely hide the inactive glass.
- Right-click in the white area of the project glass list and select "Show inactive entries" from the context menu to display the inactive glass greyed out again.
- To reactivate inactive glass, select the inactive entry and right-click to open the context menu.
- Select "Set active":
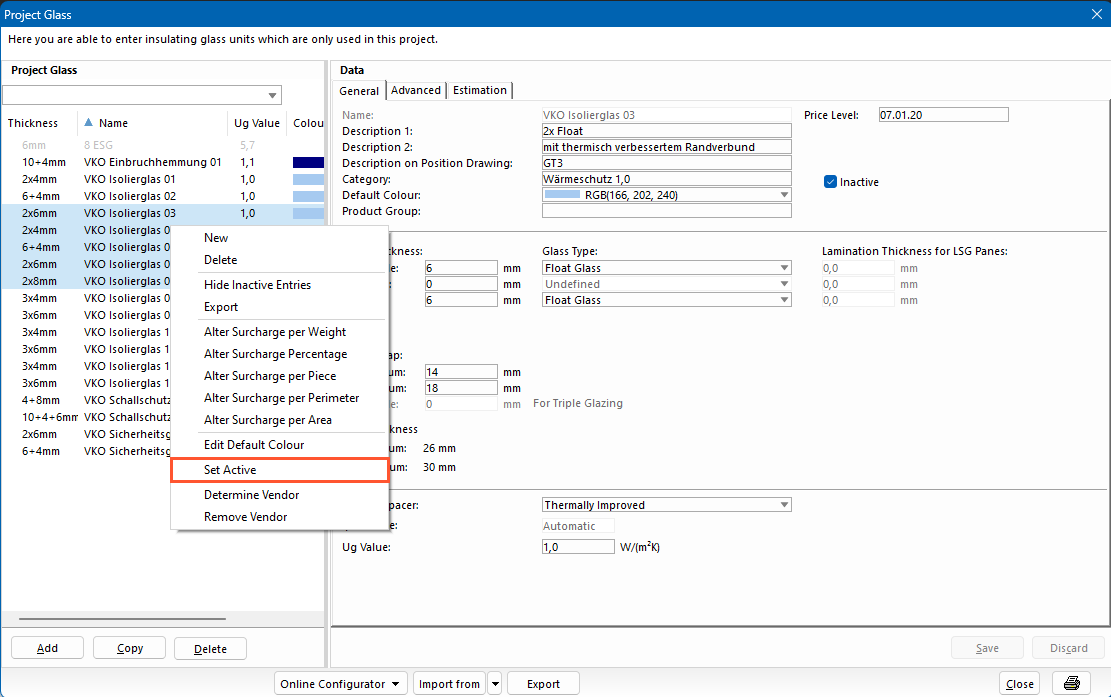
- The entries are listed again like the other glass.
Alter surcharges
- Hold down the CTRL key and select the glass for which you want to change the surcharges.
- Right-click the highlighted area.
- From the context menu, select one of the following options:
- Alter surcharge per weight
- Alter surcharge percentage
- Alter surcharge per piece
- Alter surcharge per perimeter
- Alter surcharge per area

- Select the currency.
- Enter the value for the surcharge.
- Click "OK" to apply the change to the selected glass.
Edit default colour
- Hold down the CTRL key and select the glass for which you want to change the default colour.
- Right-click the highlighted area.
- In the context menu, select "Edit default colour".
- Select the colour for the graphical representation of the glass in the position drawing:
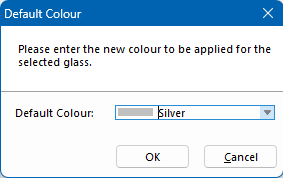
- Click "OK" to apply the change to the selected glass.
Determine vendor
- Hold down the CTRL key and select the glass for which you want to set the vendor.
- Right-click the highlighted area.
- From the context menu, select "Determine vendor".
- In the following window, select the vendor in the address database:
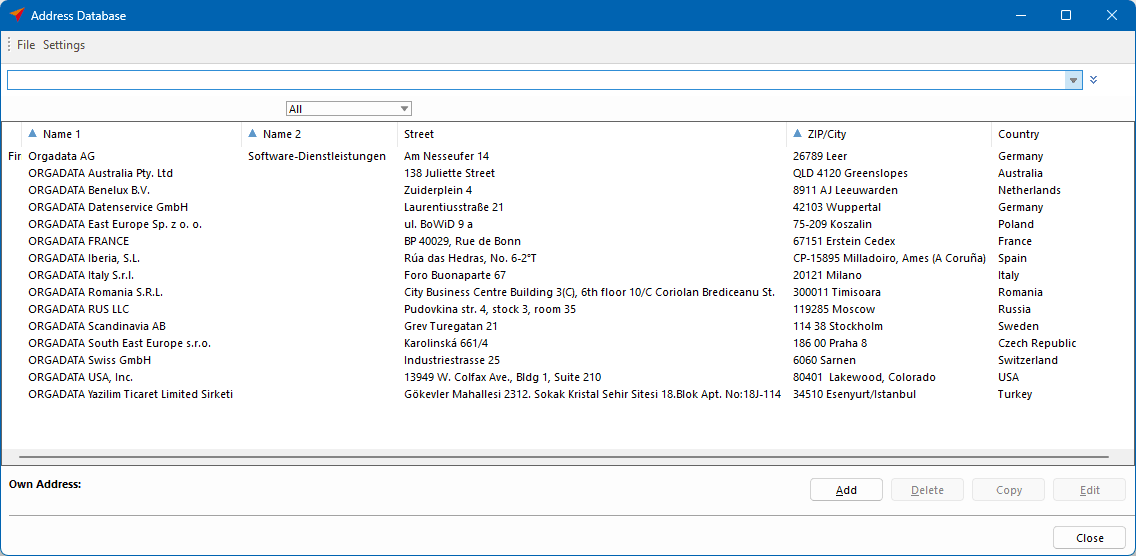
- Click "OK" to apply the change to the selected glass.
Export glass
Export to Excel
You can save all entries from the project glass in an Excel file.
- Click "Export":
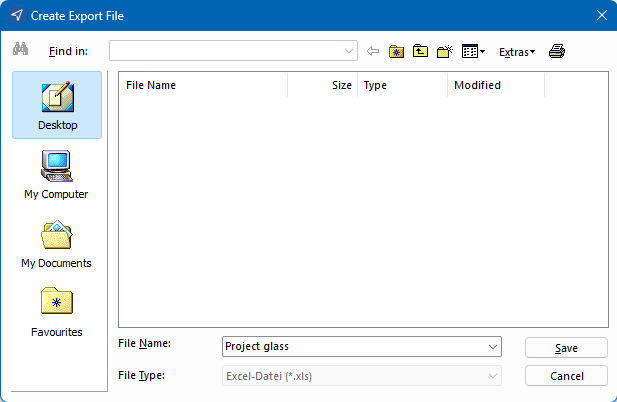
- In the following window, define the location and name of the export file and click "Save":
Import glass
You can import glass from different sources.
- Click the arrow icon next to the import button:
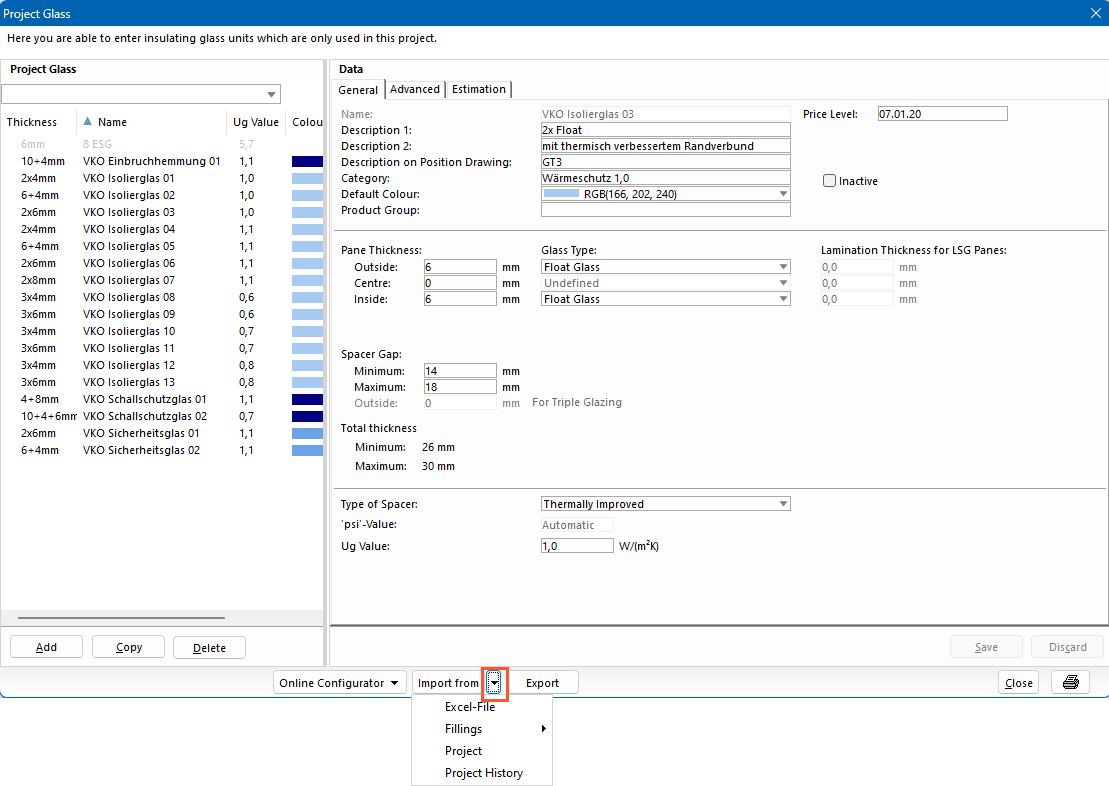
Import from Excel file
- Click the arrow icon next to the import button.
- Select "Excel-File".
- In the following window, under "Import-File", select the Excel file you want to import:
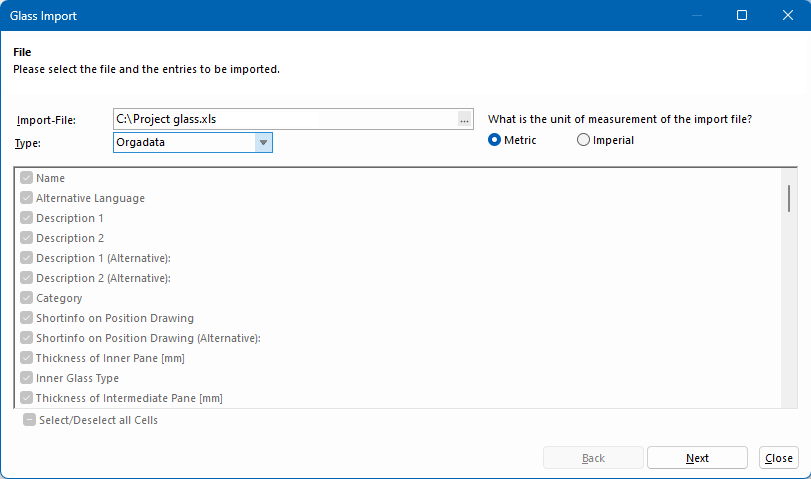
- Click "Next" to preview the data allocation in the next window:
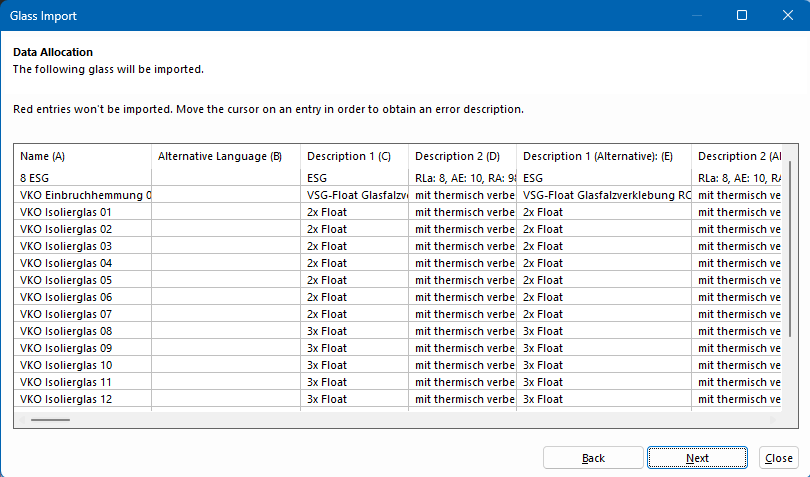
- Click "Next" to check the import preview in the next window.
- Click "Finish" to complete the import.
Import from User Database
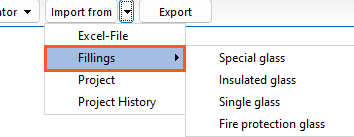
- Click the arrow icon next to the import button.
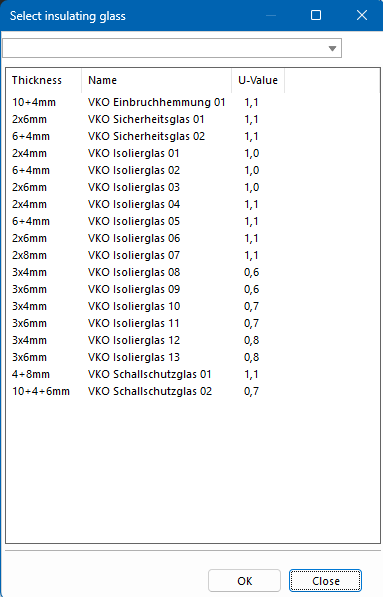
- Under "Fillings", select the type of filling you want to import:
- Select the glass you want to import and click "OK":
Import from project
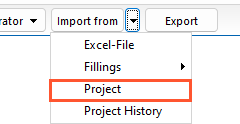
- Click the arrow icon next to the import button.
- Select the "Project" option:
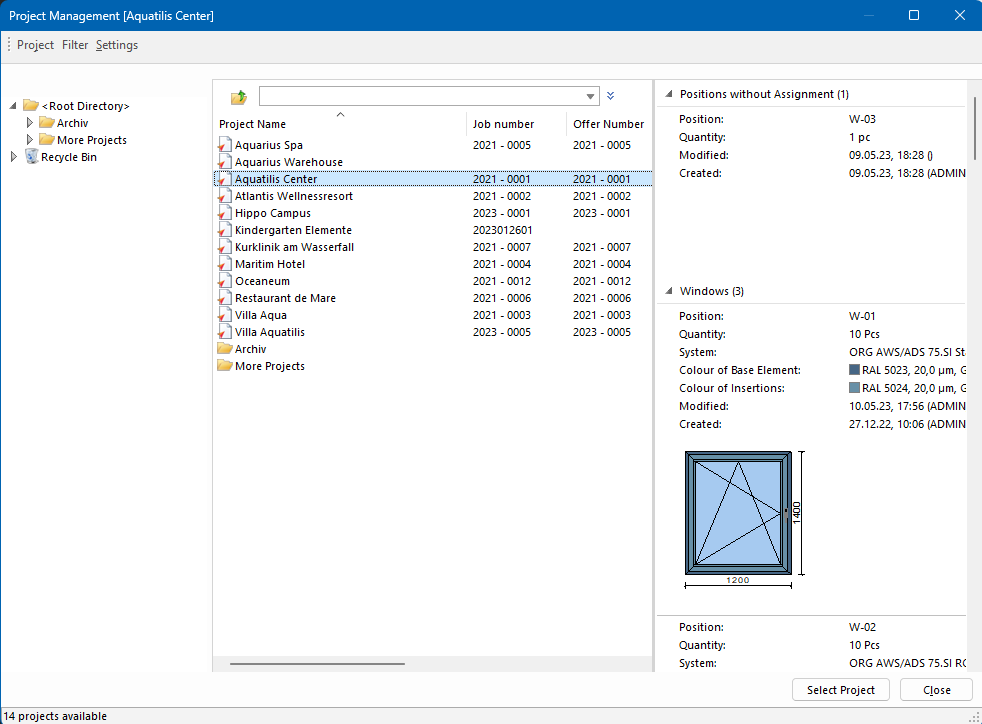
- In the following window, double-click to select the project:
Import from project history
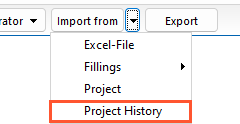
- Click the arrow icon next to the import button.
- Select "Project History":
- In the following window, double-click to select the project.
- Select the date of the backup:
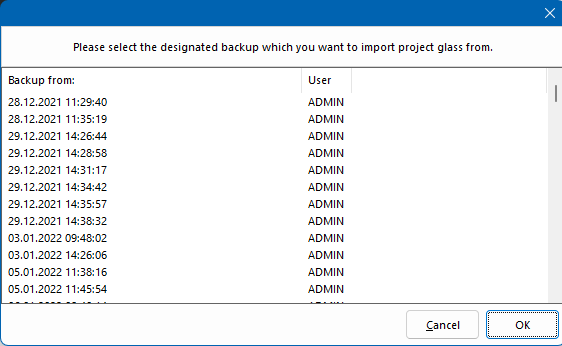
- Click "OK" to import the glass from the project history.


 Deutsch
 English (UK)
 Français
 Italiano
 Ελληνικά