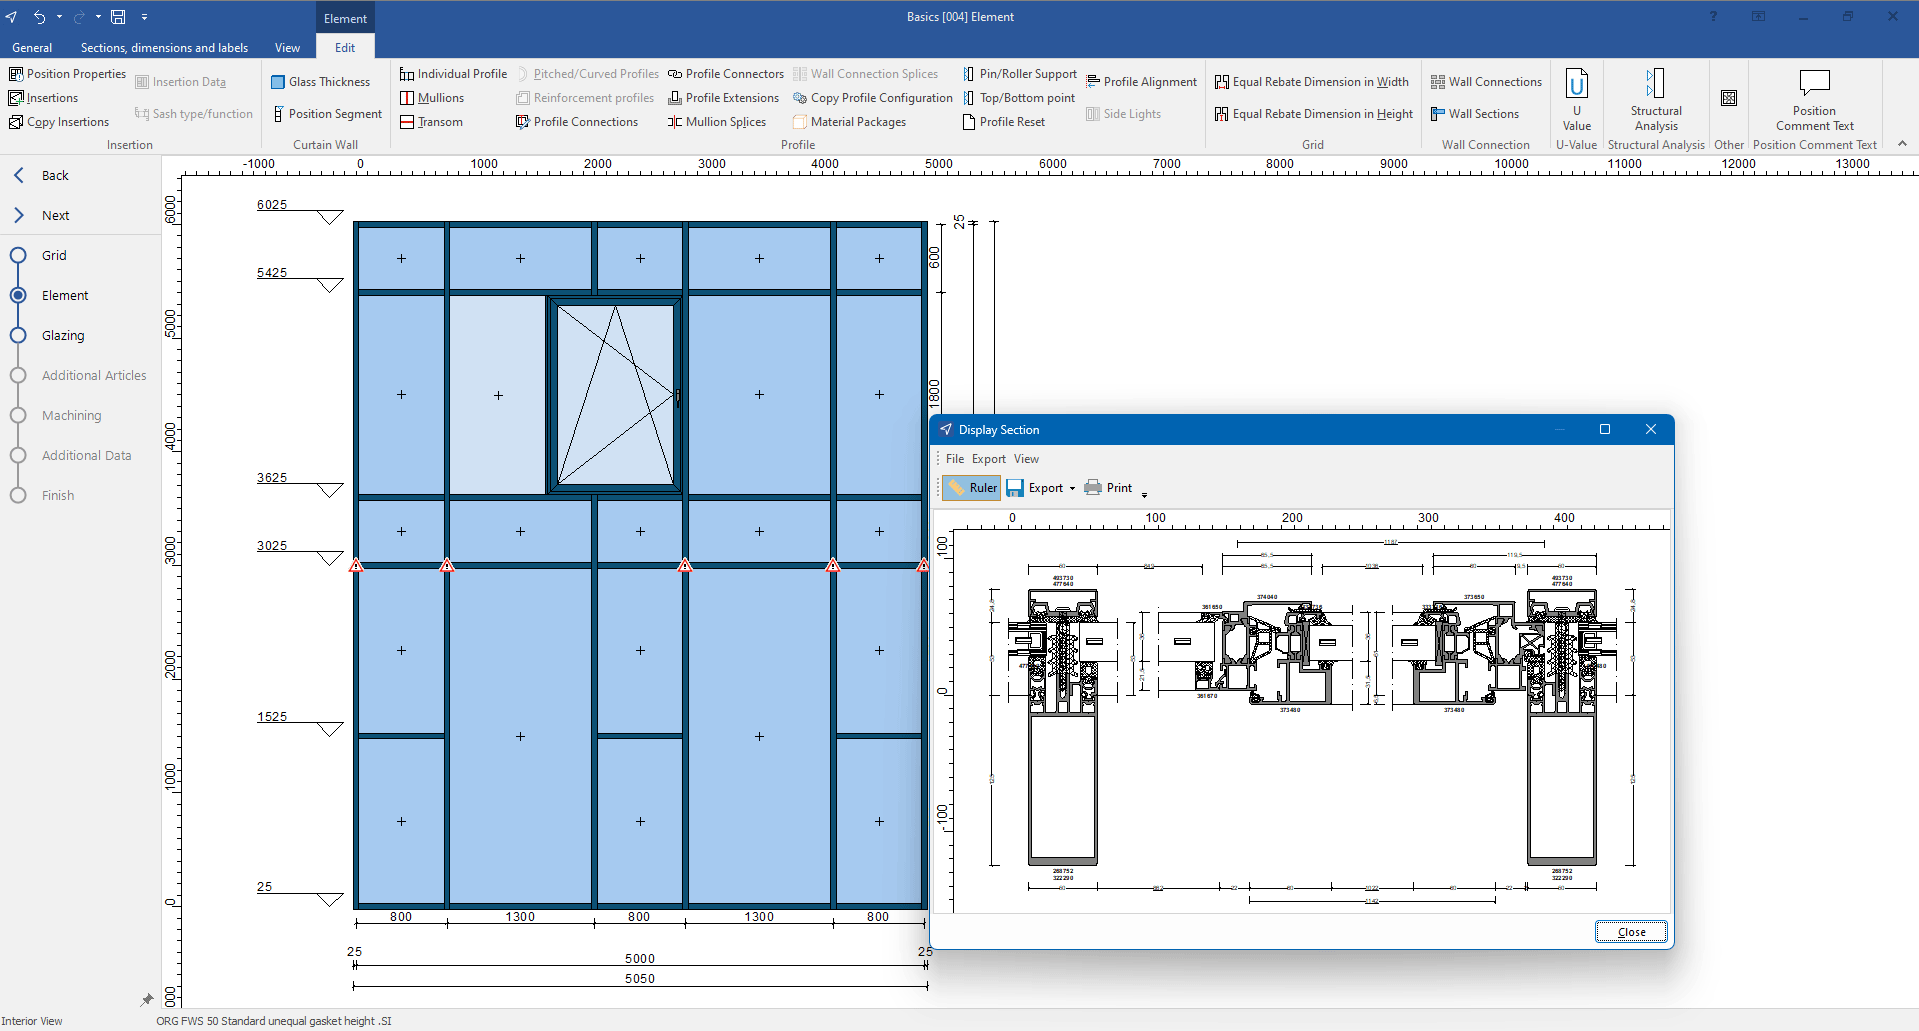
- Click "Floating window" in the insertion selection:

- Select a field in the position drawing.
- Enter the glass thickness and click "OK":
- In the next window, enter the basic data:

- The input of elements opens.

Note:
A floating window must contain two fields. One of the fields must be defined as a fixed field.
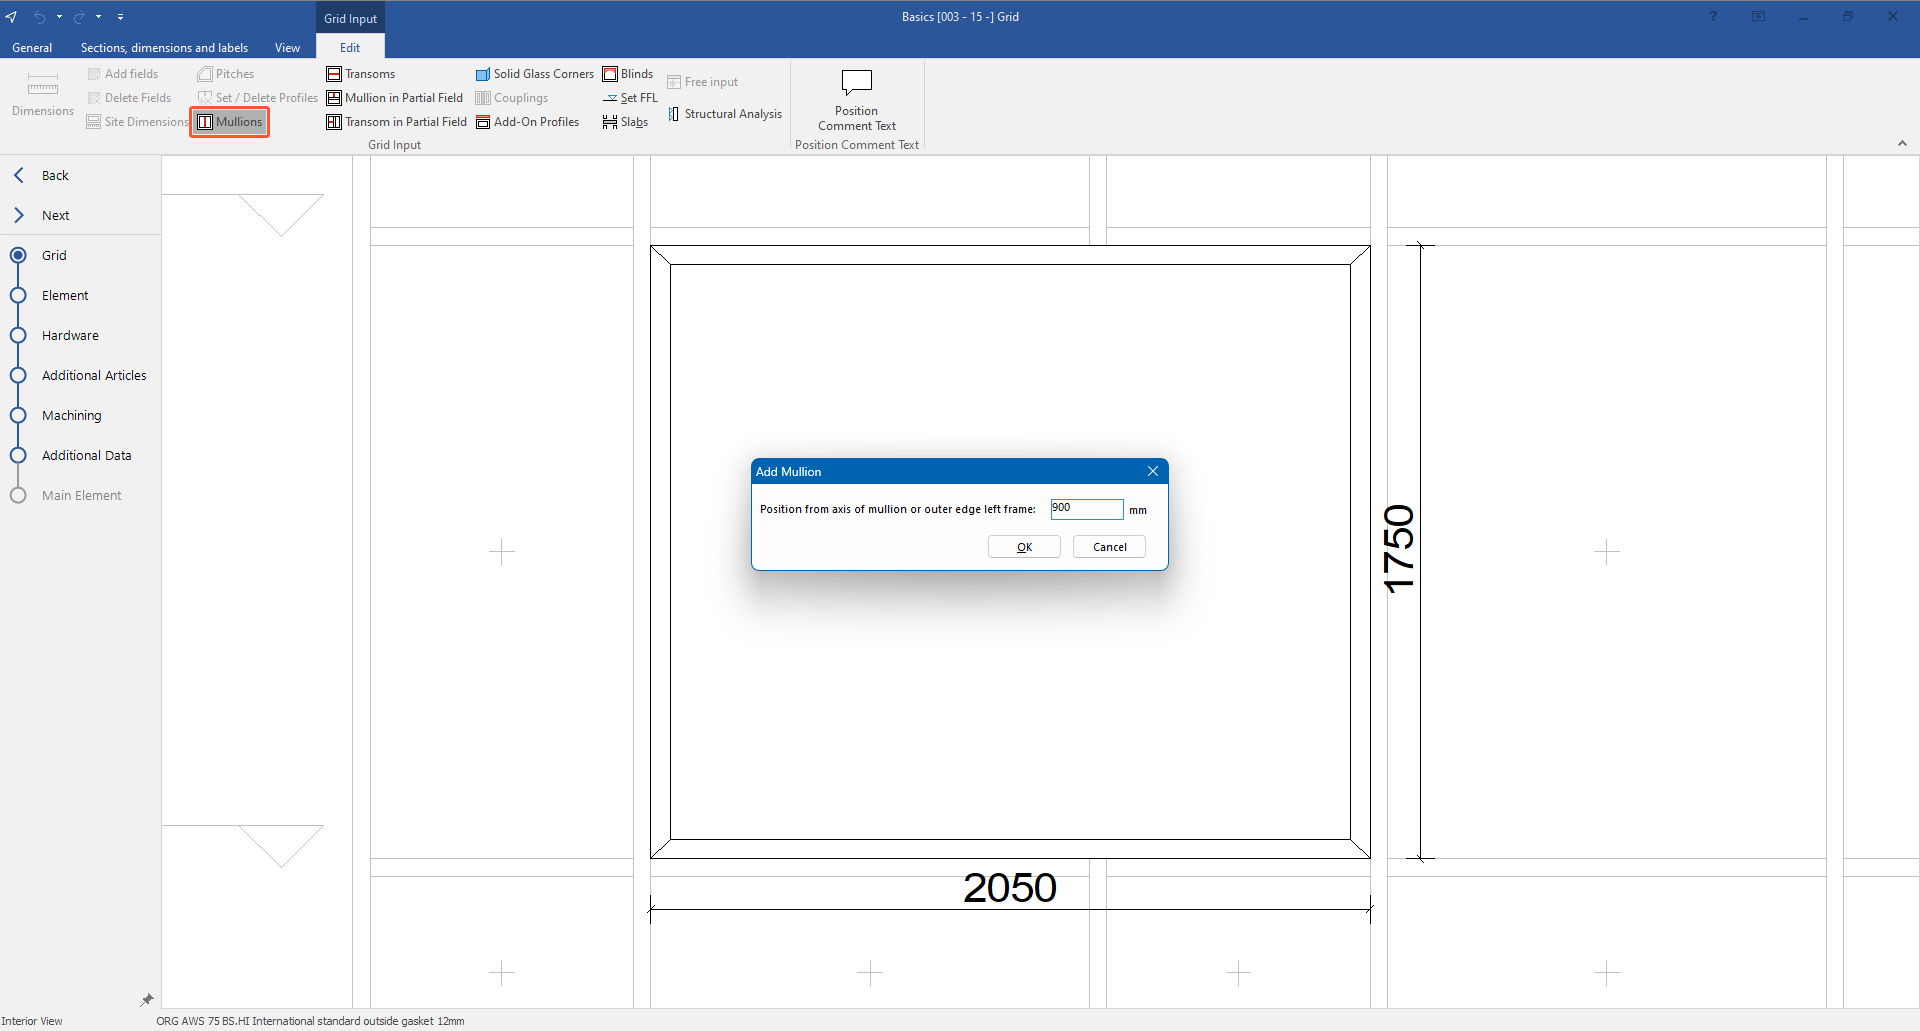
- In the "Grid" section, on the "Edit" tab, click "Mullions" to create a second field within the insertion:

- Enter the position from the axis of the mullion or from the outer edge of the left frame and click "OK".
- Click "Next" on the left side and define profiles, glazing and hardware.
- Click "Main element" to save the changes on the insertion and to return to the to the main element that contains the floating window:


 Deutsch
 English (UK)
 Français