Click „New" in the tool bar.
A new window, containing the project's header, will open up.

Here you enter the project's name, offer and order number, as well as the person responsible. The customer's address can be entered manually or added from the address database. Click „Address Database" for this purpose.
The free texts 1 – 3 will be displayed in the header of the different printouts.
Under „Estimation Data" you can select the preferences for the estimation. Find detailed information about estimation here.
In the field „Conditions" you can enter customer specific terms of delivery and payment. The data entered here will be displayed on the printout. The programme offers you variables, which you can integrate into the text.
DATE -> determines the current date
TOTAL -> total price
Please note that DATE and TOTAL have to be written in capital letters entirely.
Example:
You enter the following formula in the text field under conditions:
Payable until {DATE+10} with a 3% cash discount {TOTAL*0.03} = {TOTAL*0.97}
The following text will be replaced:
Payable until 18.02.2011 with a 3% cash discount 9,01 EUR = 291,41 EUR
Conditions can also be entered in the address database for every contact.
Under conditions you can enter discounts to be displayed in offers, confirmations, and invoices. Note: These values will not be considered in the estimation.
By default all users are able to access all objects. The access can be restricted to the user who created the object. Deactivate the option „Project may be edited by all users". Find out more about user rights.
In case you wish to always have the current price of the position displayed during the input of elements, activate „Estimation per Position". The position's price will be displayed in the input of element's upper left corner and updated with each change.
Note: With this type of estimation neither apportion costs, nor optimized wastage surcharges are considered. The latter have to be on file as fixed values in the estimation data.
In the dialogue window's right side you can integrate a photo / picture of the project.
Underneath you have the opportunity to enter another project text.
Click „OK" to complete the entry. Afterwards you automatically get to the input mask of the project preferences. Find out more about project preferences here.
If you wish to change a project header subsequently, you can do so under „Project" > „Project Header" in the project centre.
Editing a Project
Existing projects can be edited in the project management.
Select the project and click „Edit" in the toolbar. The project is opened in the project centre and changes can be made.
Copying a Project
Select the project and click „Copy" in the toolbar.
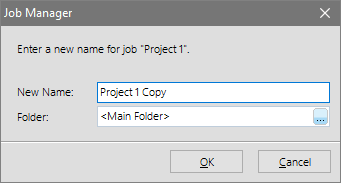
Name the copied project and select a location for the file under „File".
Moving a Project
Select the project and click „Move" in the toolbar. Enter a new location under „File".
Deleting a Project
Select the project and click „Delete" in the toolbar.
For the confirmation click „Yes".
The project will be moved into the recycle bin. As long as the project is stored here, you can always restore it.
Note: Projects currently edited cannot be deleted.
Renaming a Project
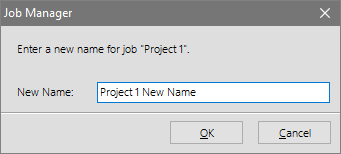
Select the project and click „Rename" in the toolbar.
Enter a new name for the project.


 English (UK)