Entering CNC machinings
Click on "CNC Database" > " CNC Machining".
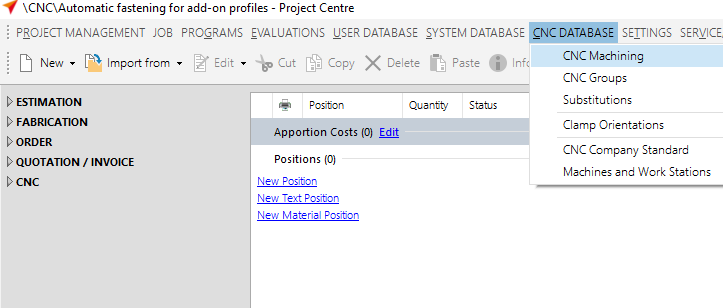
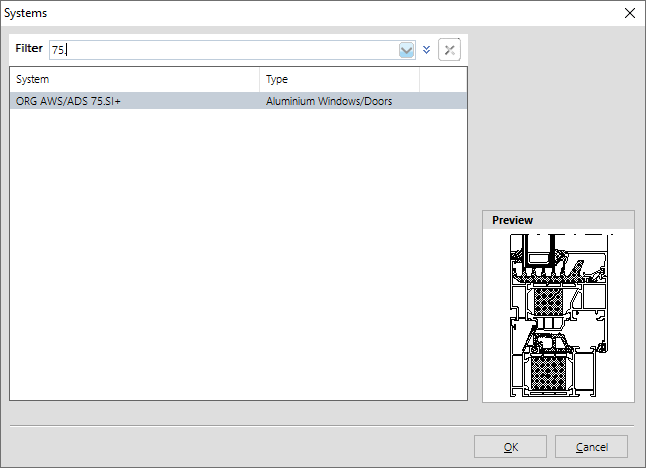
Select the appropriate system.

Machinings for add-on profiles on face 1
The first step is to create the machining for face 1.
Click the "Add" button to create a new machining.
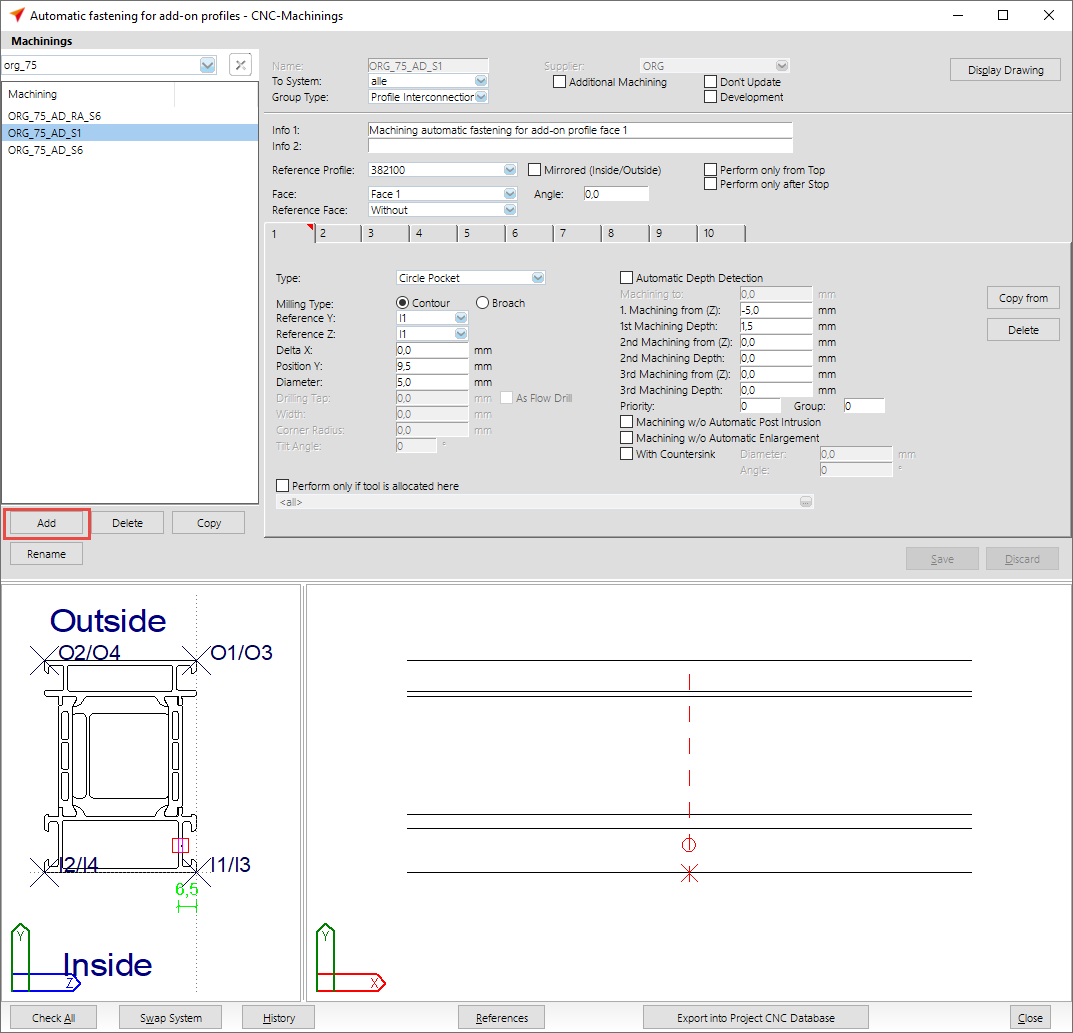
Enter the name of the machining at "Name". The CNC's list of abbreviations will show the most common abbreviations of machining names.
At "Group type" select the option "Profile interconnection sequential".
Enter a description of the machining at Info 1 and 2.
At "Reference profile" you select the basic profile by which the machining is to be executed.
At "Face", select "Face 1".
At tab "1" you enter the following data:
- Type: circle pocket
- Milling type: contour
- Reference Y: I1
- Reference Z: I1
- Position Y: 9,5mm
- Diameter: 5,0mm
- Machining from (Z): -5,0mm
- Machining Depth: 1,5mm
After you have entered the data, click on the "Save" button.
In the preview below you can see the result of your input and if necessary you can correct it.
Machinings for add-on profiles on face 6
The second step is to create the machining for face 6.
Click the "Add" button to create a new machining.

Enter the name of the machining at "Name". The CNC's list of abbreviations will show the most common abbreviations of machining names.
At "Group type" select the option "Profile interconnection sequential".
Enter a description of the machining at Info 1 and 2.
At "Reference profile" you select the basic profile by which the machining is to be executed.
At "Face", select "Face 6".
At tab "1" you enter the following data:
- Type: circle pocket
- Milling type: contour
- Reference Y: I2
- Reference Z: I2
- Position Y: -9,5mm
- Diameter: 10,0mm
- Machining from (Z): -5,0mm
- Machining Depth: 1,5mm
After you have entered the data, click on the "Save" button.
In the preview below you can see the result of your input and if necessary you can correct it.
Machinings for automatic add-on profiles on the frame face 6
The third step is to create the machining for the frame on face 6.
Click the "Add" button to create a new machining.
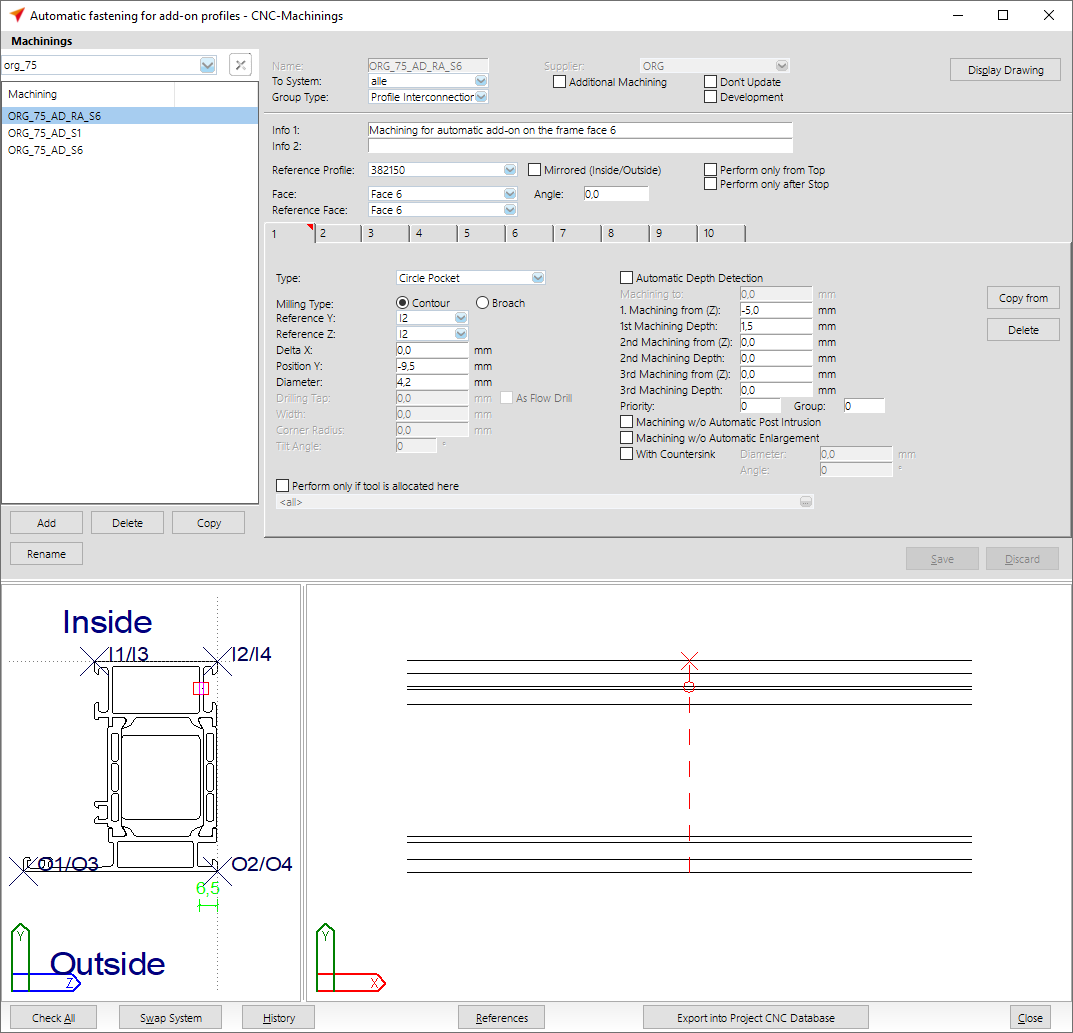
Enter the name of the machining at "Name". The CNC's list of abbreviations will show the most common abbreviations of machining names.
At "Group type" select the option "Profile interconnection sequential".
Enter a description of the machining at Info 1 and 2.
At "Reference profile" you select the basic profile by which the machining is to be executed.
At "Face", select "Face 6".
Choose "face 6" option from "Reference face".
At tab "1" you enter the following data:
- Type: circle pocket
- Milling type: contour
- Reference Y: I2
- Reference Z: I2
- Position Y: -9,5mm
- Diameter: 4,2mm
- Machining from (Z): -5,0mm
- Machining Depth: 1,5mm
After you have entered the data, click on the "Save" button.
In the preview below you can see the result of your input and if necessary you can correct it.
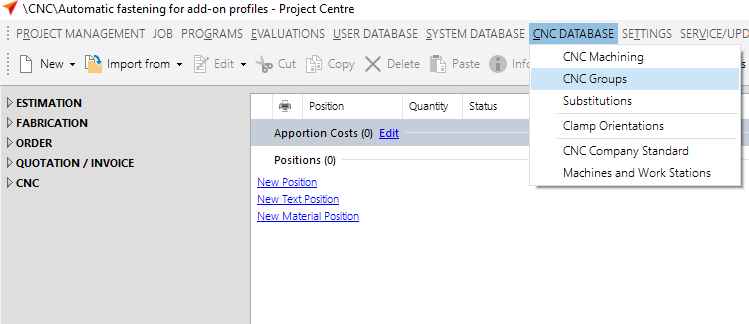
Group machinings
Select at "CNC Database" > "CNC Groups".
Click the "Add" button to create a new group.
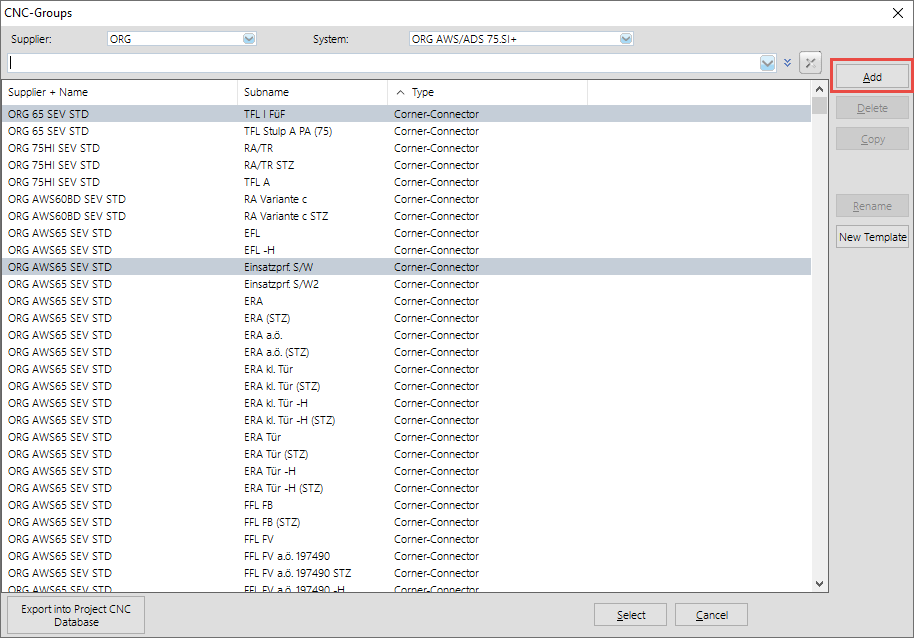
Select the supplier.
Enter the main group name at "Name". In this example: ORG_AD.
At "Subname" you enter the more detailed name for the group. In this example: BR + AD.
BR = Frame
AD = Add-on profile
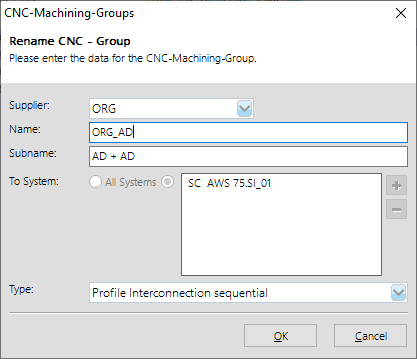
Determine the system in which the machining is to be used and select the option "Profile interconnection sequential" at Type.
Click on "OK".
In the next window, you define the profiles and machinings to be used in this group.
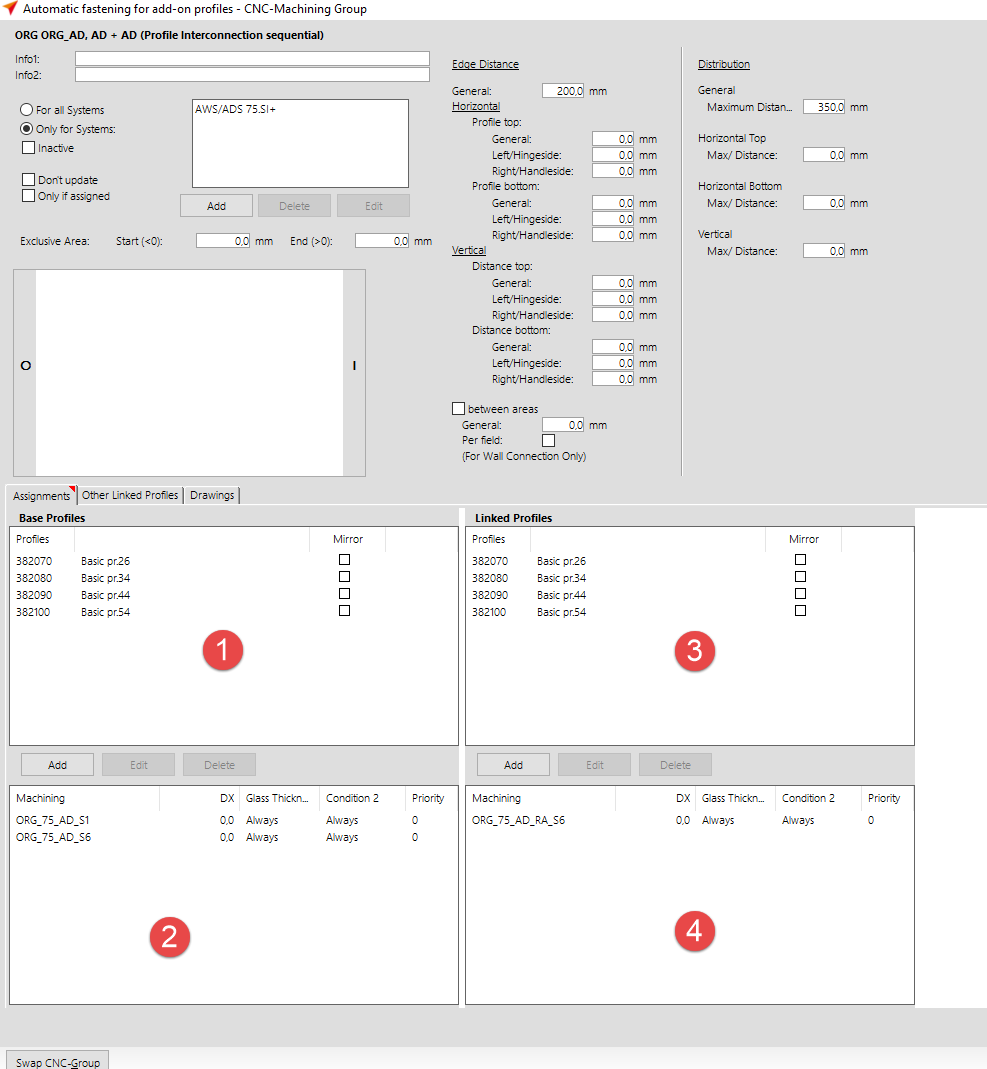
In section 1 "Base profiles", enter the profile numbers for which the machinings for the add-on profiles will be considered.
In section 2, enter the machinings that you have created for add-on profiles at the beginning of this document.
In section 3 "Linked profiles" you enter the frame profiles that can be used as frames.
In section 4, enter the machinings that you have created at the beginning of this document for add-on profiles on the frame.
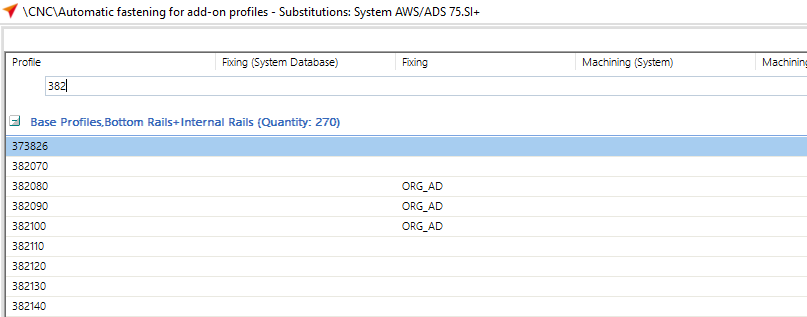
Enter substitutions
To ensure that the machining groups are considered in the input of elements, enter them under "CNC Database" > "Substitutions".

Select the appropriate system.
For the basic profiles, enter the name of the main group under "Fixing".
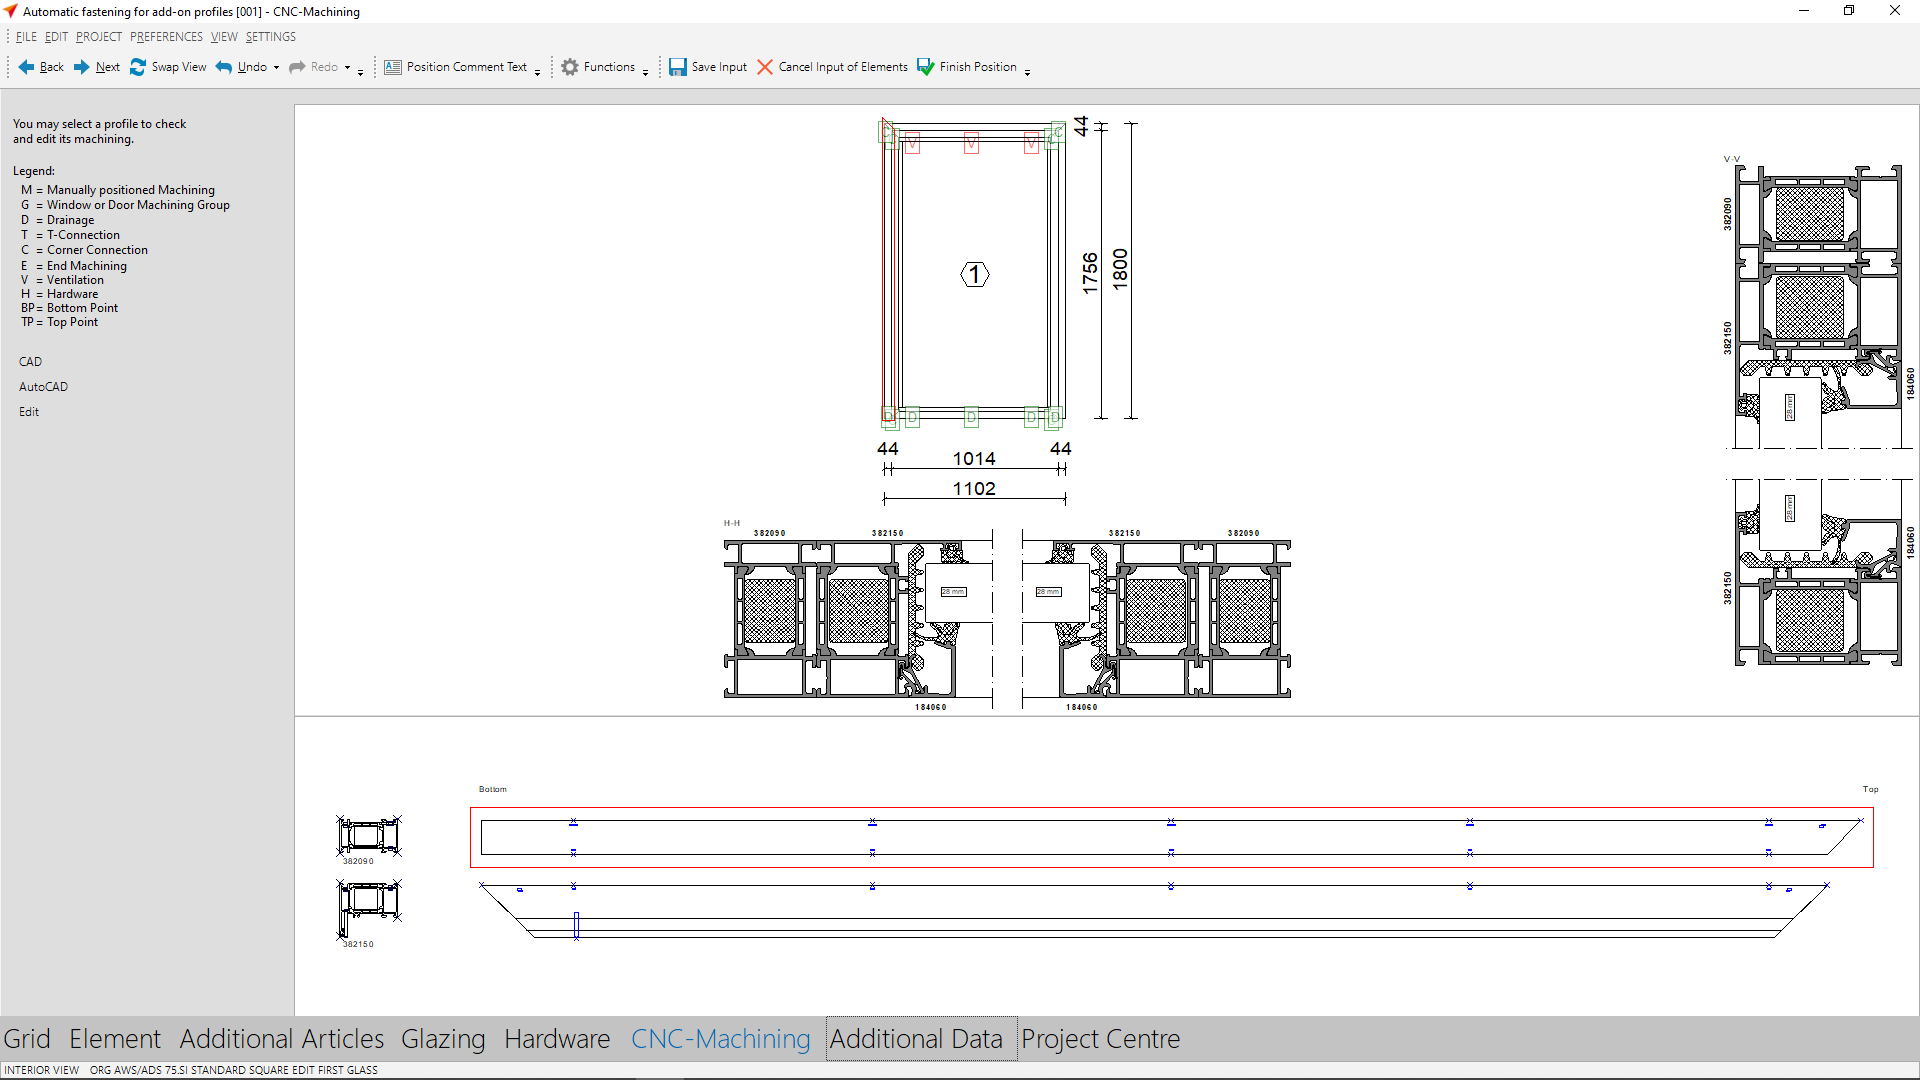
Use in input of element
In the input of elements, create a position with the profiles for which you have created the machinings.
Your machinings are displayed accordingly in the program mask CNC-Machining.


 English (UK)