You will find the address database in the project centre's file menu under „Programs" > Address Database".
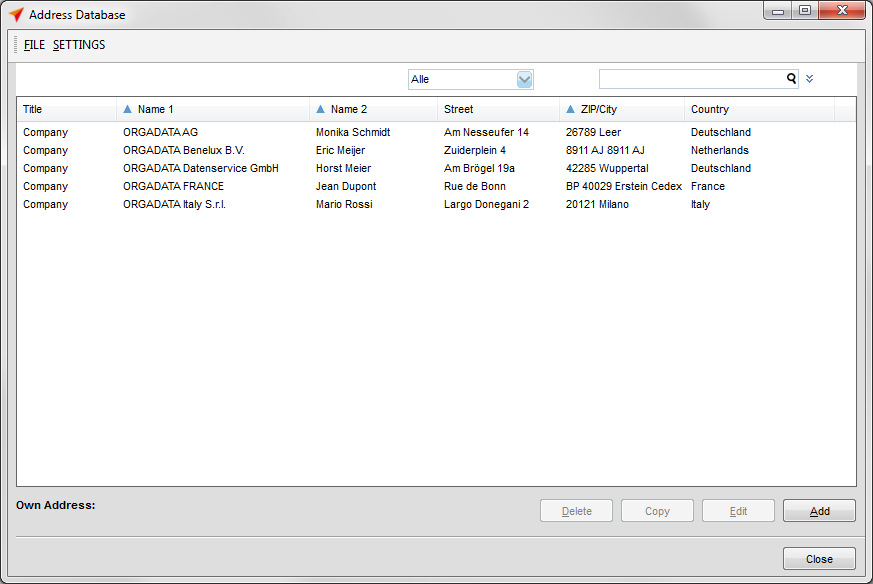
Organising Addresses
Add addresses
Click „Add" in the toolbar right below.

Enter the address data in the upper area. Determine the type of contact under „Type".
Under the tab „Contact" in the lower area you have the opportunity to enter further data such as contact person, telephone numbers and e-mail addresses.
Under the tab „Free Data" you have the alternative to enter info-text for the contact.
Under „Discount/Conditions" you can enter contact-specific conditions. The data you enter here will be considered in the estimation and shown on the printouts.
The programme offers you variables which you can embed into the text:
DATE → determines the current date
TOTAL → total price
Please note that DATE and TOTAL have to be written in capitals letters completely.
Example:
You enter the following formula into the text field under conditions:
Payable by {DATE+10} 3% cash discount {TOTAL*0.03} = {TOTAL*0.97}
The following text will be replaced:
Payable until 18.02.2011, 3% cash discount 9,01 EUR = 291,41 EUR
Edit Addresses
To edit an existing address, simply double click the particular contact.
Copy Addresses
To copy an address, mark it and click „Copy" in the toolbar.
Delete Addresses
To delete an address, mark it and click „Delete" in the toolbar.
Searching and Filtering
Searching
Above on the right hand side in the address database there is a search box located. Enter terms / names and the search results will be shown to you automatically.
Sorting
To sort the individual columns of the list alphabetically, click the blue arrow in the particular column.
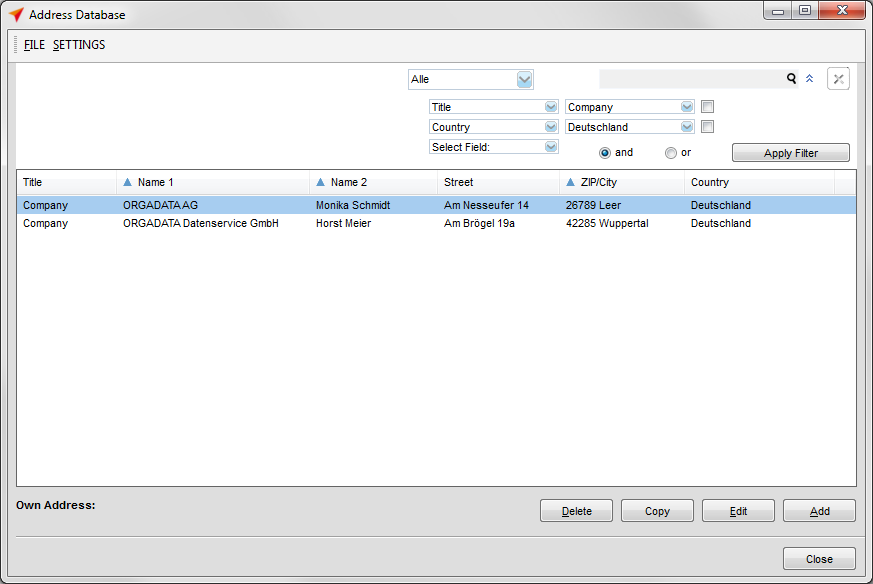
Filtering
Next to the search box, click the symbol with the arrows showing downwards. In the line below an area appears where you can adjust the filter according to fields. After you have selected the filter parameters, click „Apply Filter" in the toolbar.
Exporting Addresses
Addresses from Logikal can be used in other programmes as well. For this purpose you have several export functions in the address database at your disposal. These enable you to use the addresses from Logikal in other programmes.
A common supported file format is CSV. To export your list to this format, click „File" → „CSV-Export" in the file menu and enter the memory location.
In addition the administration offers you the address export for Tobit-Programmes in NMR-Format. For this purpose click „File" → „Tobit-Export" in the file menu, determine the memory location of the file, and afterwards enter the server name. For questions concerning the server data please contact your system administrator.
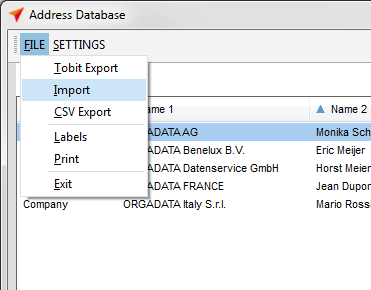
Importing Addresses
If you wish to use address lists from other programmes, you can transfer them via import into the address database. Import files in the formats CSV, Excel, Klaes, and Adulo are supported.
Click „File" → „Import" in the address database.
Select the import file with your address data.
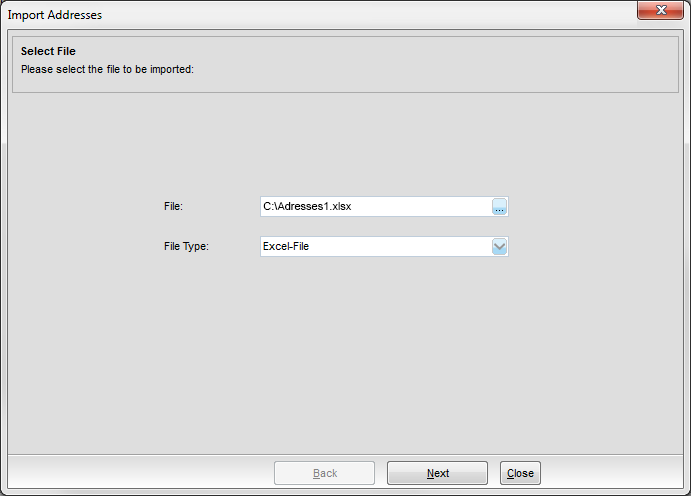
Enter the file type below and click „Next".
In the following window you assign the address fields to the correspondent columns from the file. In order to do this, respectively click the arrow next to the field name and then select the column.
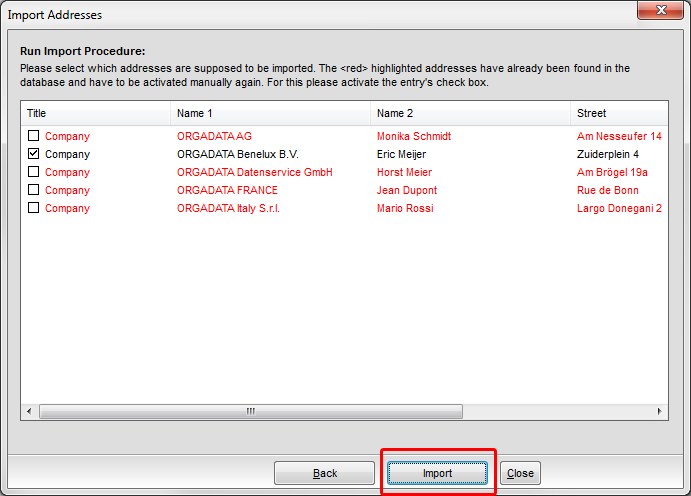
Follow the programme run and select the addresses that you want imported in the last programme window. For this purpose tick the particular check mark in front of the address entry.
Click „Import" to finish the import.
A current excel template for the import of addresses can be downloaded here:
Excel-Template-Address-Import
Labels
Address labels can be created and printed via „File" → „Labels".
The default programme is set to a label template.
If you wish to adjust a template, click „Settings" → „Address Labels" in the project centre's file menu.
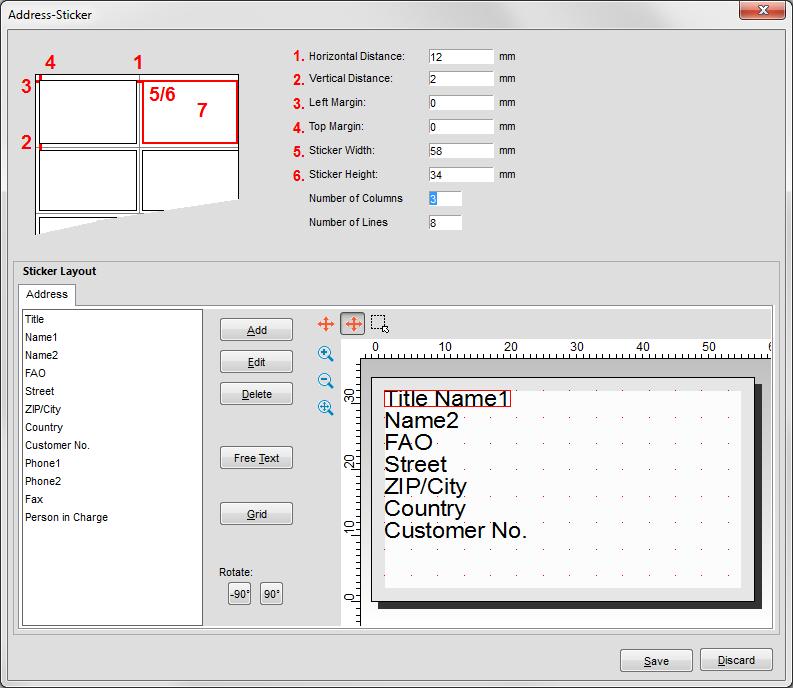
In the upper area of the programme window you can determine the size and positioning as well as the number of labels on the printout.
In the lower area you can determine which information you want displayed on the label. Select a field on the right hand side and click „Add" in the toolbar. By keeping the left mouse button pushed you can shift the field in the grid. If you wish to alter the font of the field, mark the correspondent field and click „Edit" in the toolbar.
To remove a field, mark the correspondent field and click „Delete" in the toolbar.
In addition you have the opportunity to enter a free text. For this purpose click „Free Text" in the toolbar.
Under „Grid" you can enter the size of the label margin and determine the grid-dimension.
Rotate fields at a right angle by marking them and using the buttons „-90°" and „90°" under „Rotate".
Printing
If you click „Print" under „File" the whole address list is printed by default. If you wish to print a selection, mark the correspondent entries, click „Print", and select the option „Selected Addresses" in the print menu.


 English (UK)