Note:
In order to use a hand scanner, you need to be premium partner.
Connect assembly list to SimplyTag
- Transfer the element of the assembly list to SimplyTag.
- In the menu bar, click "Scan":
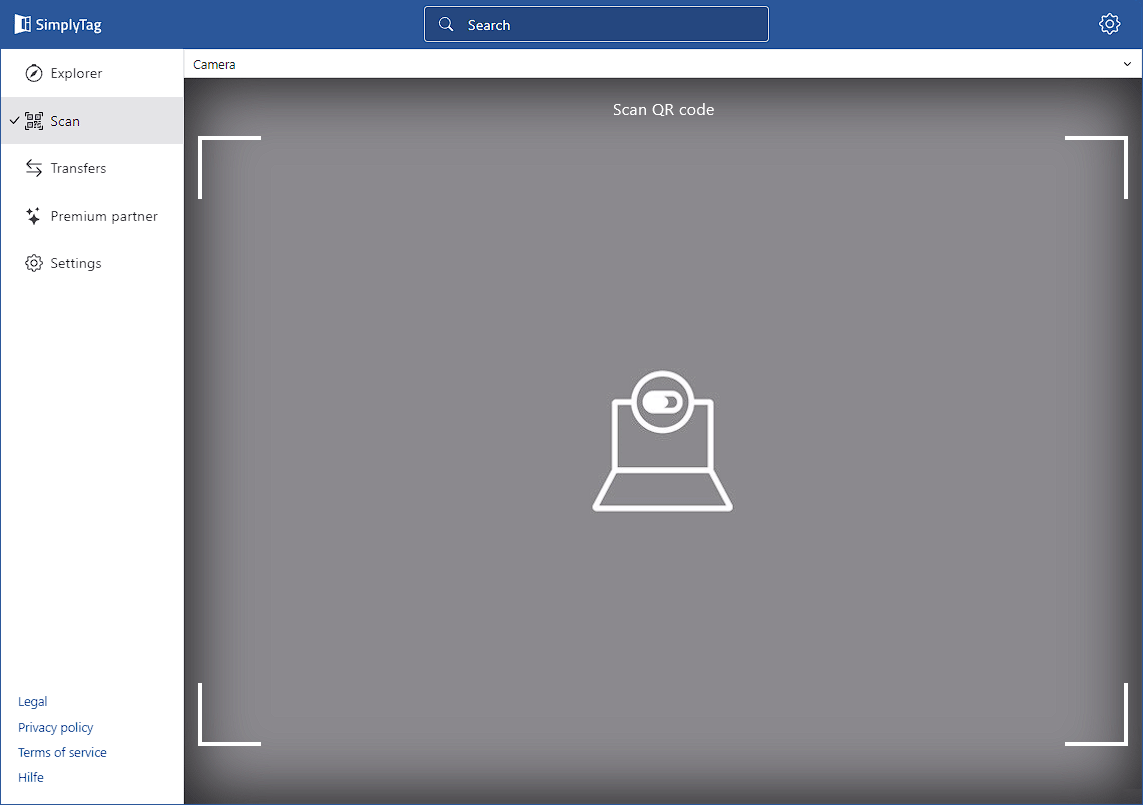
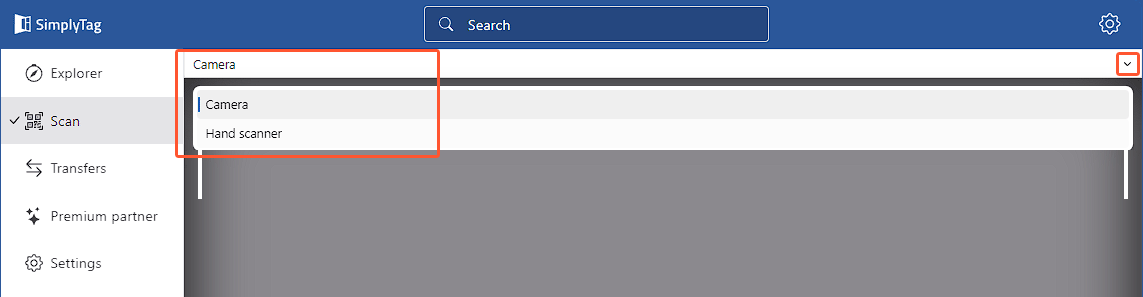
- In the top drop-down menu, select whether you want to use your device's camera or a hand scanner to scan the QR code:
- If necessary, allow your browser to access the camera.
- Scan the QR code on your assembly list. If the scanned position contains a single element, it will be listed at the bottom of the scan window.
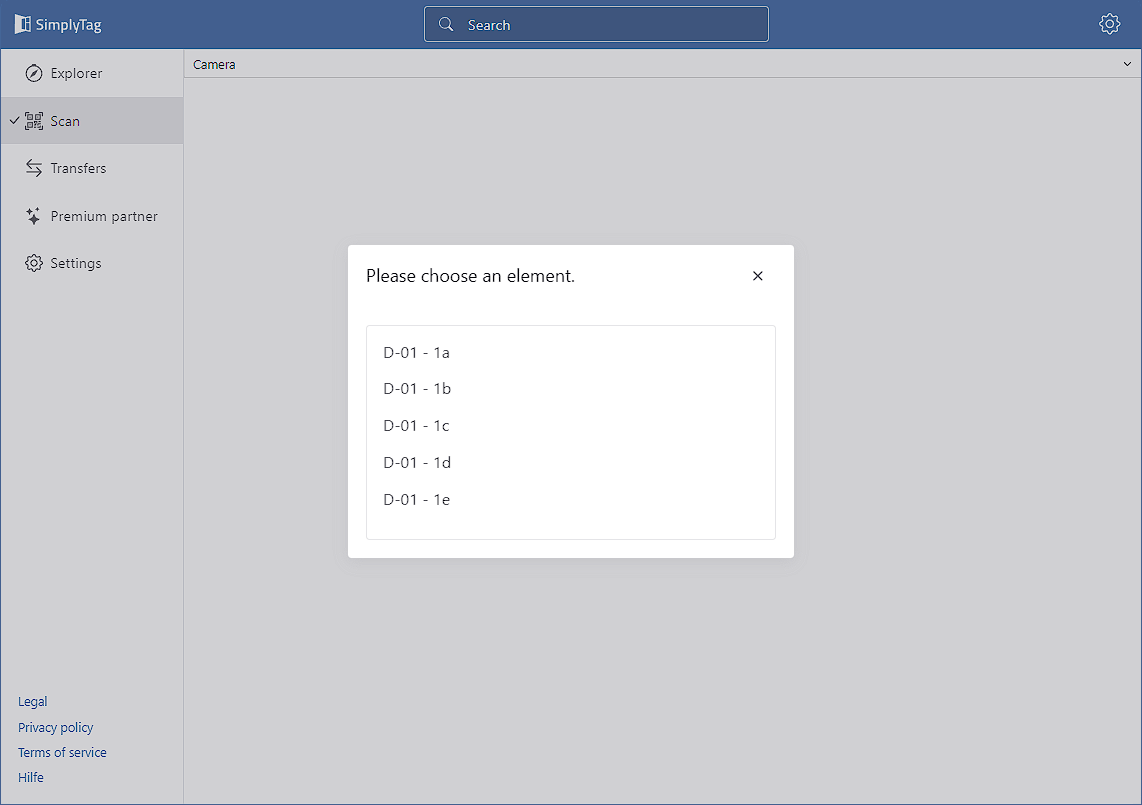
- If necessary, select an element in the following window if the scanned position contains multiple elements:
- The selected element will be listed at the bottom of the scan window. If necessary, click the icon next to the listed element (1) to view information about the element.
- Then scan the QR code on the SimplyTag to connect it to the element of assembly list. The QR code is listed below the element (3):
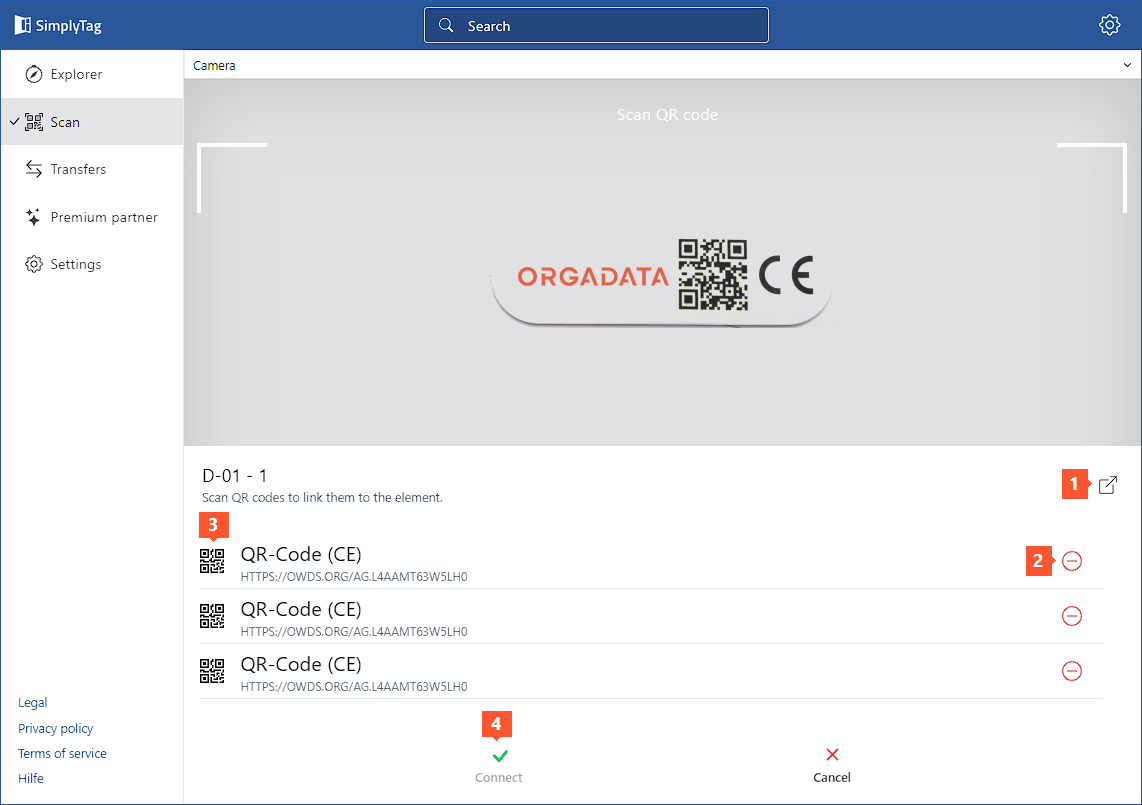
- Click the "-" icon next to the QR code (2) to remove an incorrectly connected QR code from the element.
- Click "Connect" (4) to connect the QR code of the SimplyTag to the element of the assembly list. A notification message confirms the successful connection of the assembly list and SimplyTag.
- In the element overview, in the "References" section, click "Edit" to view or remove the connected QR code.
Scan connected SimplyTag
- In the menu bar, click "Scan":
- In the top drop-down menu, select whether you want to use your device's camera or a hand scanner to scan the QR code:
- If necessary, allow your browser to access the camera.
- Scan the QR code on the SimplyTag. If an element is connected to the SimplyTag, the information about the connected element will be displayed. If no element is connected to the SimplyTag, a notification message appears.


 Deutsch
 English (UK)
 Français
 Italiano
 Nederlands
 Türkçe
 Čeština