To be able to use the basic operations in the various applications, you must first group these together.
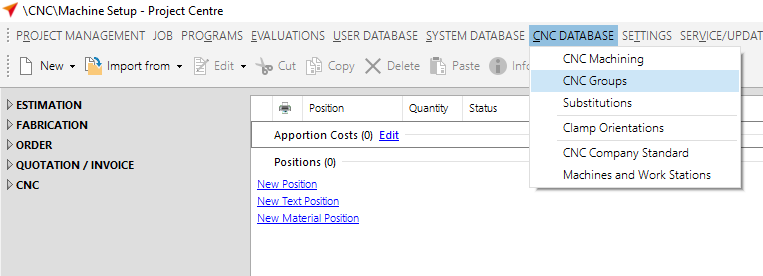
Click in the file menu on "CNC Database" > "CNC Groups".
Click the "Add" button to create a new group.
Select the supplier.
Enter the main group name at "Name".
You need to specify a subname if you want to create groups more than once. This makes sense, for example, if the machining of a roller hinge differs depending on the installation situation (for example, on a finished frame or a normal frame with a stop profile).
The subname is used to distinguish the different groups with the same name for changes.
You do not need to know the subname when you later select it in the hardware macros, the technical profile data or when entering elements; you simply select the name of the group and the program checks in sequence whether the profiles entered for one of the groups match those in the current position. If they match, this group is used.
Specify the system in which the machining is to be used.
Below this you select the "Type" of the machining group. The following options are available:
- Door hardware
- Window hardware
- Corner-connector
- T-Connector
- Pressure plate sequential
- Profile interconnection sequential
- Drainage / ventilation
- Free group
- End machining
- L/S/Dr passage
- Curtain wall bottom point
- T-Connector slant
- Curtain wall top point
- Corner-connector slant
- Glazing slot
- Gasket mark curtain wall
- Mark for window hardware
- Curtain wall support
- Screw connections reinforcement profiels
- Shutter / Blade
- Profile splices
- Lateral drainage
Click "OK".
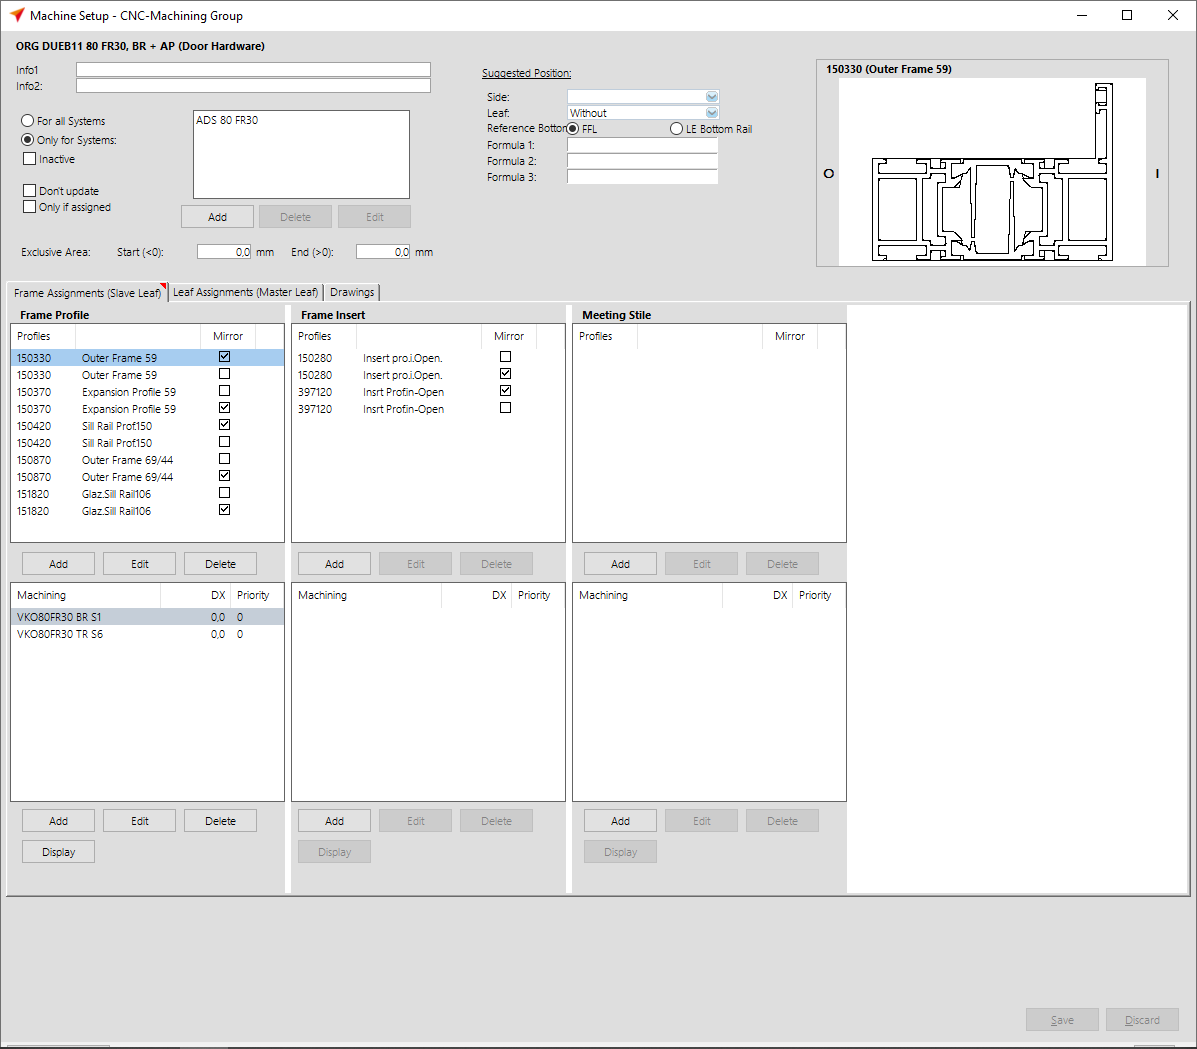
In the following window, you define the profiles and machinings to be used in this group.
Enter the required systems in the upper left area, or use the "For all systems" option.
Depending on the selected group type, the structure and type of data input is different.
You will find several programming examples for this in our online help. These examples are used to explain the possible inputs in the CNC groups.


 Deutsch
 English (UK)
 English (US)
 Español
 Français
 Italiano
 Nederlands
 Polski
 Türkçe
 Čeština
 Ελληνικά