The plugin allows the planning division to provide details about windows and doors for Logikal from a building model. The interface includes all functionalities of Logikal. The planning division is free to choose how detailed the Logikal positions are created before they are passed on to the executing company. The construction company can process the position either in Revit via the Logikal plugin or transfer it to Logikal. Logikal then returns the completed data and parameters to the BIM model of the planning division.
In the following video we present the Logikal-Revit-interface in practice:
Requirements
- Autodesk Revit (one of the last three versions)
- Logikal from version 11.4 (Read more in the article "System Requirements")
- BIM license on your Logikal dongle
- Logikal-Revit-interface from version 1.4 (will be updated automatically with the Logikal program update)
Installation in Logikal
Before setting up the Logikal-Revit-interface, please close all Revit applications on your computer.
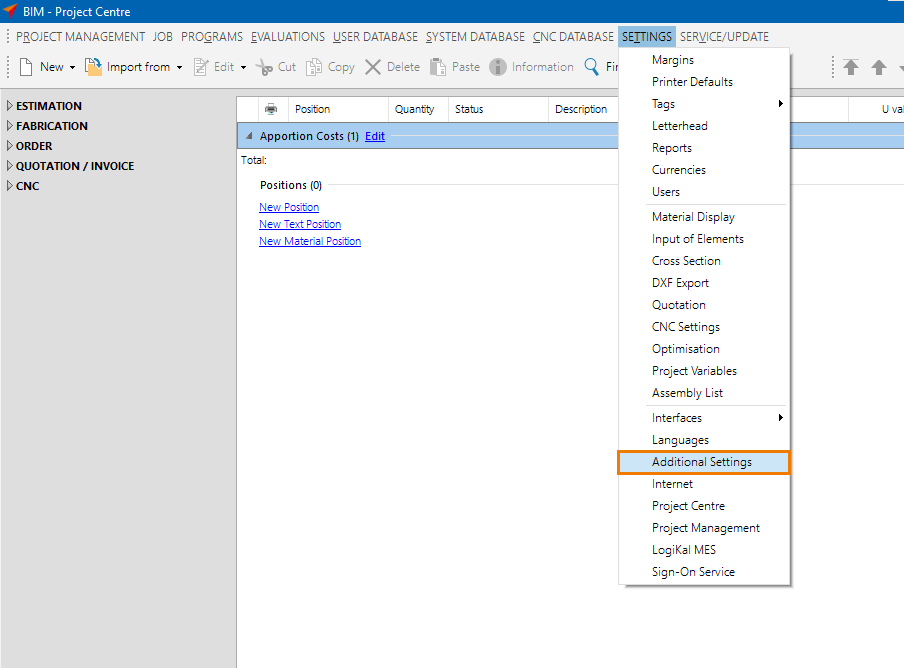
- In the Logikal Project centre, open the file menu "Settings" > "Additional Settings":
- In the following window, select the tab "Interfaces":
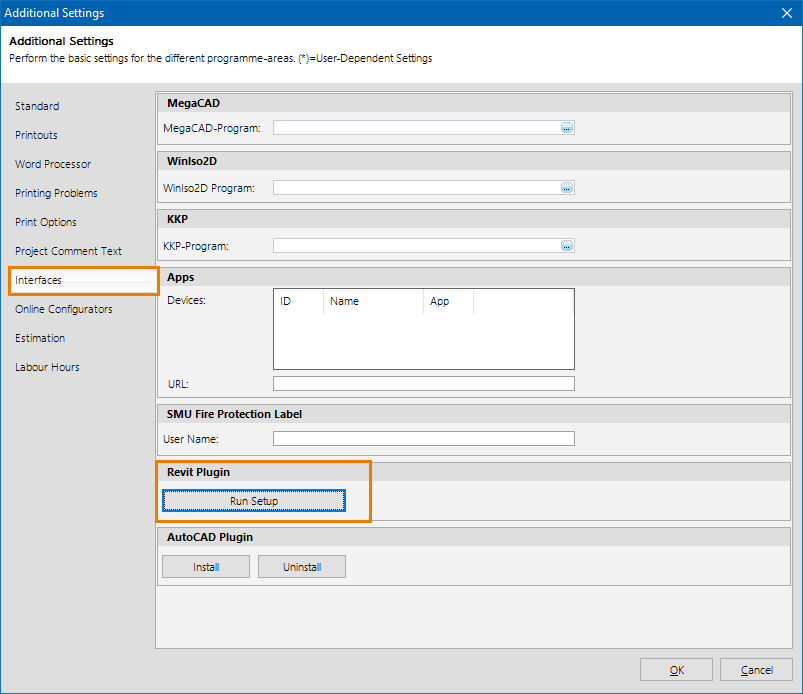
- In the Revit Plugin section, click "Run Setup". The Logikal functions will be available in Revit in the tab "Logikal".
Manage projects and positions
In the following we describe the function group "Logikal":
- Login/Logout:

Click "Logout" to clear a shared BIM licence for another user.
- Select/Create project:
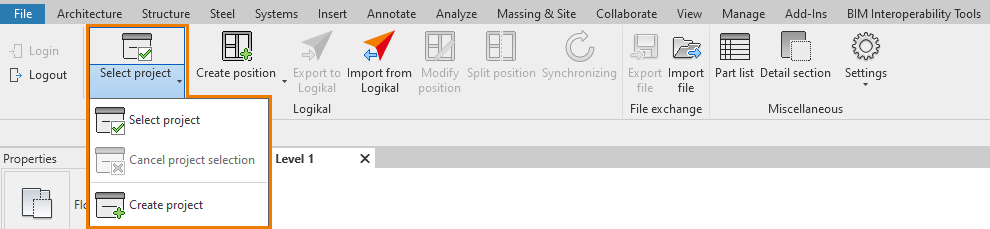
- Click "Select project" to link a Logikal project to Revit.
- Click "Cancel project selection" to remove the link.
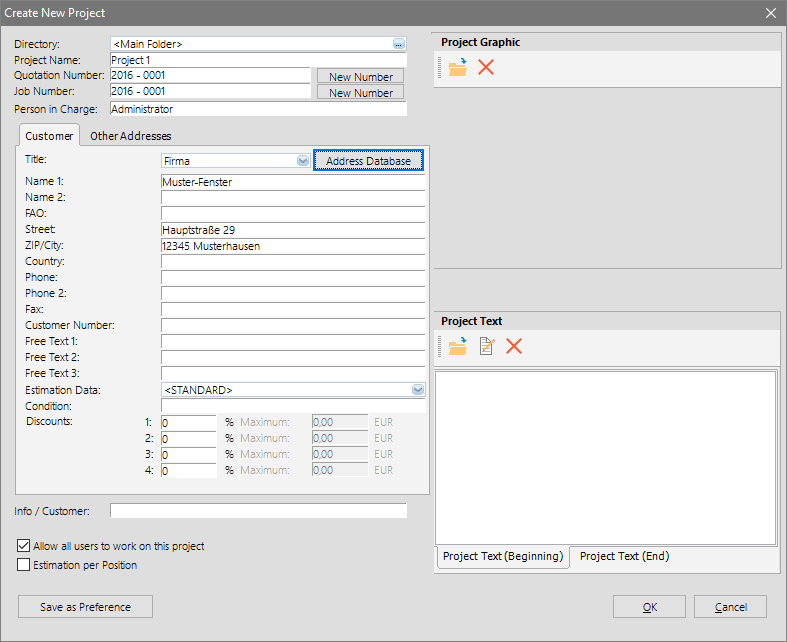
- Click "Create project" to create a new Logikal project in Revit. The project preferences are then queried as in Logikal:
- Create position:

- Click "Create position" to create a new Logikal position.
- Click "Create element pricelist position" to add a position from the Logikal element pricelist.
- Click "Export to Logikal" to edit a project created in Revit directly in Logikal.
- Click "Import from Logikal" to continue processing an already created Logikal project in Revit.
- Click "Modify position" to edit a position in the input of elements in Logikal.
- Click "Split position" to split higher position quantities into several new positions.
File exchange
Export file
Save a Logikal position/project as an "*.B2L" file. The B2L file can be imported into Logikal on another computer to continue the process.
- Click "Export file" to save the position as a B2L file on your hard drive.
- In Logikal, open the "Project Management".
- Click "Import file" on the ribbon and select the B2L file:

- Two import methods are available:
- You can create a new Logikal project for the B2L file.
- You can add the B2L file to an existing project. In this case, select the project in which you want to insert the file.
Import File
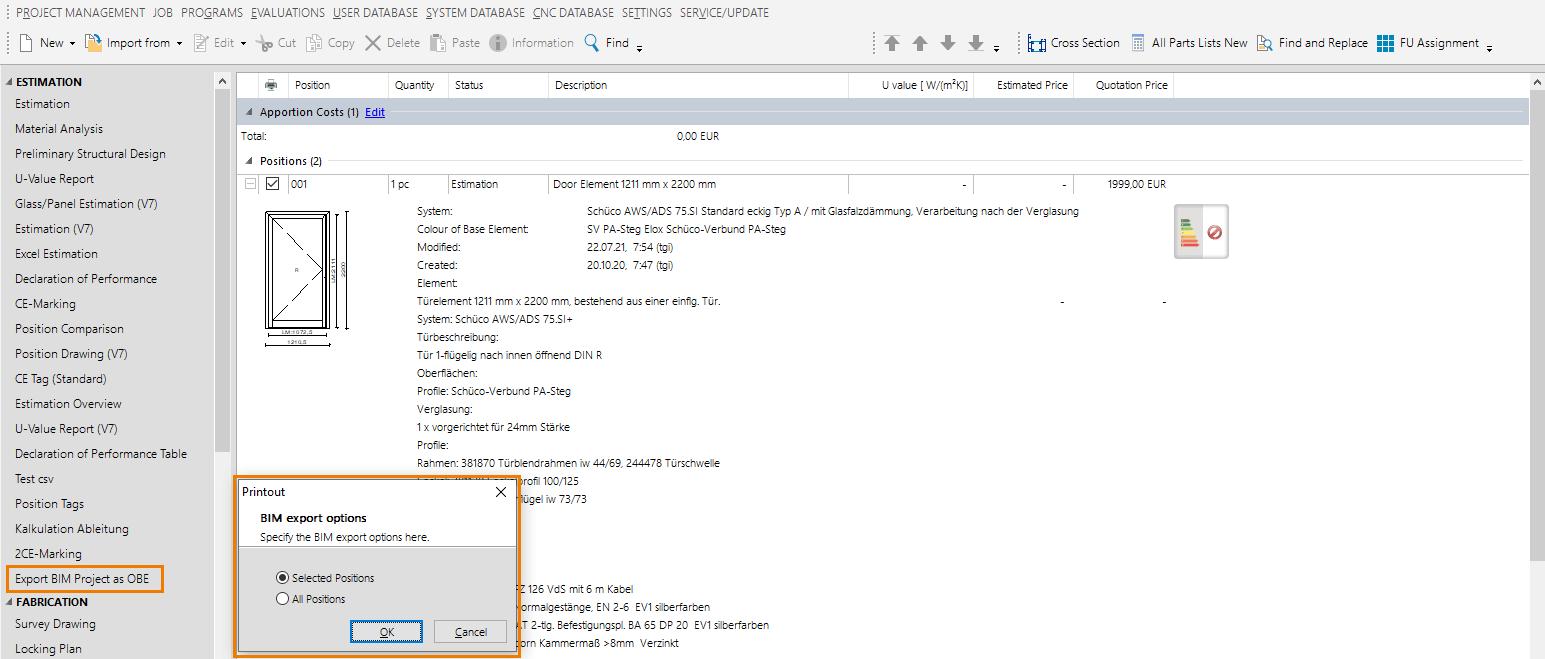
You can transfer a Logikal position as an L2B file to Revit for further processing.
- In Logikal, select the position you want to process in Revit.
- In the left menu, click "Export BIM Project as OBE" and save the file in L2B format:
- Open Revit.
- In the "Logikal" tab, click "Import file" and select the previously saved L2B file.
Floor Plan
- In the left menu bar, click "Floor Plan":
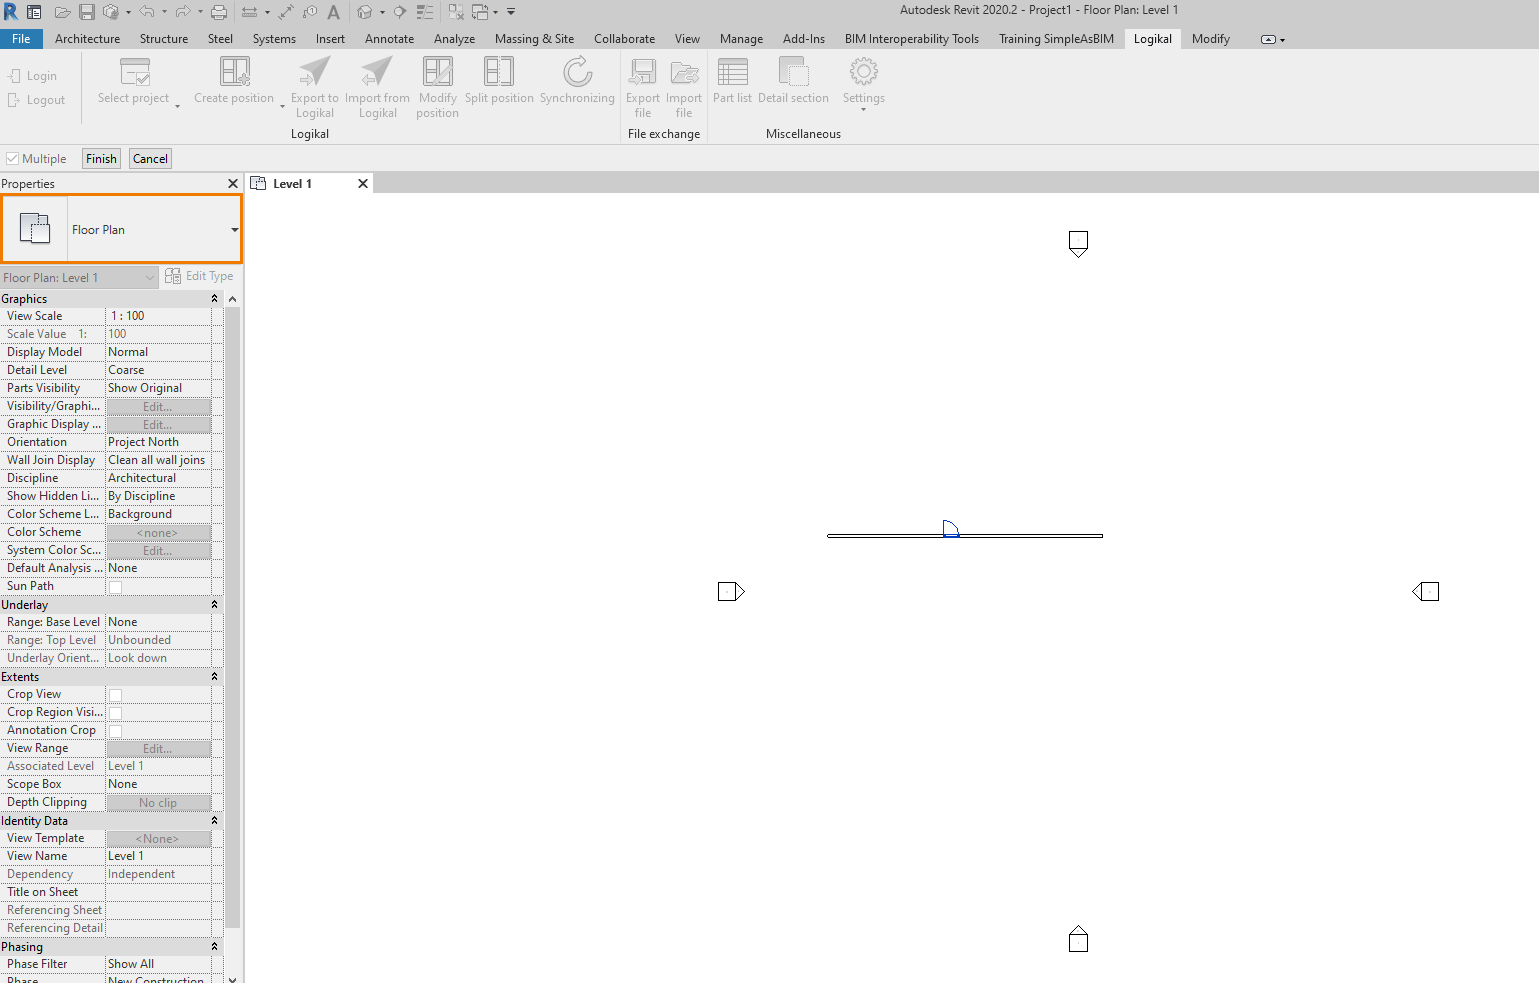
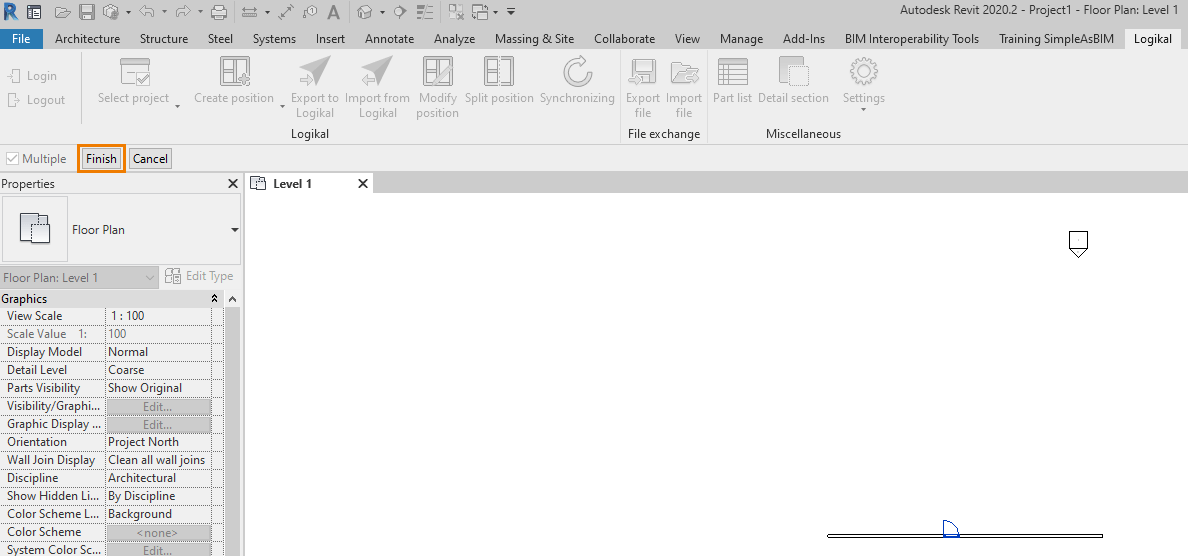
- Select an element in the floor plan and click "Finish":
- In the floor plan, double-click the icon "Sim":
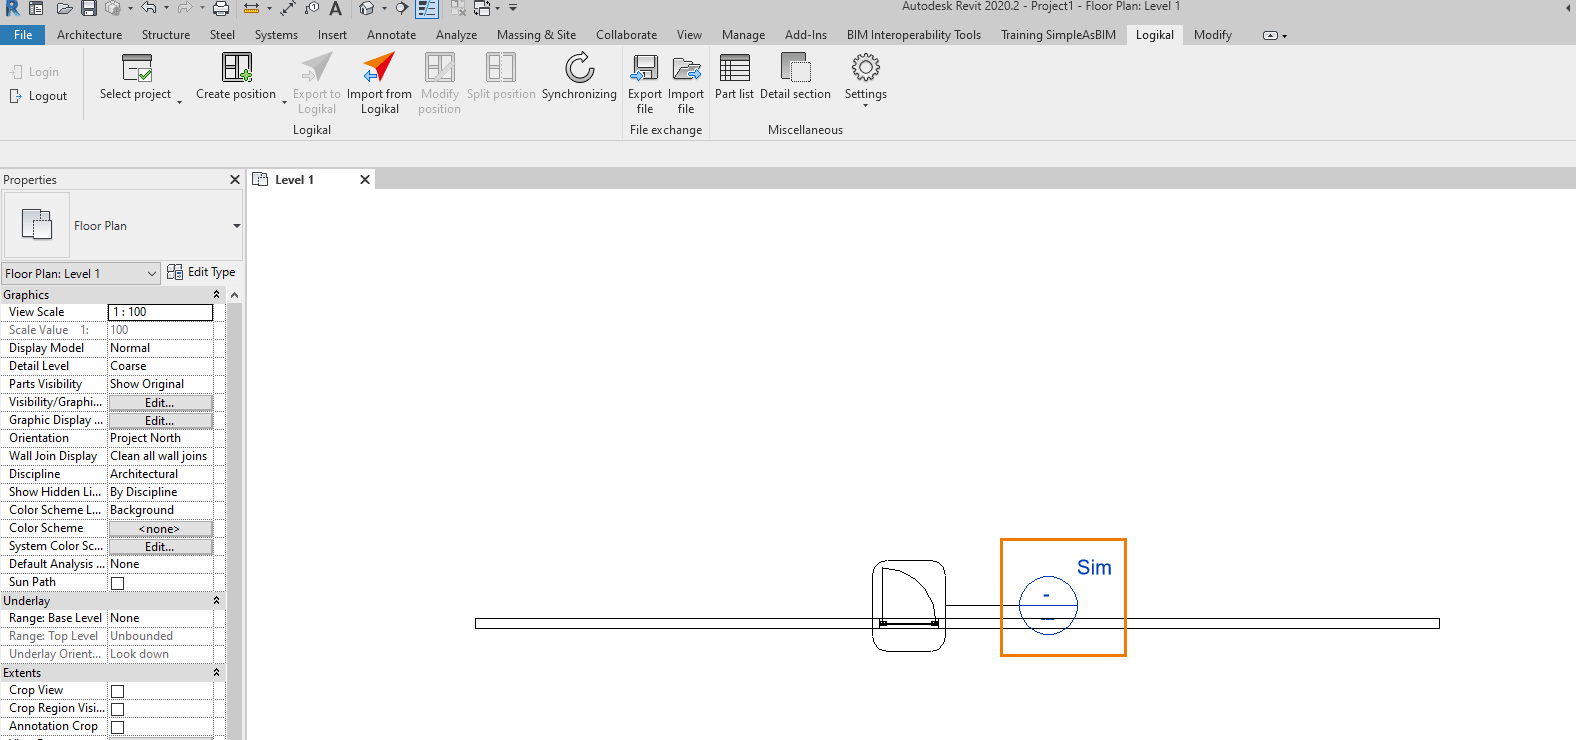
- The details of the element open in a new tab:
Miscellaneous
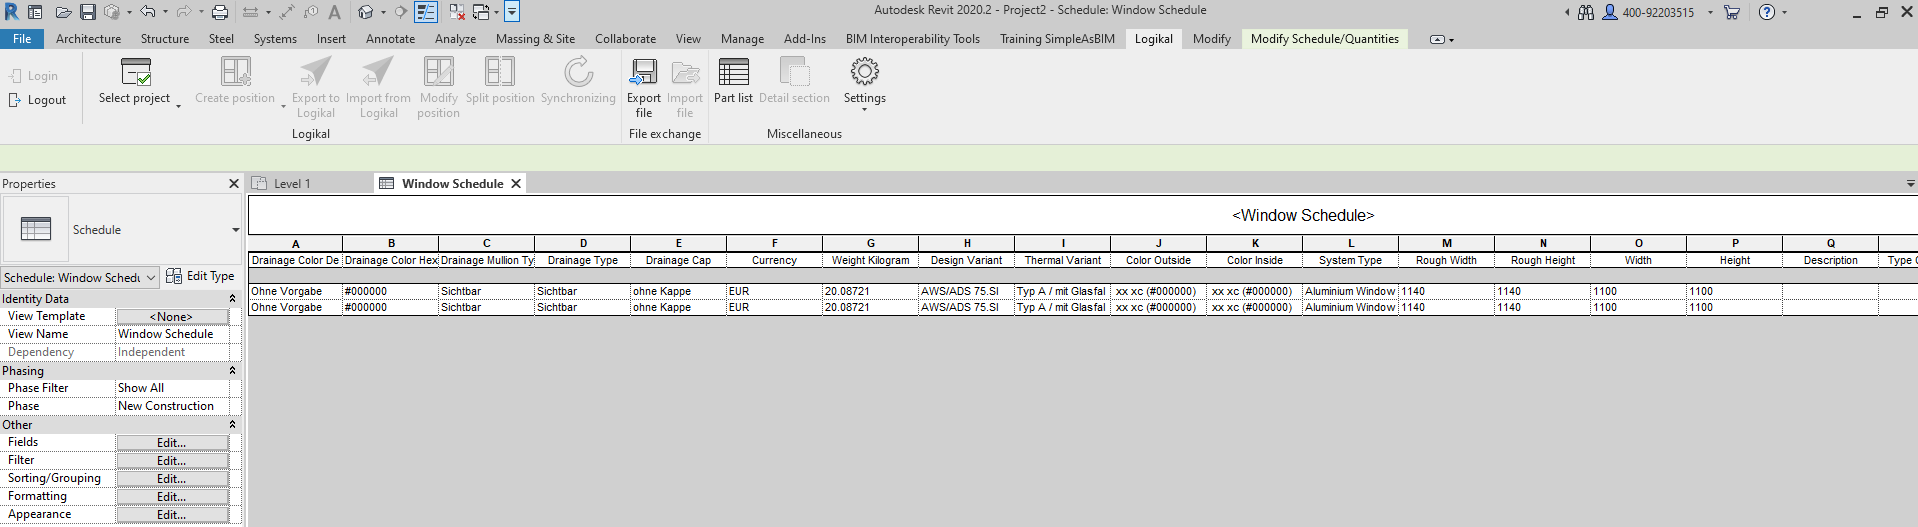
- Click "Part list" to output a part list in Revit with all Logikal positions:
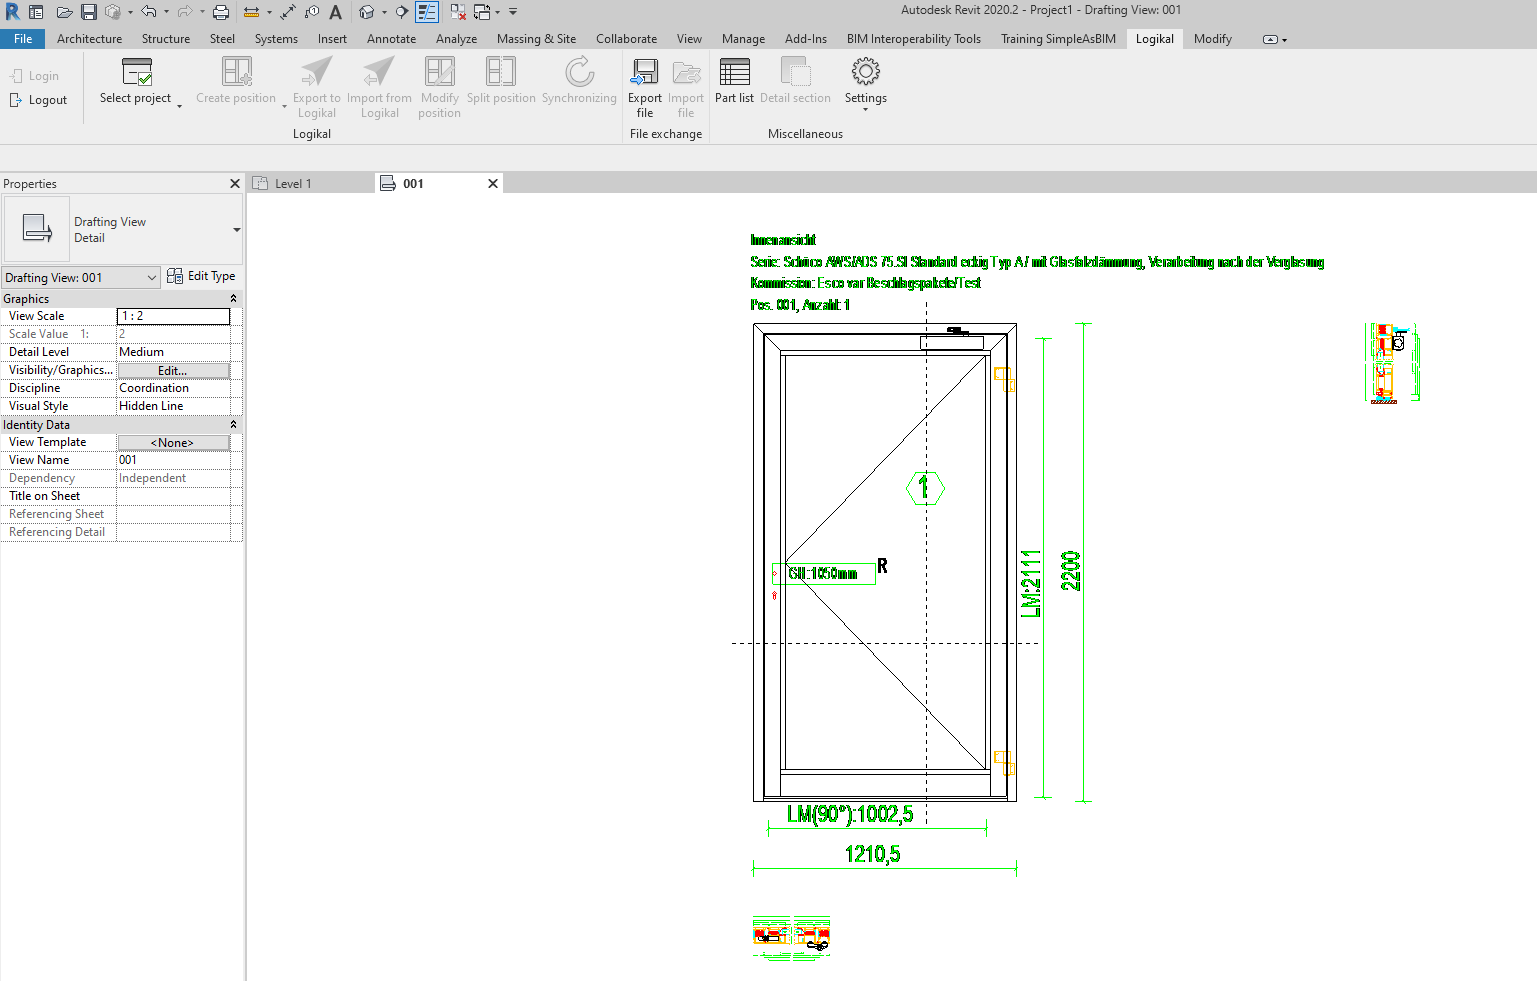
- Click "Detail section" to view cross section drawings from Logikal in Revit.
Settings
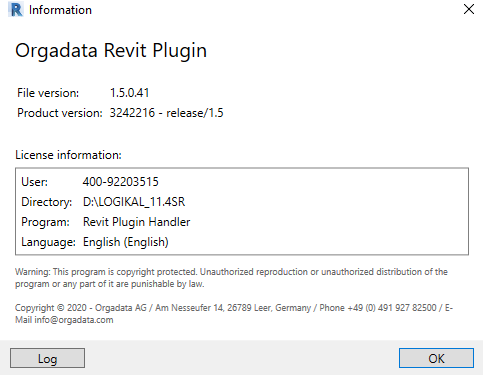
- Click "Information" to get information about the Orgadata Revit Plugin:
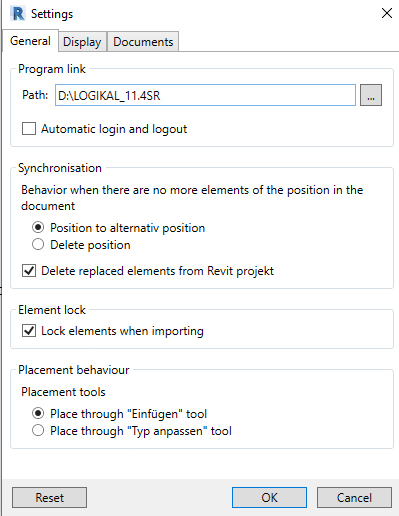
- In the tab "General", you can set the program link:
- In the "Display" tab, define the display quality and information of the Logikal positions:
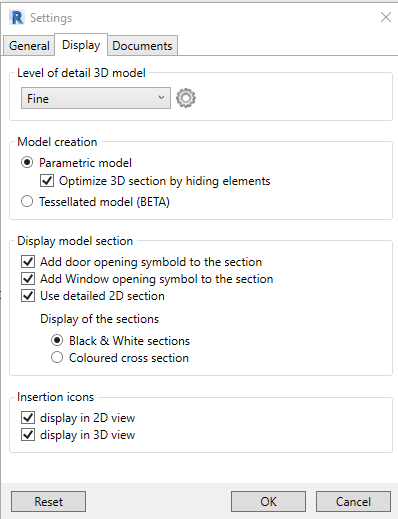
Depending on the level of detail set, position details can be seen on the screen.
-
- Under "Level of detail 3D model" you can choose between a fine and coarse quality:
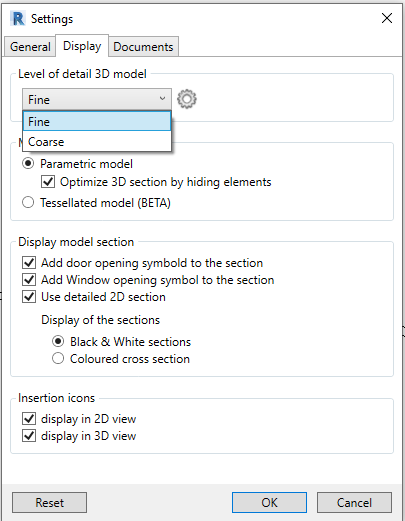
- Under "Level of detail 3D model" you can choose between a fine and coarse quality:
-
- Under "Model Creation", you can enable the option "Optimize 3D section by hiding elements" for the "Parametric model".
- Under "Display model section" you can select the following functions:
- Add door opening symbol to the section
- Add window opening symbol to the section
- Use detailed 2D section
- Choose between "Black & White sections" and "Coloured cross section".
- Under "Insertion icons" define whether the icons are displayed in the 2D and/or 3D view.
- Logikal always delivers 2D sections for every position, whether API import or L2B/B2L exchange. In the "Documents" tab, you can make settings for the detail section:
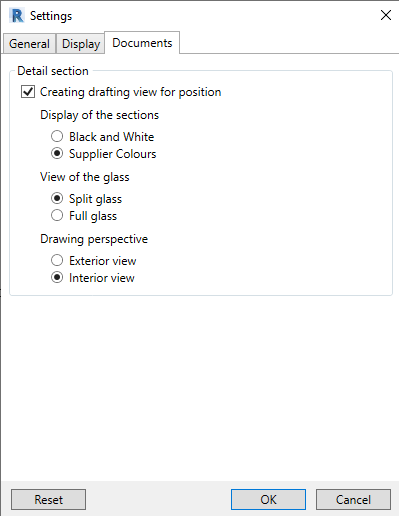
- If the option "Creating drafting view for position" is activated, you can make further settings:
- Display of the sections:
Select between "Black and White" and "Supplier colours". - View of the glass:
Choose between "Split glass" and "Full glass". - Drawing perspective:
Select between "Exterior view" and "Interior view".
- Display of the sections:
- If the option "Creating drafting view for position" is activated, you can make further settings:


 Deutsch
 English (UK)
 Italiano