Click in the project centre on "Settings" > "Reports".
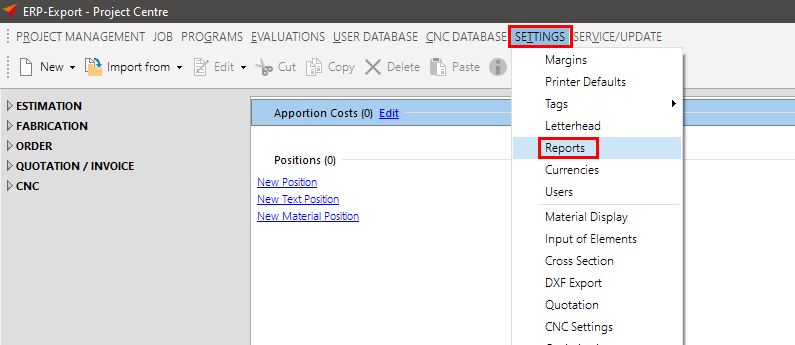
The report settings window appears.
First create a new ERP-Export.
Therefore, click on the button "New".
Enter under "Report Name" the description of the ERP-Export.
Select under "Report Type" the option "ERP Export".

Click on the tab "General" and enter the following data:
Deactivate under "Output Directory" the option "Save automatically in project folder".
After that, enter the folder in which the SQLite file shall be saved.
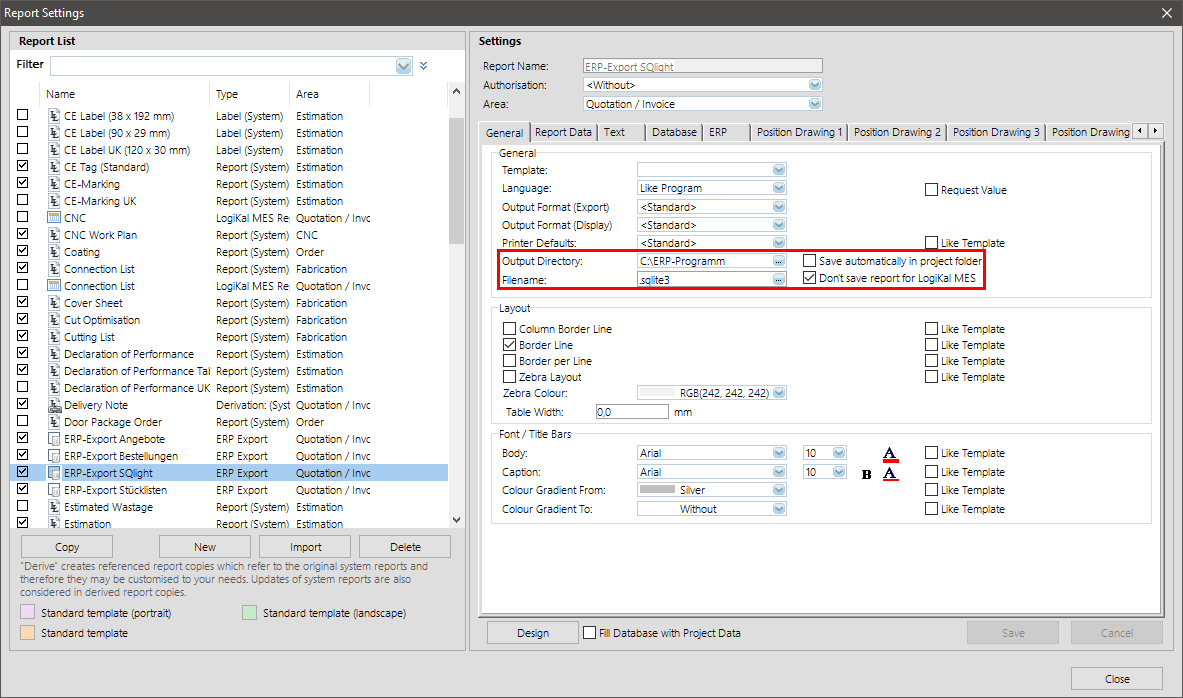
In the text field "Filename" you enter ".sqlite3".
After that, click on the tab "ERP"
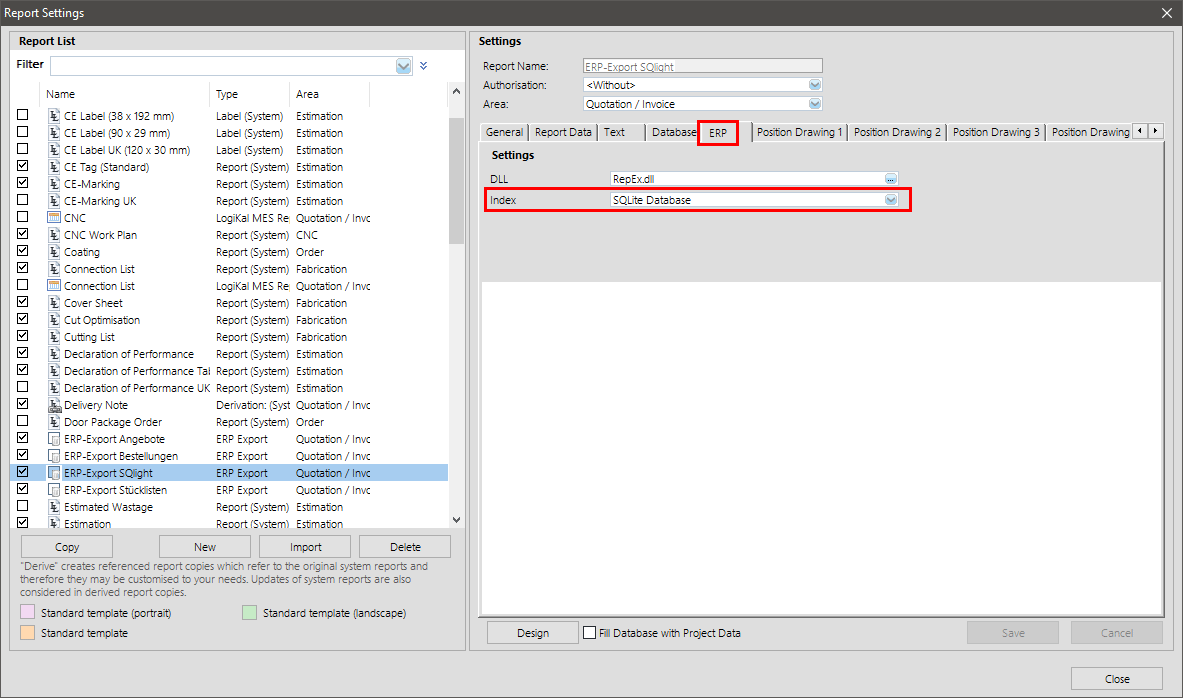
Select under "Index" the option "SQLite Database".
Under the tab "Database" you can determine, which information shall be exported with the SQLite file. Therefore, activate the specific "Flags".
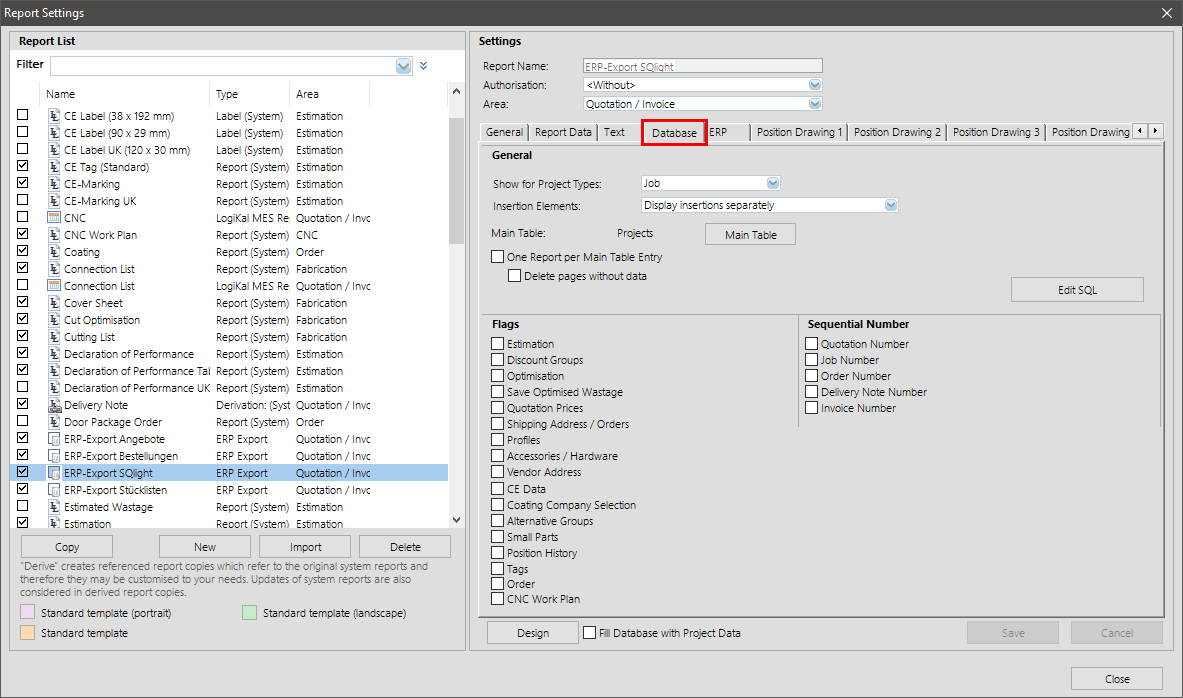
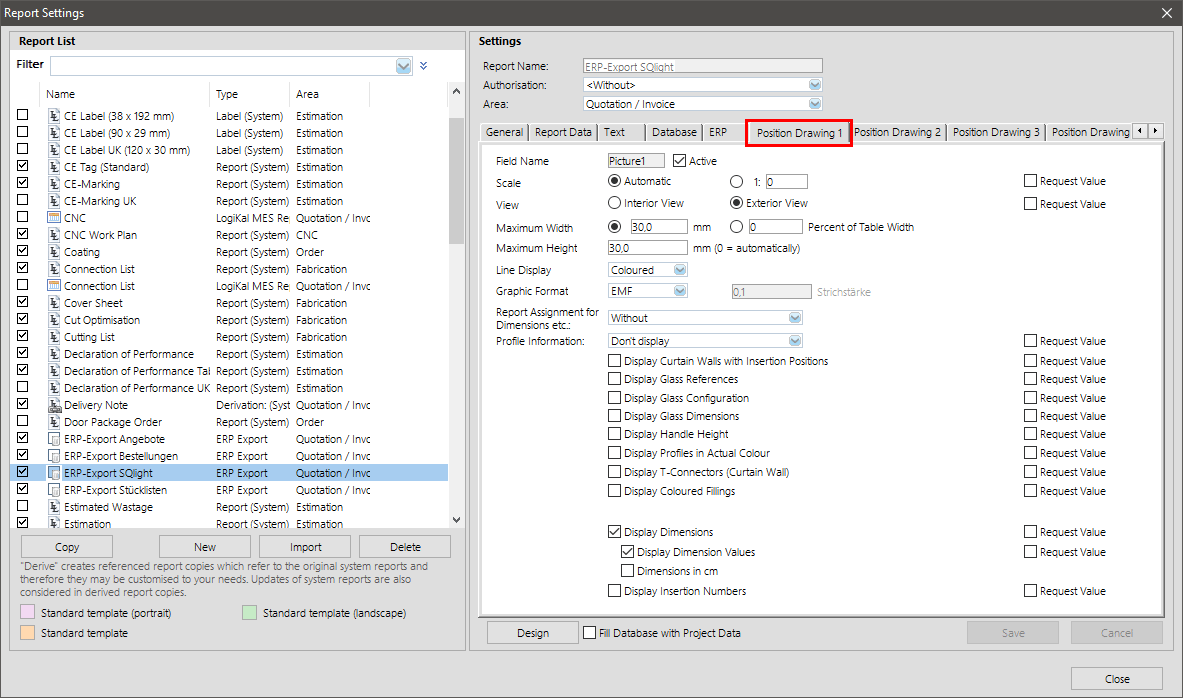
In the tab "Position Drawing 1" you can determine, how many position drawings and which information shall be integrated in the export file.
Click in the button "Save" and close this window.
In the project centre you will now find in the report area on the left a new button with description of your ERP programme. Click on this, to export the project data to the SQLite file.
Note: After generating an SQLite file, please copy the referenced graphics and texts from the output directory to another directory. The position images are exported by ordered numbers. Otherwise the position screens will be overridden after exporting another SQLite file!
Note: The article numbers and pricelists of a supplier can change after an update. If you use an ERP system in combination with Logikal, please make sure that the database is updated in both systems: the ERP and Logikal.


 Deutsch
 English (UK)
 English (US)
 Español
 Français
 Italiano
 Nederlands
 Polski
 Türkçe
 Čeština
 Ελληνικά