User rights
Before setting up the EOS, make sure that the EOS user right is activated under „Settings" > „Users".
Settings
Open the project centre.
Select „Settings" > „Interfaces" > „EOS" in the file menu.
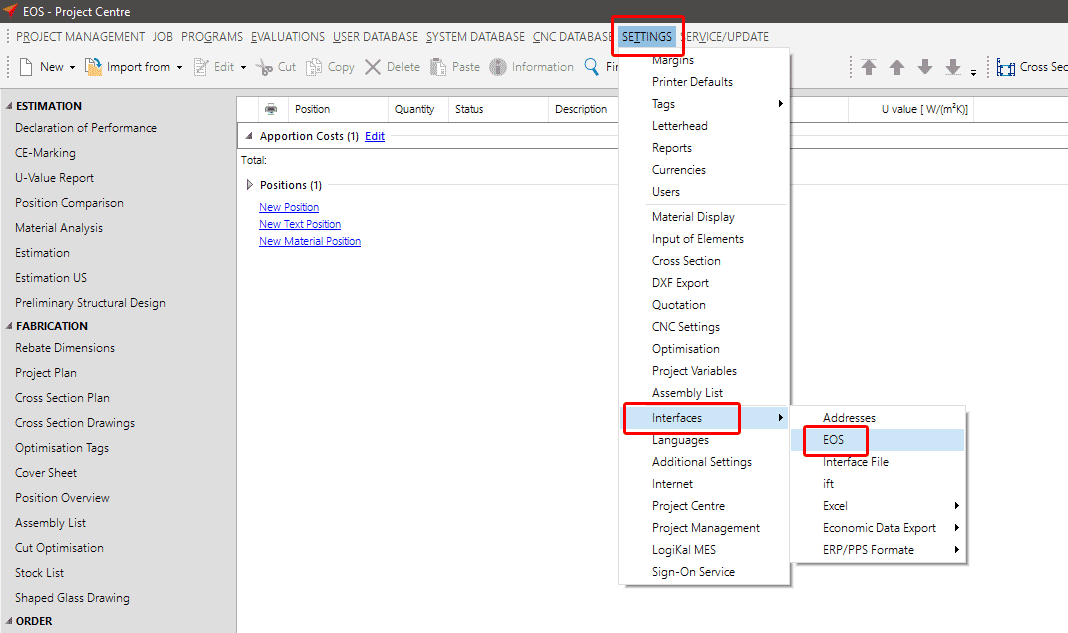
Click on the button „New".
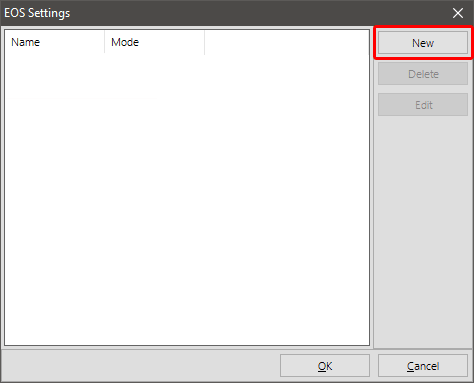
The EOS Settings Assistant opens.
Click on the tab „EOS Mode".
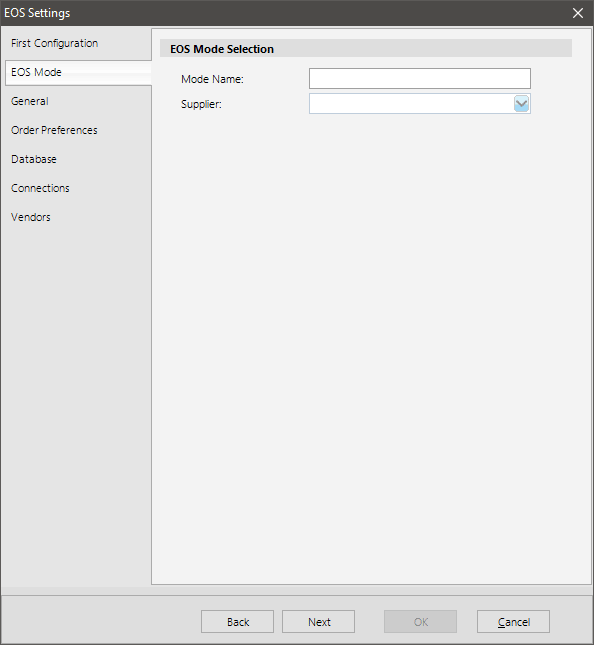
Under „Mode Name", enter the name of the EOS button in the Project Center.
Under "Supplier", select your supplier and click "Next".
In the following tab "General" you can enter additional settings for the order. Activate the options „Project discount allowed", „Display gross price on printout" and / or „Sort articles by numbers" as required.
In the next three tabs, „Order Preferences", „Database" and „Connections", you can make the EOS interface settings. These settings and access data differ depending on the supplier.
Please contact your supplier for setup and further details.
In the last tab "Vendors" select your source of supply under "Supplier/Vendor".
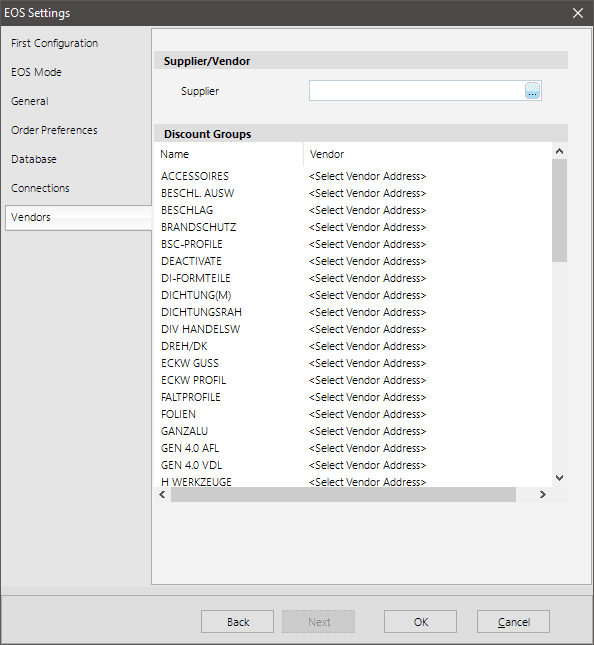
Click on the button „OK" to complete the setup.
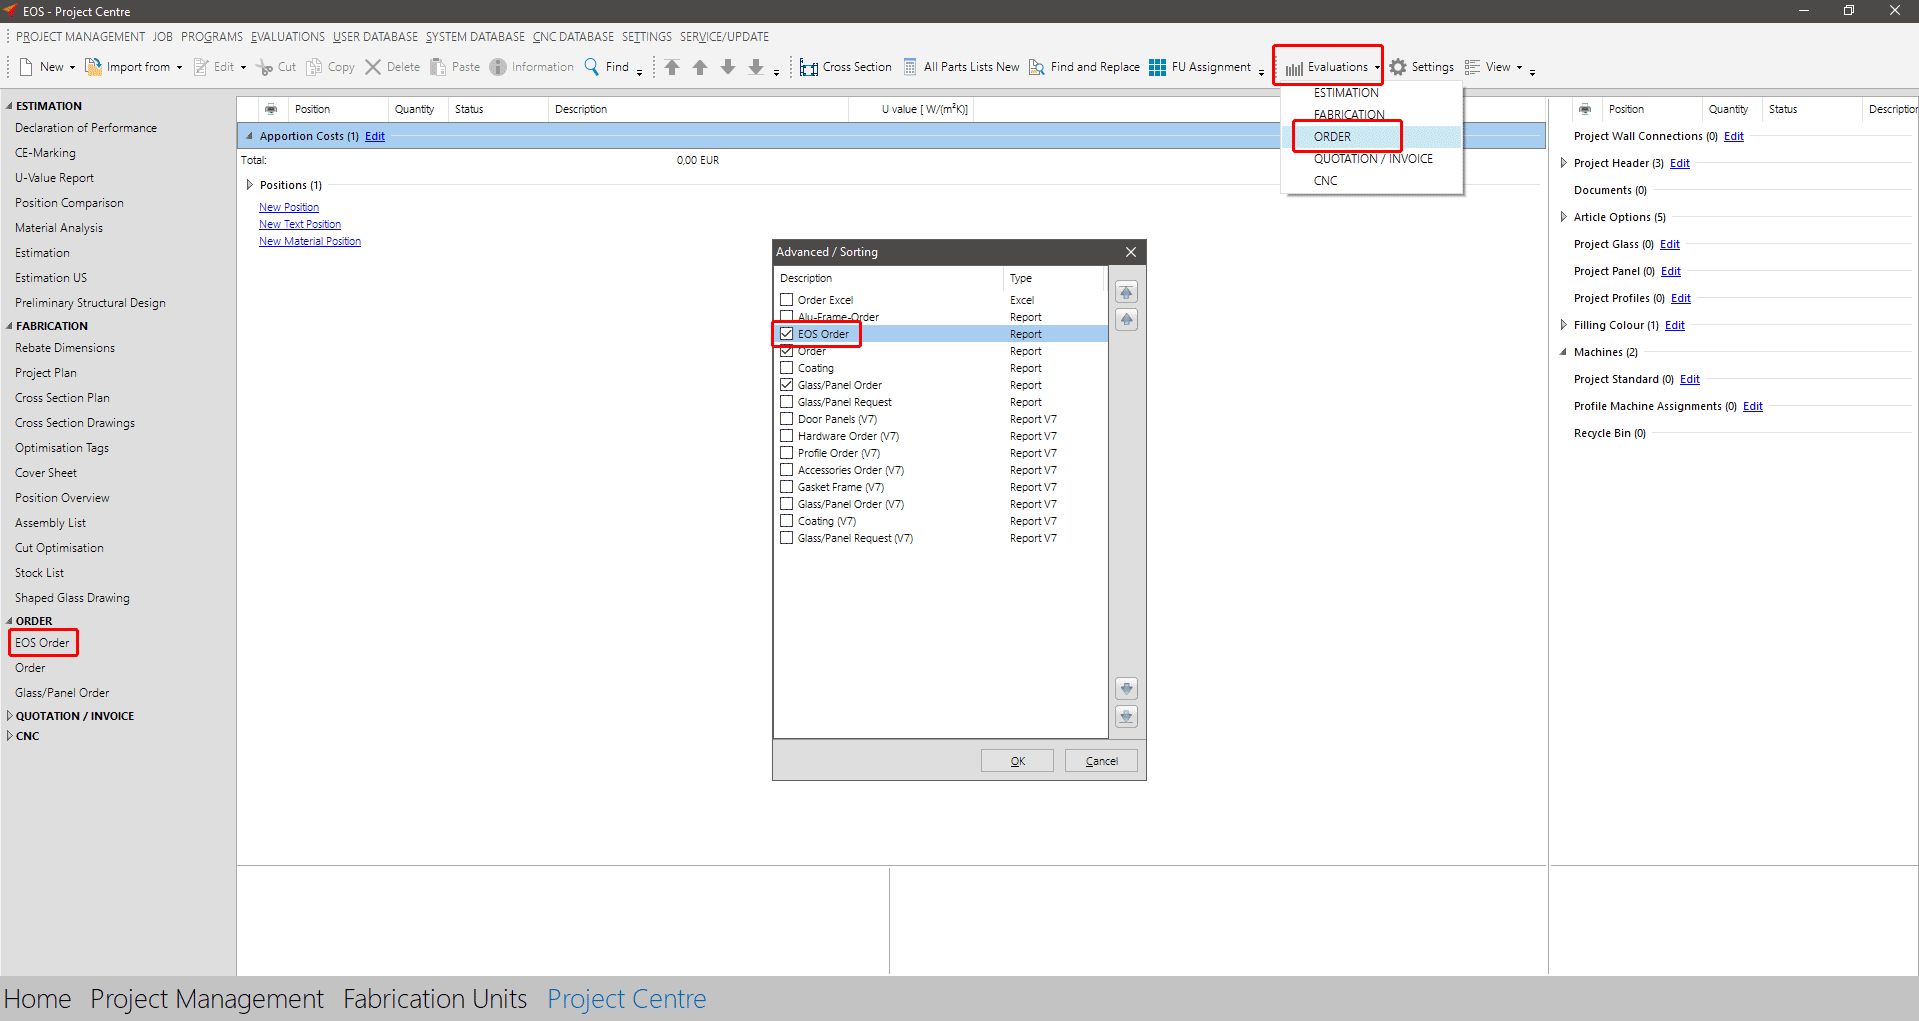
Click in the toolbar on „Evaluations" and select the option „Order".
In the following program window, activate the option „EOS order".
EOS Usage
Click in the Project Centre on „EOS Order" on the left.
The EOS with your orders will open.
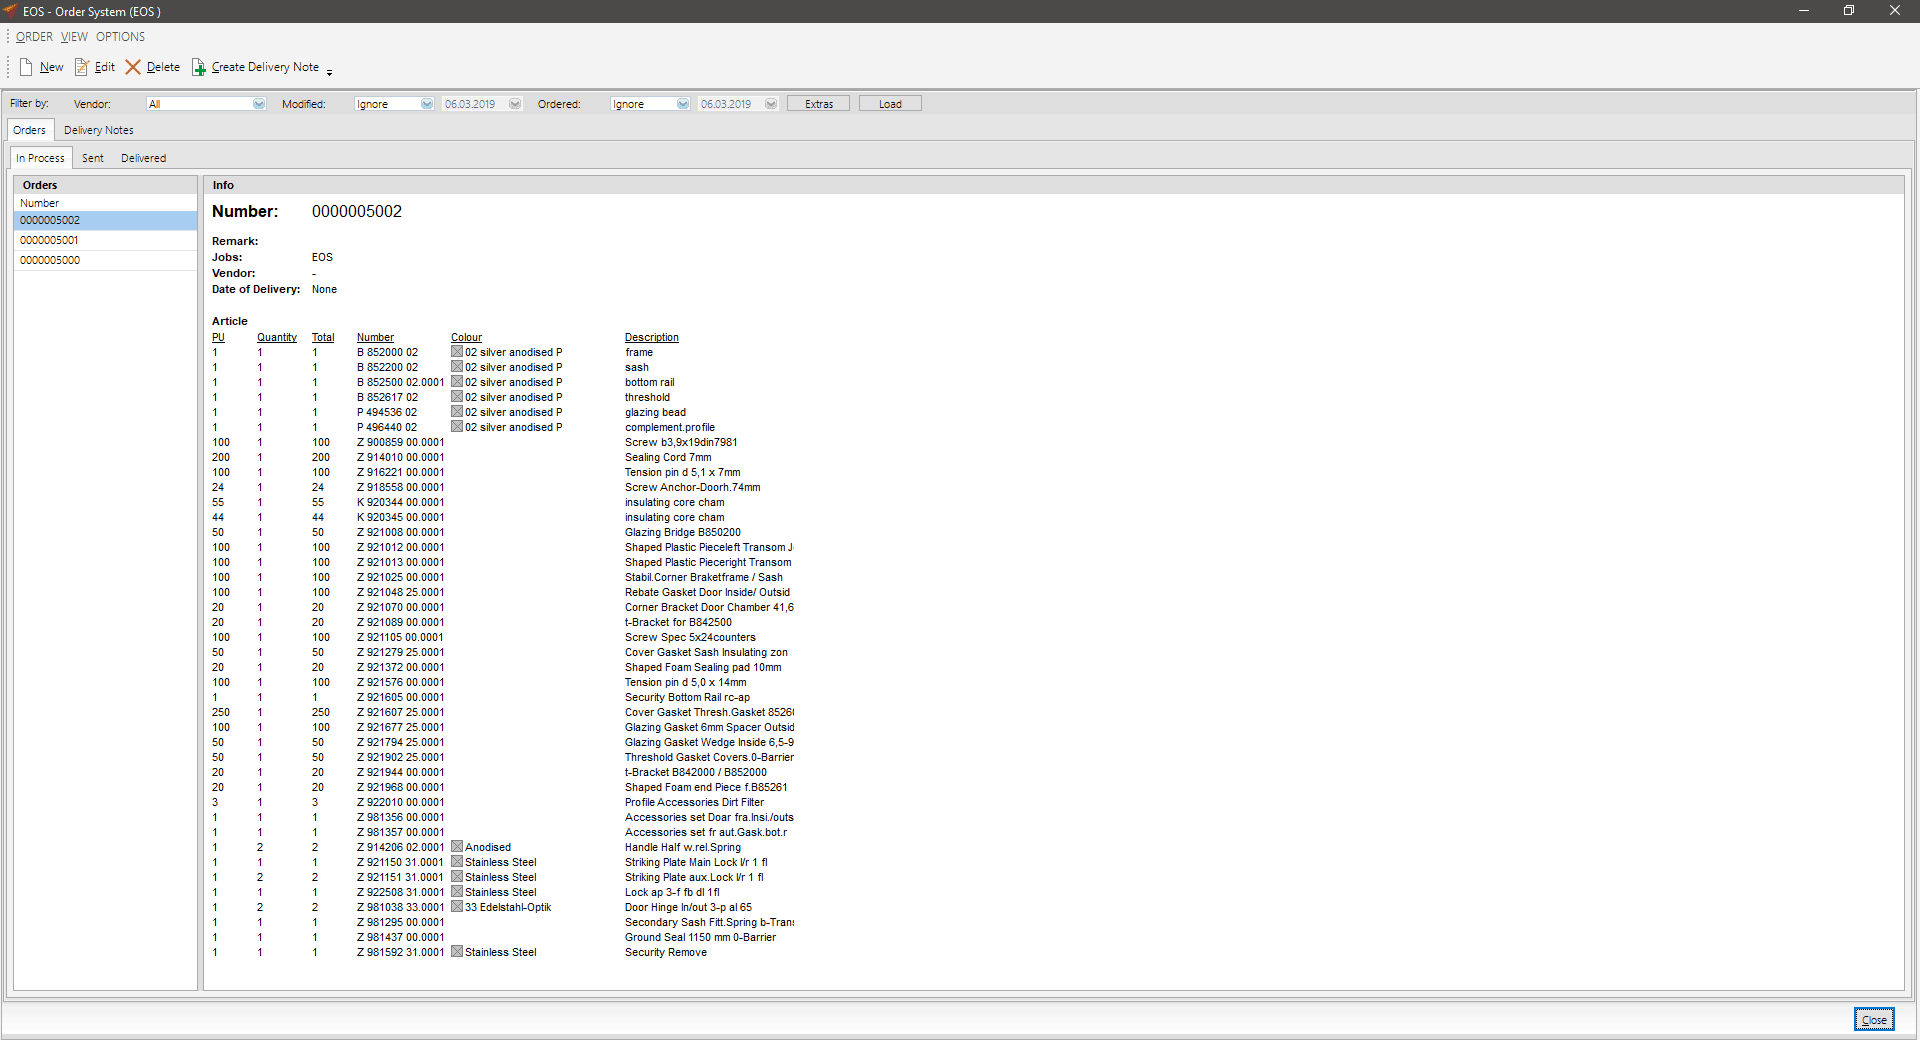
Under the 'Orders' tab you will find an overview of the orders that are being processed, have already been dispatched and/or have been delivered.

To process an order, double-click on the order number in the list on the left.
In the following program window you can make modifications to your order.
Enter supplier data, references and the delivery date in the upper area.

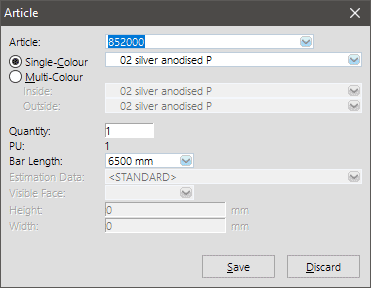
To edit a specific item, double-click it and edit the item data.
In the lower part of the order there are buttons with which you can add profiles, accessories and fittings.
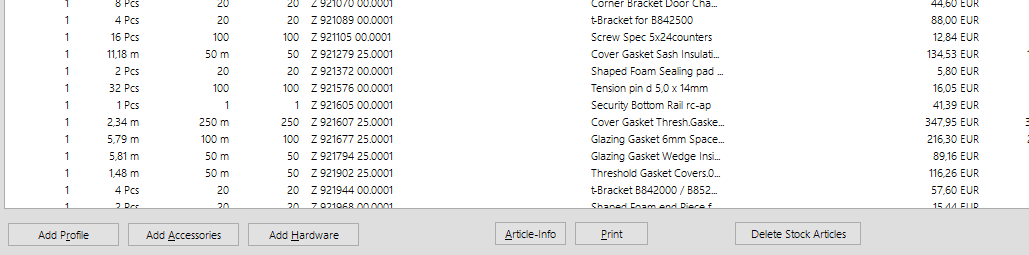
For detailed information on the selected item, click on the "Article Info" button.
You also have the option to remove stock items that you still have in stock from the item list. To do this, click on the "Delete Stock Articles" button.
To complete the order, click on the "Save" button.
You will then find the order under the "Sent" tab.


 English (UK)