This documentation will show you quickly how to insert system-independent hardware data.
Create supplier
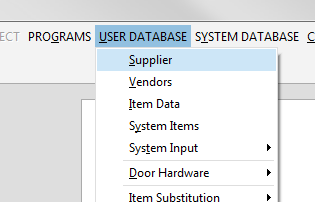
Click „User database" → „Supplier" in the project centre.
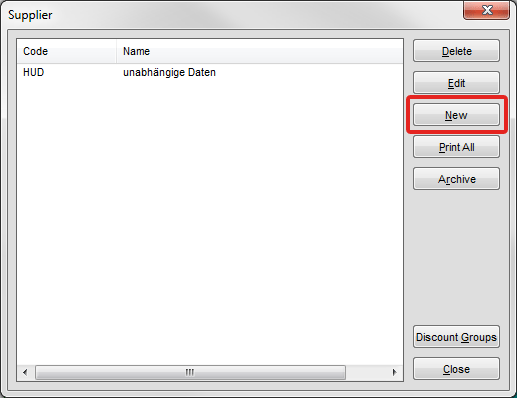
Click „New" in the toolbar.
Enter the supplier code in the following window. (maximum of 3 characters)
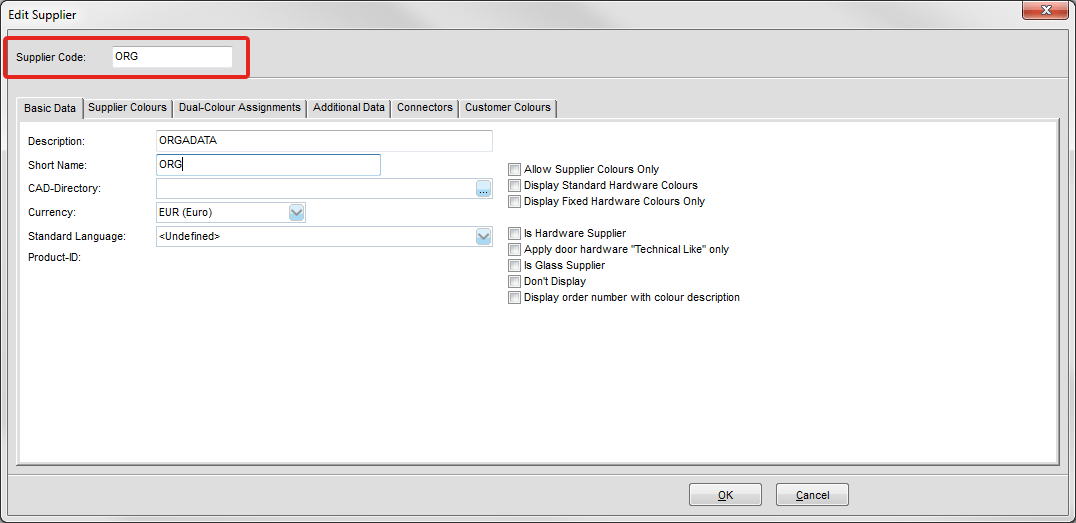
Enter the supplier description, if necessary the short name, and the CAD directory.
Click „OK" in the toolbar to finish the entry.
You will automatically get back to the supplier overview.
Create discount groups
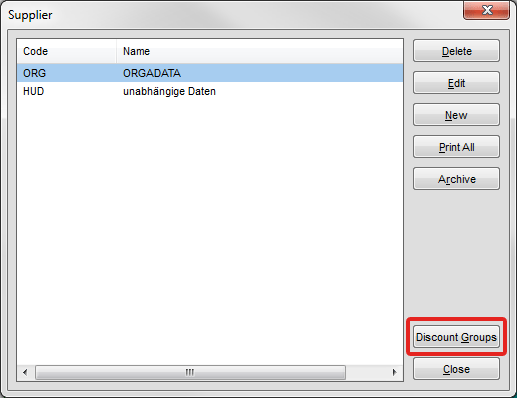
Select the just created supplier you wish to create discount groups for and click „Discount groups" in the toolbar.
A new window opens.
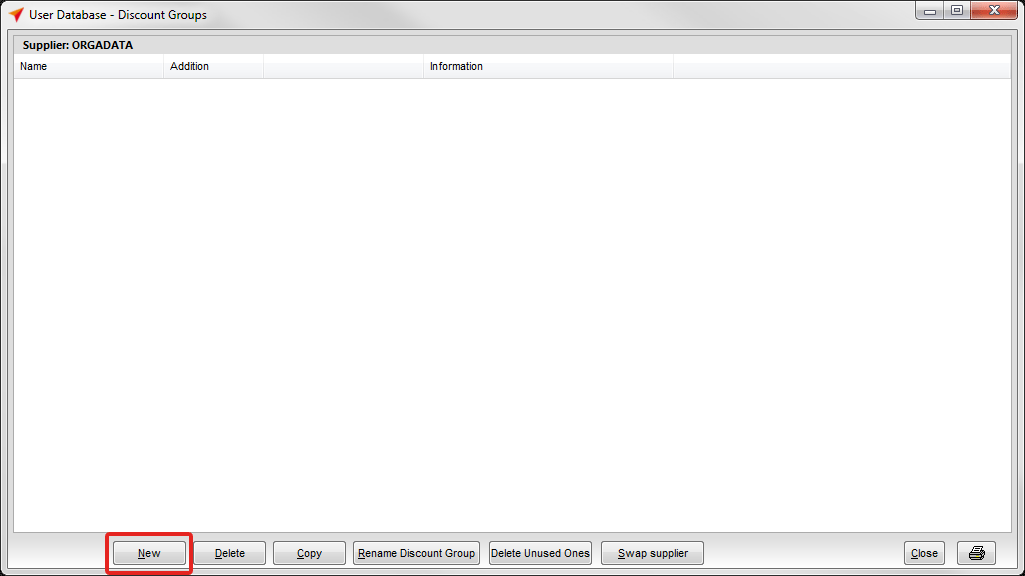
Click „New" in the toolbar to create a new discount group.
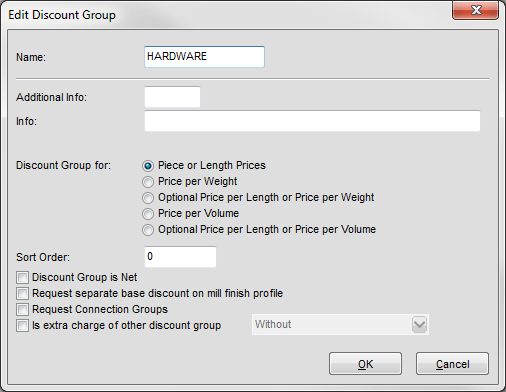
Enter a name for the price list.
Determine the reference (e.g. piece or length prices) under the option „Discount group for".
Click „OK" to get back to the overview.
Close the overview.
Create items
Select „User Database" → „Item data" in the project management.
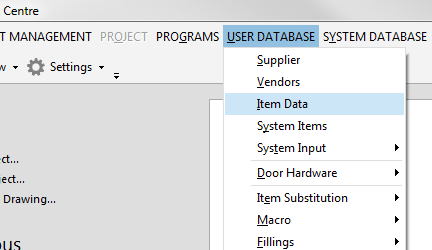
Select the supplier you just created.
The window for entry of economic data opens up:
Click „Add" in the toolbar at the bottom left to create a new item.
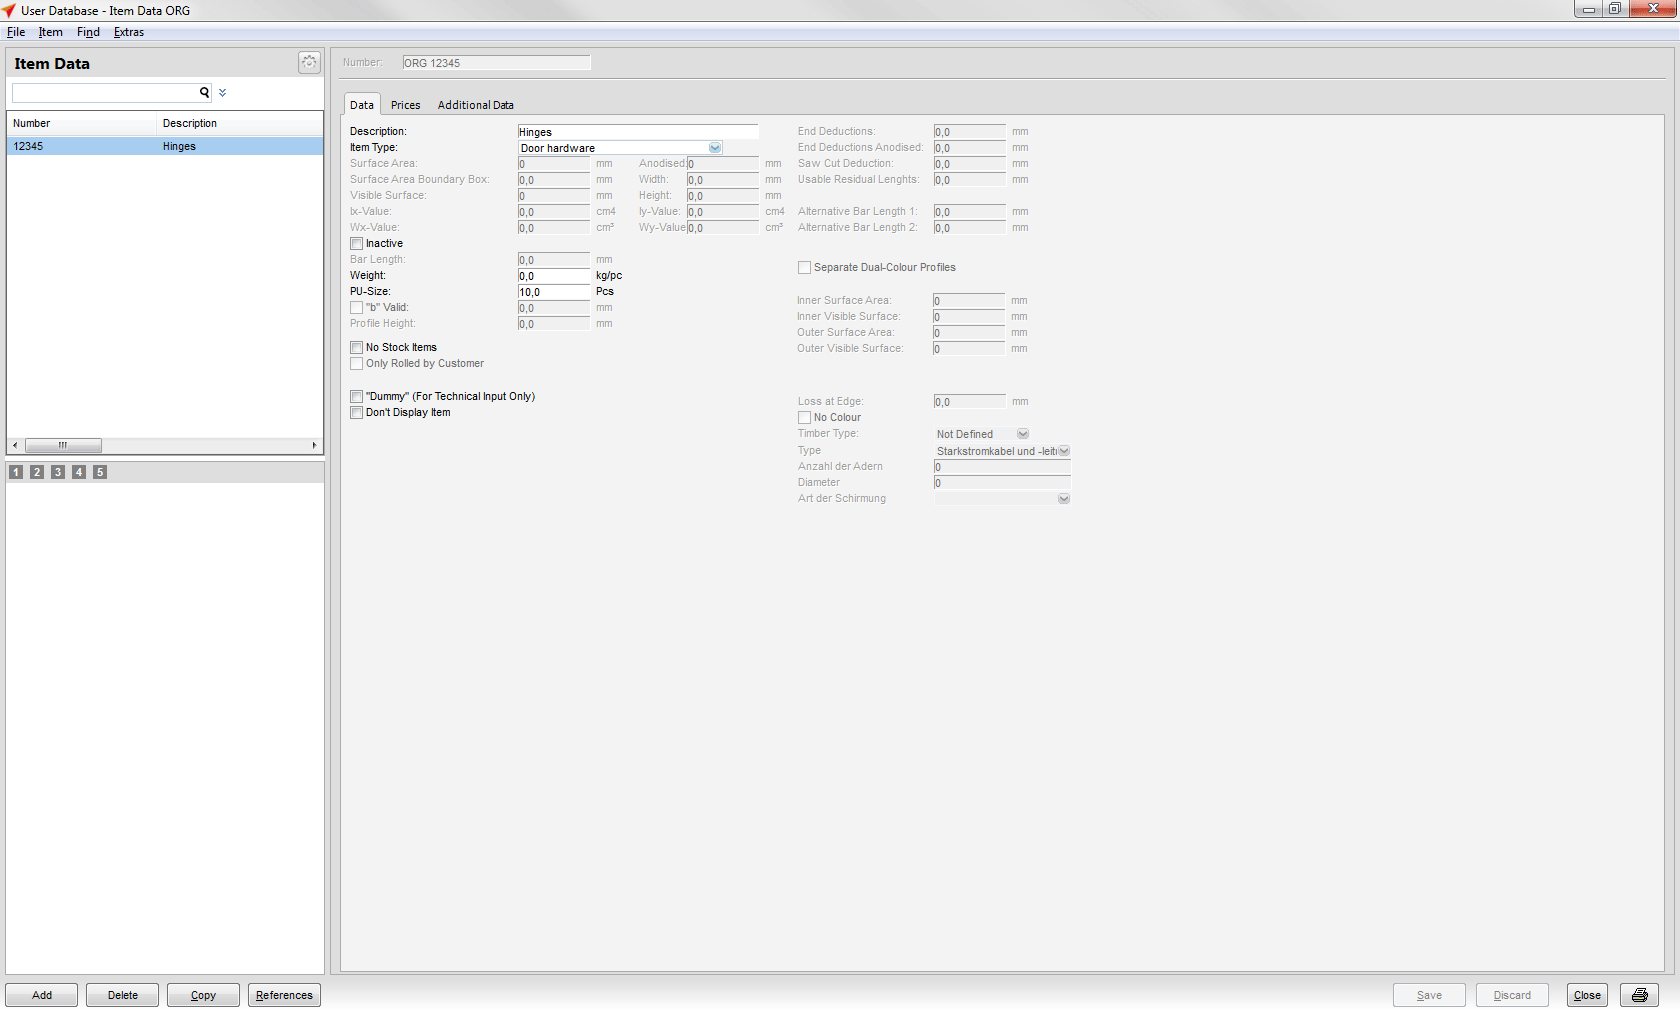
Enter the item number under „Number" and assign a description to the item.
Define the part type and determine the sales unit.
Swap to tab „Prices".
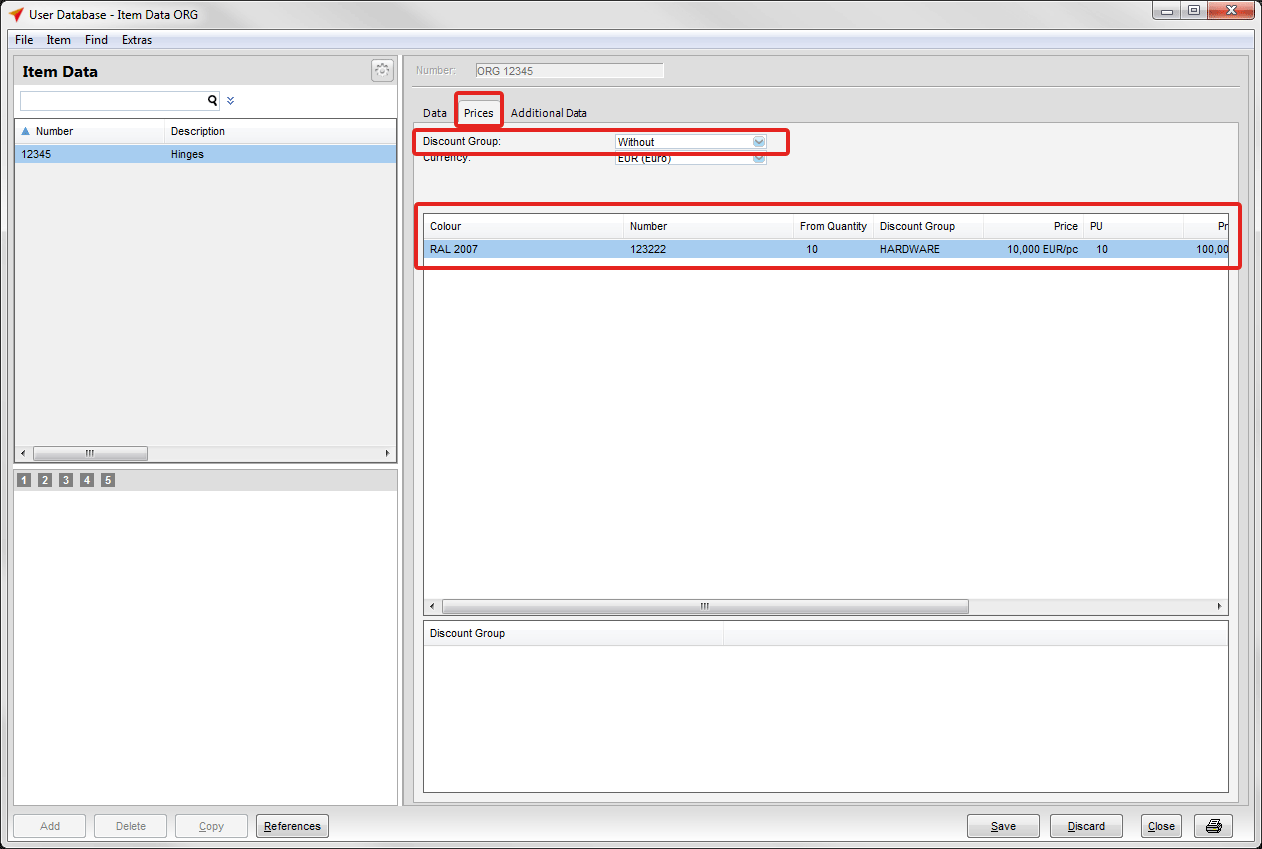
Here you select the discount group you just created.
Push the insert key on your keyboard and determine the colour, number, and price of the item.
Click „Save" in the toolbar in order to save your settings.
Display in the estimation data
Return to the project management and select „Estimation data" under „User database".
Mark the current estimation data set here and click „Edit" in the toolbar.
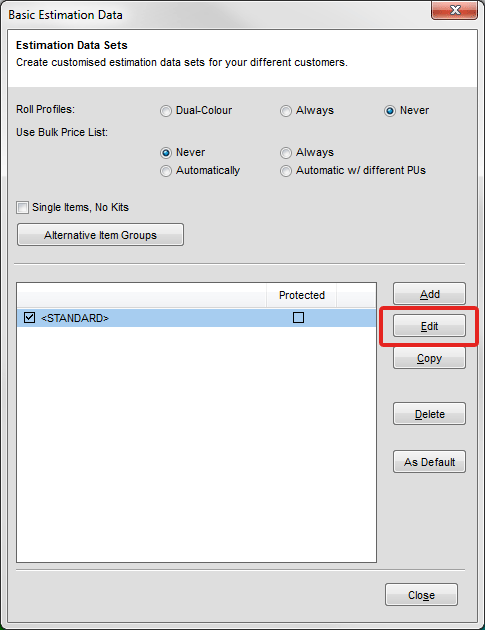
In the second menu of the estimation data you will find the discount group you created again and you are able to determine special conditions here.


 English (UK)